A headboard is a beautiful way to personalize your bed and bedroom. It speaks of your style and desire to create an environment that reflects who you are and what you love. Having a headboard on your bed can be a big expense though, especially if you are on a tight budget.
This headboard, built from pine, was inexpensive and provides a striking focal point for a relaxing and rustic room. It can be built even in the smallest of spaces with limited tools.

The Wood
To make this headboard, you can use either new or reclaimed wood.

If you are using new wood, you can create a rustic look by roughing up the wood before painting (AKA have your nieces and nephew pound it up on their gravel driveway in their jammies! You can also bang up the wood with a hammer, screws, and nails and can achieve dents and dings that will make the wood look weathered and worn after it is painted.
 You can also round out the corners and edges with some sandpaper to give the wood a worn and aged look and feel.
 When you are done banging up your wood, don’t forget to make sure to give it a cleaning with soap and water before moving on.
The Paint
Once the wood has been roughed up, give it a wash of grey milk paint to make the wood look like aged cedar.
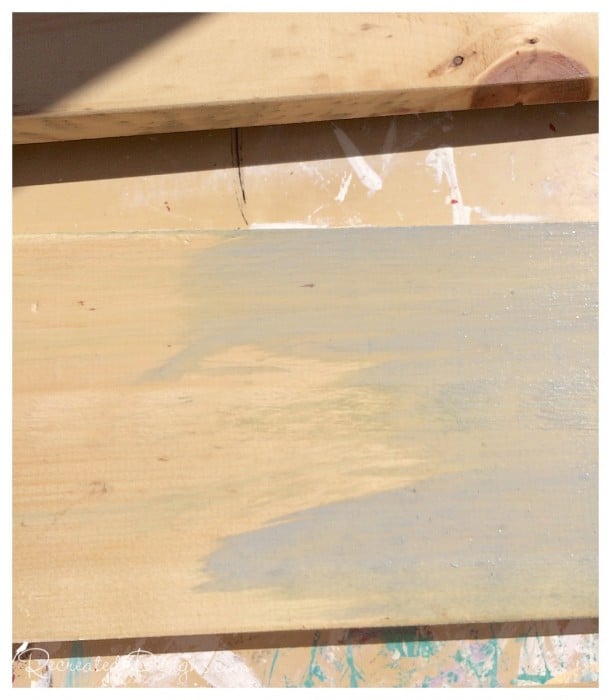 Create a paint wash by watering down your paint so that it is thinner than normal. I like to use one part milk paint mix to three parts of water. For this project, milk paint was used as it has an authentic, all-natural look and feel that was ideal.
 Rub the edges and corners with a wax puck or block so that when the coat of white Milk Paint is added, it won’t adhere in these spots and the grey will show through.

After each board is given a wash of gray paint, each one is painted with white milk paint until all of the boards are painted. The layering of the different colored paint allows you to create a look that is reminiscent of an old piece of furniture that has been painted many times over the years. When the paint layers have completely dried, lightly sand the edges and corners to reveal the color underneath. Light sanding also brings out the beauty of the dings and dents you created making the wood look old.
 Finish off all of the boards with a coat of Furniture Wax for protection. This creamy wax will protect your new headboard and keep it looking beautiful.
Putting it All Together
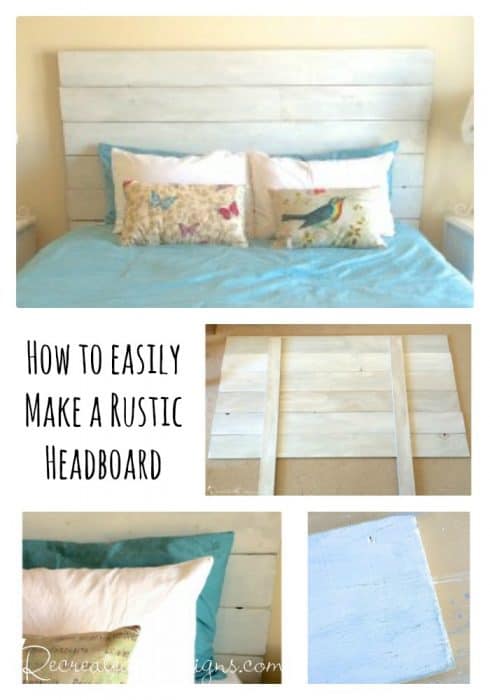
To finish the headboard, once all of the wood pieces are painted and sanded, layout the newly painted wood and arrange it in the order you would like them.
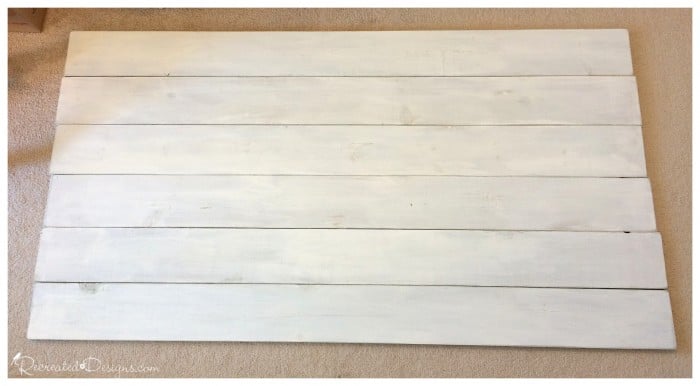 The boards don’t need to match up evenly or perfectly — having them a little bit off will help with the rustic feel.
 Use two thinner pieces of wood as supports to hold the boards together. Screw two wood screws into each board on each side. This will keep the boards supported and secure so that they do not shift once in place. The two thin support pieces should be measured and cut to the height that you want your new headboard and should reach down to the floor at the head of your bed, as they will support the entire piece.
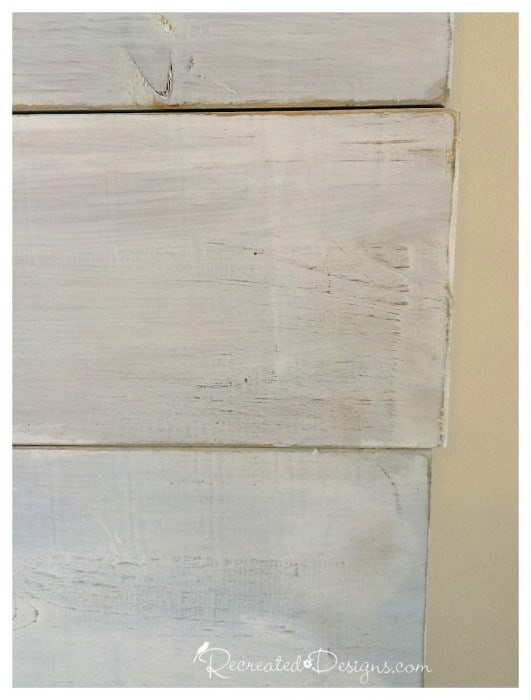
Keeping the edges uneven adds to the rustic look.
 Once the boards have been attached to the support pieces, you can slip your new headboard in place in between the head of your bed and the wall. Your bed will keep the headboard securely in place without having to attach it to the wall or your bed.
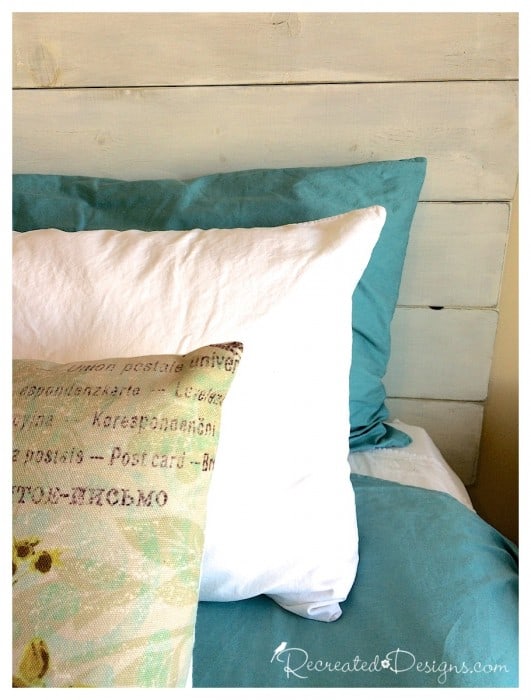
 I love how easy and inexpensive this project was and the rustic impact it added to the bed and room.

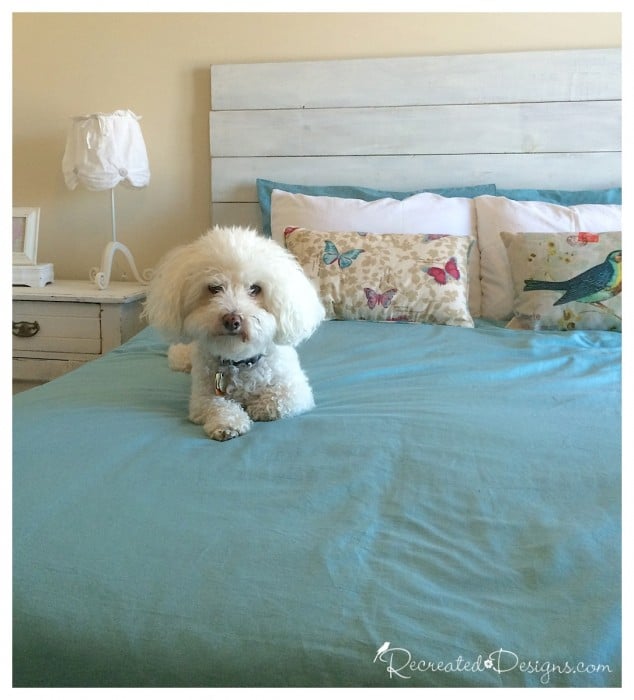
It is amazing how easily a little bit of wood can be transformed to look like it has been around for 100 years. You now have a beautiful headboard that can be left as is or decorated and changed up with the seasons.
Pin for later…
 **Please note that this post includes affiliate links, for your convenience, for products that are used in this project that I have tried and use regularly. By using the link, it in no way increases the cost of the product to you should you choose to buy. However, by using the link, a small portion of the sale is given back to me to help fund this blog.**


Looks awesome and pretty easy. What type of wood did you use? How big of pieces? Thanks
Thanks Sonja! It was very easy and it only cost about $50 (Canadian) to make. I just used cheap old pine boards 🙂 They were approximately 5.5″ wide and I can’t remember the length but if you measure the width of the bed you are making it for and then add a couple of inches to either side (so add 4″ to the total width of the bed) you will get the length that you need for the boards. Hope that helps!
Thanks Lisa, It looks great. I am certainly going to give it a try x
Thanks Margaret! Have fun 🙂
How much did this cost you?
It cost about $50 Canadian. The bulk of that cost was the wood as I already had most of the paint.
Love, love, love this headboard.
Thanks so much Rebecca! Me too 😉
Head board, choice of pillows and doggie are all too cute ! 👍👍👍👍
That is so sweet! Thank you so much Lucy! I’m glad you liked it and thank you so much for taking the time to stop by.
This is awesome Lisa! It’s been a few months since I’ve used MMSMP but I love the way it layers so easily. Your headboard looks really nice and the littles are too cute. Hugs, CoCo
I love working with MMSMP… it is my favourite look of all; I just wish I didn’t have to “make” it each time 🙂
This is fabulous! Sharing tonight on the Fab Friday Link Party and thanks so much for linking up!
Thanks so much Suzanne! I’ll be sure to stop by and check out the party again this week 🙂 Have a great weekend! Hugs, Lisa
Hi, I'm Lisa!
Welcome to Recreated Designs... A place for you to find endless upcycling ideas, unique ways to use vintage finds and oodles of helpful tips and tricks for painting, crafting and recreating. I am so happy you are here and can’t wait to see what you create!
Continue reading about me here!