After finding a beautiful silk screening package at Michaels not long ago, I have been wanting to try silk screening with paint. I had the perfect, extra-long coffee table at home that had just waiting for a little recreation and this was exactly what it needed. The coffee table was in terrible condition when I picked it up and was badly scratched up but it’s shape was gorgeous. The only prep that needed to be done to the table before I could begin to paint was to sand down the top. I used a rotary sander to take off the top layer of finish and underneath found a gorgeous piece of solid wood. Tip: I usually use a rotary sander to sand down my pieces as I find it takes off just the top layer and doesn’t eat away or damage the wood.
  The table had such beautiful curves that I wanted to keep the painting simple and clean looking so that it would highlight the shape. I chose Fusion Mineral Paint in Limestone for the main table colour because of it’s soft creaminess. Limestone is a lovely neutral that I will definitely be using again!
 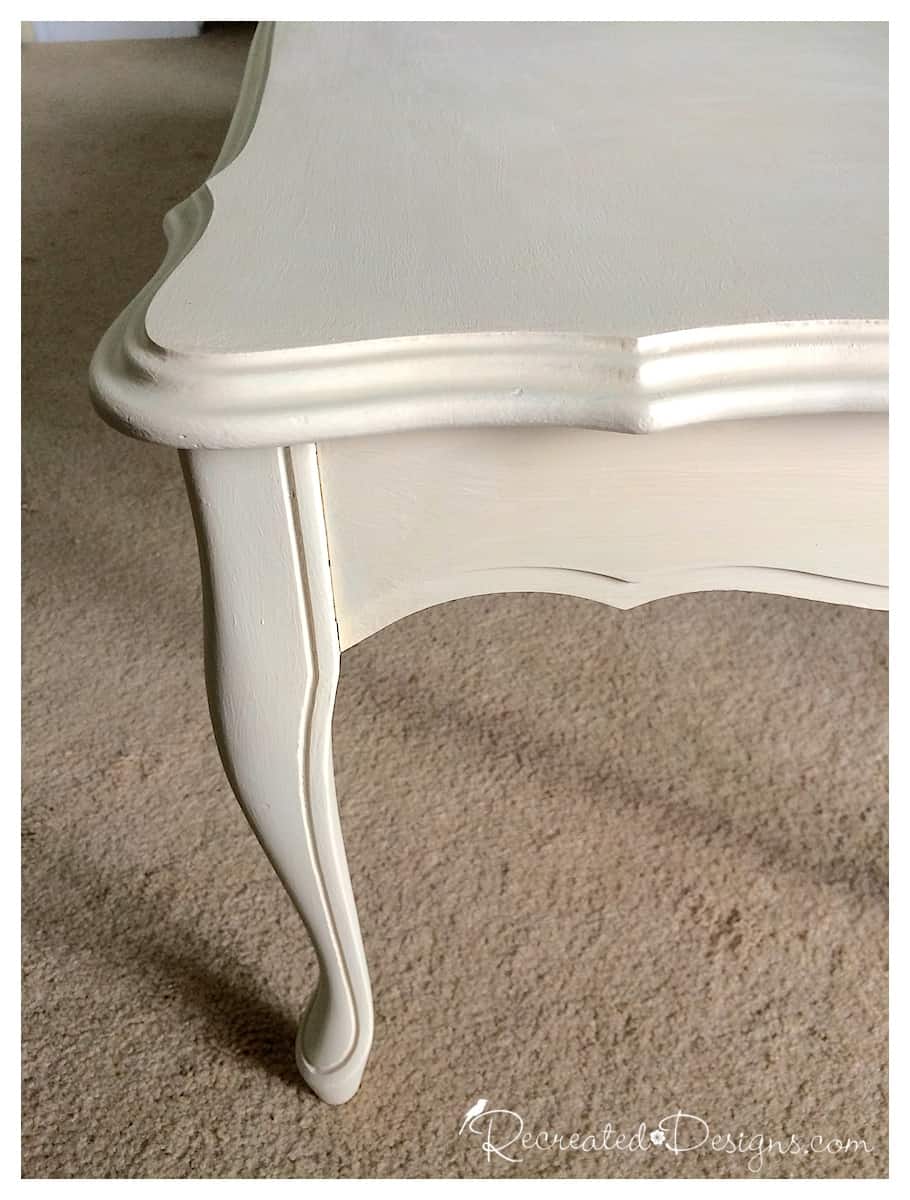 After giving the table two coats of the Limestone, I used Fusion Mineral Paint in Coal Black to do a little silk screening in two of the corners. I didn’t want to overpower the lines of the table so kept it simply and sparse.
  The only thing that you need besides the stencil or sticker and the paint is a small paint brush and some sort of straight edge. Tip: I use an old hotel key and the plastic makes it easy to wipe the paint off and provides a nice straight edge.
  In order to silk screen the paint, you need to dab little amounts of paint around the stencil or sticker keeping the dabs close to where you will want to paint to go.
 Once you have the paint situated, begin to slowly spread the paint around. You do not need to be rough but you will need to make sure that you are using enough force to push the paint through the screening.
 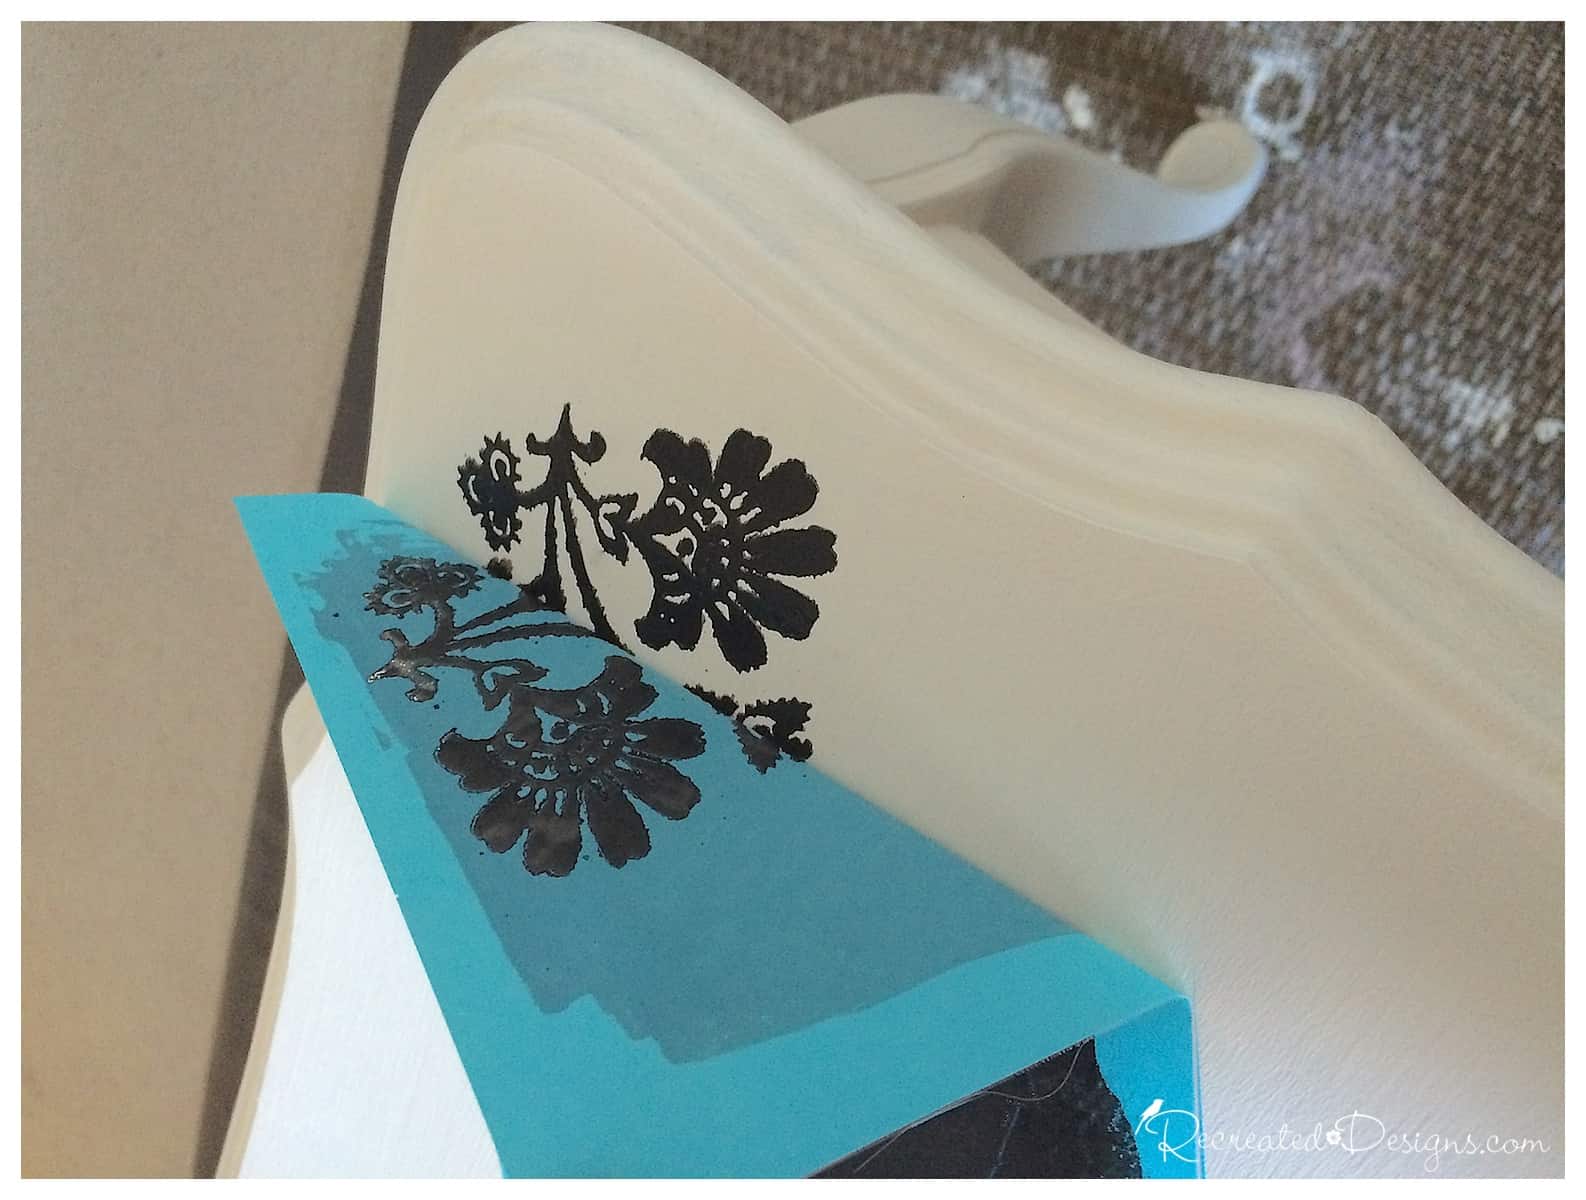 After spreading the paint and making sure that all of the screen has been covered, begin to carefully peel up the screen.
 This silk screening package allowed me to mix and match elements so I was able to create whatever floral design I wanted. When you are creating a large pattern, remember to let each section dry before moving on to a new piece.
 I absolutely love the black on white and the dramatic effect and detailing of the silk screening were perfect for this piece.
 I am so glad that I tried this technique and will definitely be using this again in the future!


Lisa, this is so pretty! As you know, I recently started using Fusion Mineral Paint but I haven’t seen the Limestone. It’s gorgeous! I never tried to silk screen before either but your tips are really helpful so I’ll definitely give it a try. Thanks so much for linking this to the Something to Talk About link party! Hugs, CoCo
Thanks Coco! I am in love with the Fusion Mineral paint. I am really loving how smoothly it goes on. I will definitely be using the Limestone again as it is a beautiful creamy off-white. Such a pretty neutral. Thanks for stopping by! Hugs, Lisa