It’s been a while since I shared a furniture makeover and what better time to transform a piece than in the spring? It’s the time of year when we are all ready for the lighter feelings of warmer weather and the world coming back to life.
Well… furniture is no different. Sometimes you need to lighten your pieces up and give them a softer, warmer feel. It’s amazing how much different a space can feel when you paint your dark furniture a lighter colour.

If your furniture is ready for a spring makeover, here are 5 simple steps to transform your dark furniture.
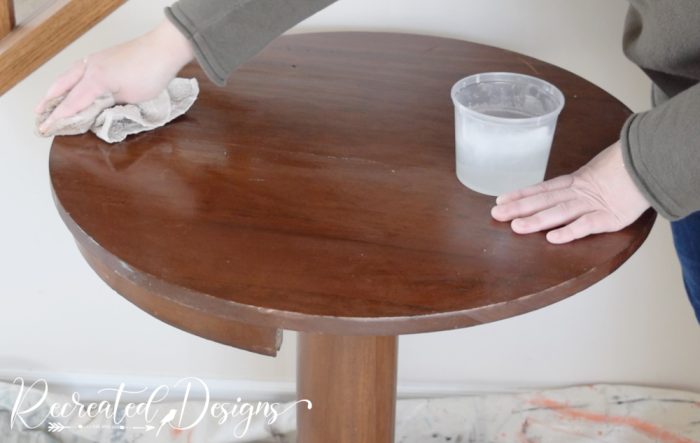
Step 1 – Clean
Even if a piece of furniture has been yours for years, it still needs a good cleaning before painting. Cleaning your piece with a TSP Alternative will remove any dirt, residue from things like Pledge, and grime that may have built up.
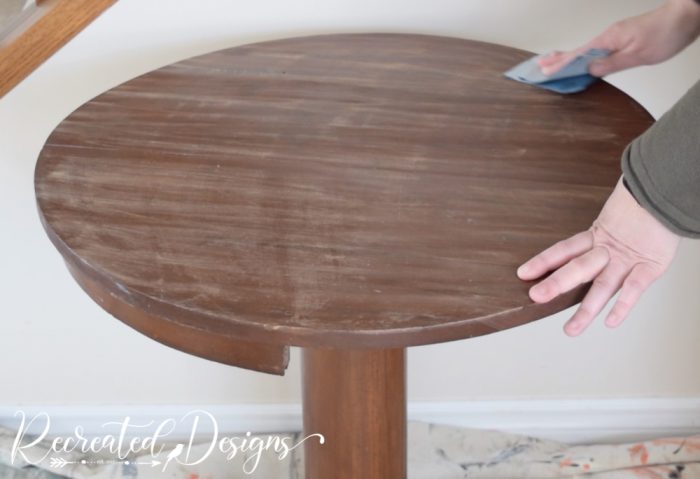
Step 2 – Scuff Sand
Next, you want to give your piece a little scuff sanding. Using fine or medium grit sandpaper stuff up the surfaces to be painted. It doesn’t have to be so hard that you work up a sweat, just a swift scuffing to scratch up the slick surface.
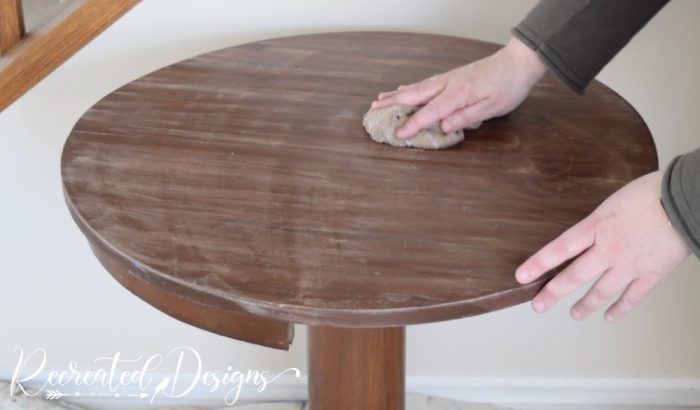
Step 3 – Wipe Clean
Once you are finished scuff sanding your piece, give it a quick wipe down with a damp cloth to remove any dust.
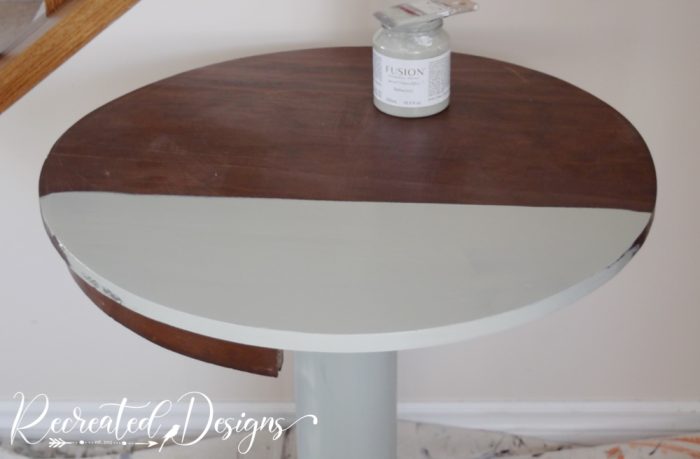
Step 4- Paint
Now it’s time to paint! If you are new to painting (or a seasoned pro) choosing a great quality paint like Annie Sloan Chalk paint or Fusion Mineral Paint goes a long way to a great finished piece. Fusion also has a topcoat built in so I love that I don’t need to do anything else after I am finished painting it.
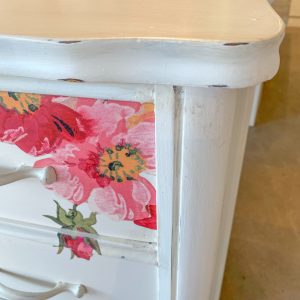
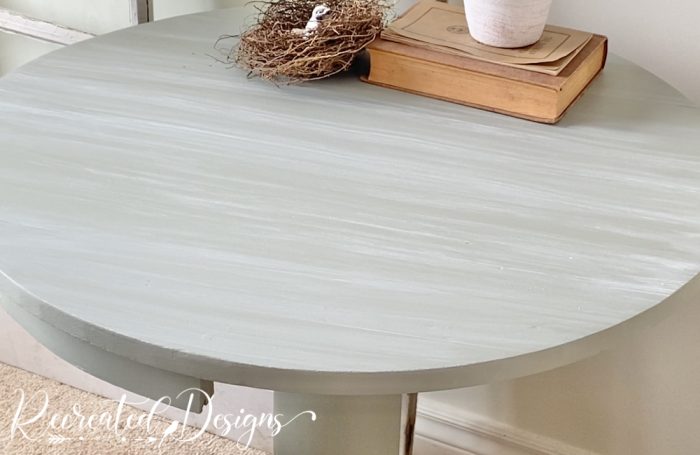
I painted this piece with Fusion Mineral Paint in Bellwood. Bellwood is the perfect soft sage colour for spring. It reminds me of new leaves and everything coming back to life outside.

I always start painting the underneath bits and then finish with the main focal point like the dresser or tabletop. This will keep the paint on that area nice and clean.
Tip – if you hate brush strokes, choosing a great brush helps. One of my favourite brushes is this one here… You can also give your piece a fine misting of water (while the paint is still wet) and then smooth out those brush strokes even further.

You will usually need a second coat of paint so once the first one is completely dry, go ahead and add a full second coat using the same brush.

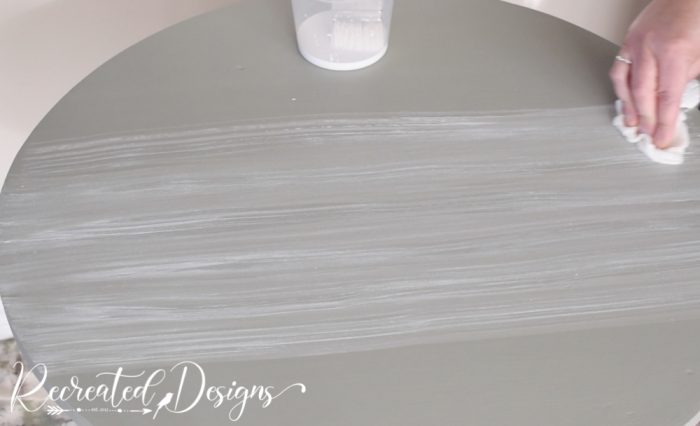
Step 5 – Whitewashing (Optional)
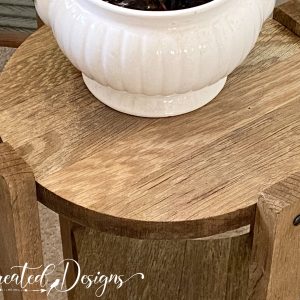
One of the tricks to take your piece up a notch is to add a whitewash after you have painted it. This will create faux texture and depth. You can do it in any colour that compliments your piece.
I used Fusion Casement on my table. It was mixed 50% paint to 50% water and then I dipped a chip brush into the paint and lightly dragged it across the tabletop. The uneven bristles of the chip brush make beautifully uneven lines that mimic wood grain.
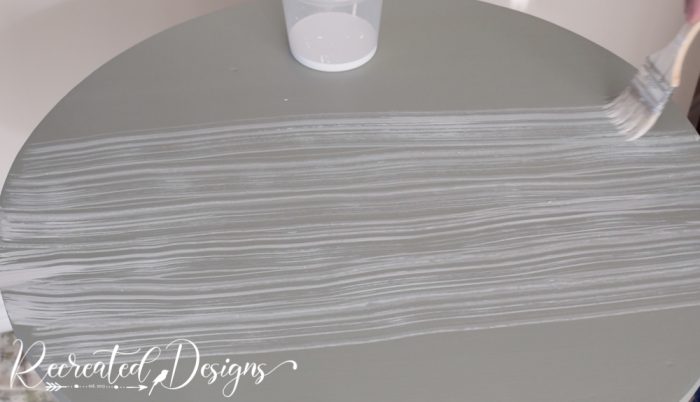
You can soften up the lines before they dry using a damp paper towel.
This old table that I picked up for $30, no longer looks dark and dreary. I love how pretty the lighter colours look and feel. It is definitely ready for Spring now!
If you have never painted a piece of furniture before and would like even more directions, tips, and tricks, join me for a virtual or in-person class. I’ll walk you through everything you need to get started from start to finish.
Find all classes, both in-person and virtual here…
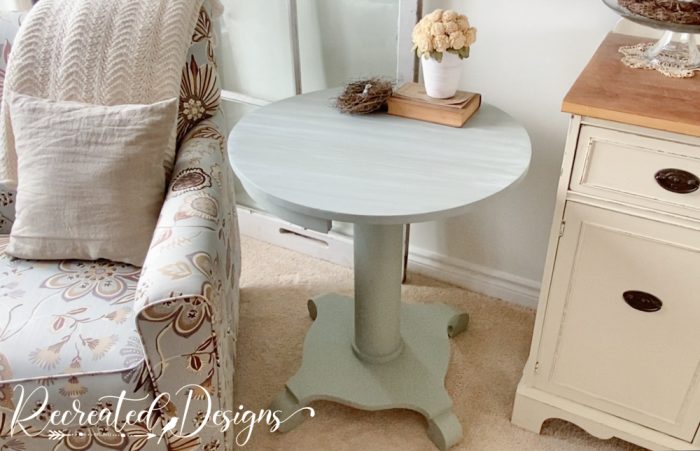
Don’t be afraid to paint that dark furniture. You will be utterly amazed at the transformative powers paint has!
Don’t forget to join me for more furniture makeovers, vintage finds, and upcycling projects here…
and check out the Recreated Designs shop here…
Pin for Later…