Are you the type who says “oh I’m not an artist!” or “I could never paint pictures!”? Just because you can’t paint pictures that belong in the Louvre doesn’t mean you can’t create art. We all have creativity in us we just have to figure out what we like to create.
I believe that everyone can paint just like I believe everyone can create something. Today I want to show you how easy it is to create some fun spring mini-art and this project truly can be done by anyone.
Getting Ready to Paint
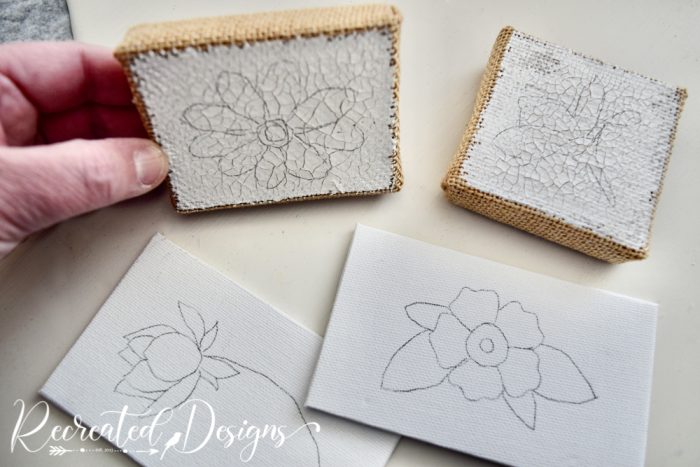
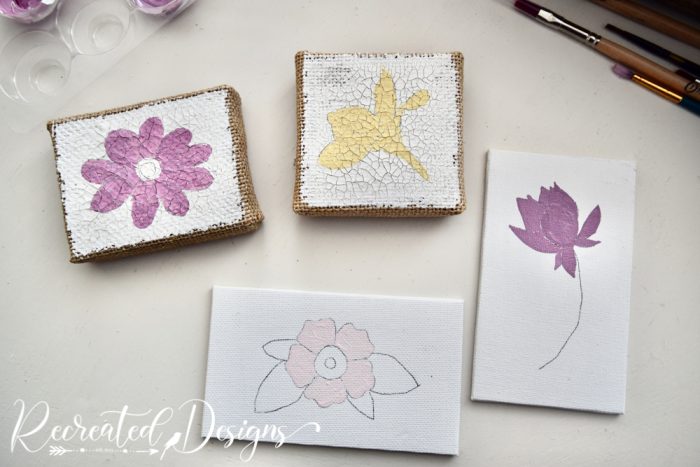
For my mini spring paintings, I chose two different types of canvases. I used two that were small, normal canvases and two that were burlap canvases with white paint on them. Unfortunately, I bought the little burlap ones several years ago and haven’t been able to find them again. If you wanted to create your own though, you could stretch a piece of burlap over a mini canvas and staple it in place.
I didn’t need to do anything to the canvases before I began.

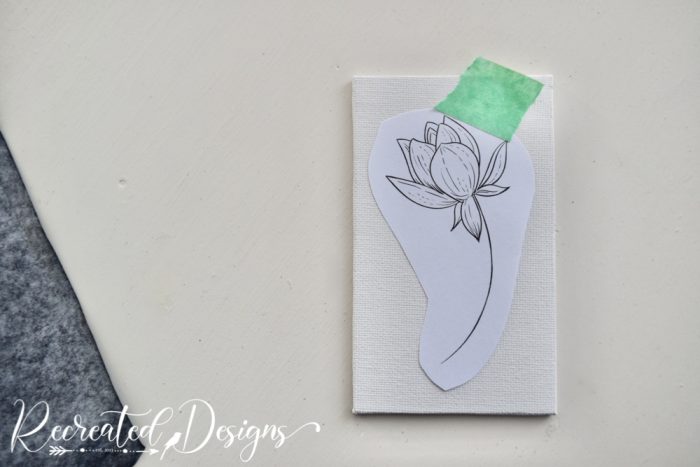
Now, this is the fun part… you can put anything on your canvases that you’d like! I chose some whimsical spring flowers and printed them out. You do not have to draw anything freehand. Make sure that the picture will fit on your canvas and that’s the only requirement.

Once I had the flowers printed and trimmed, I used a small piece of painter’s tape to hold each one in place on one of the canvases.
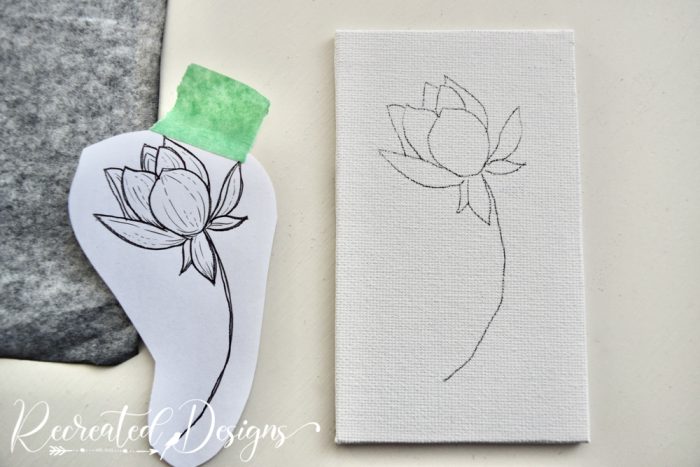
After securing the picture, I slipped a piece of graphite paper between the paper and the canvas and used a pen to trace the flower. Remember to put the black side against the canvas.
If you have seen my sign videos or posts before, this is how I always transfer script as well.

I chose to only trace the large, outer lines and not the details because they will be lost under the paint. This makes it easy and quick.
Painting the Canvases
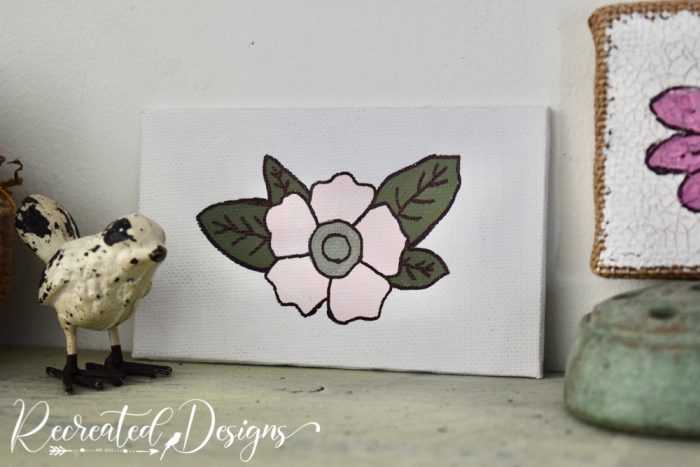
With the outlines on, I painted all of the flowers. Using small artists brushes helps with these little beauties.
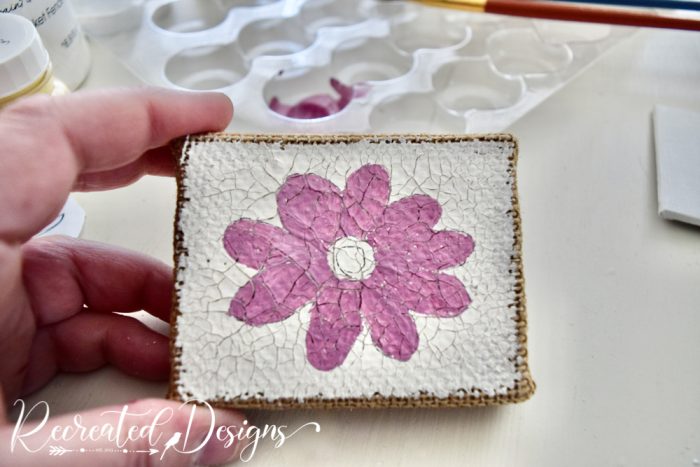
I used Fusion Mineral Paint for my little beauties but any acrylic paint will work. My pieces were done in Buttermilk Cream, Peony, a combination of Casement and Elderberry, and a combination of Casement and Winchester for the flowers, and Everett and Bellwood for the leaves and centres. The little sample pots are perfect for craft projects.
For the two pictures where I used two colours, I made sure to let one colour dry before adding the second.

To finish off the pieces and give them a little more definition, grab a fine-tipped Sharpie! I traced around each of the large petals and leaves and then added a few details to them right on top of the paint.

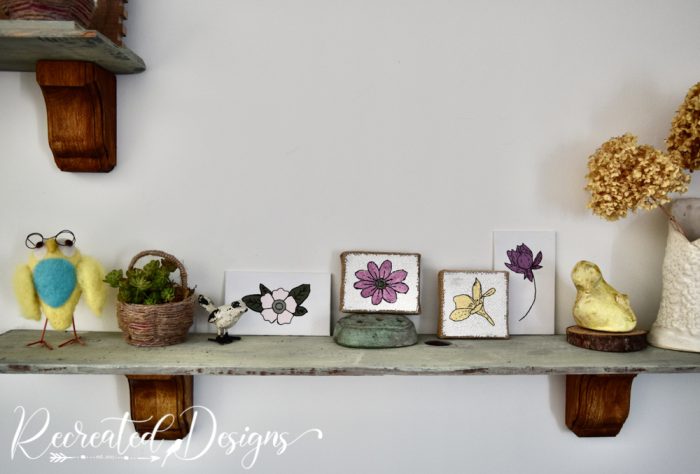
Mini Spring Paintings
These little mini pieces are so cute and they can be put anywhere.
They are also a great project if you want to create your own art but don’t feel confident doing it freehand.


I hope you’ll give it a whirl and see what you can create… even if you don’t think you can paint, these are the perfect place to start!
Have a wonderful week and be sure to join me on Facebook or Instagram this week to see all of the shop photos and updates once I take possession Monday morning!
If you would like to be kept up to date about the new Recreated Designs retail location, you can sign up for that here…
**Please note that this post includes affiliate links. By using the link, the cost does not increase and a small portion of the sale is given back to help fund this blog. For your convenience, you can also find all of my favourite DIY products here. Thank you and Happy Creating! **


Hi Lisa! Loved the little paint projects… the burlap canvas intrigues me. Do you remember where you originally purchased them?
Not sure how to recreate the thicker cracked surface… any ideas?
Thanks! Love your site!
Sue
Hi Sue, Unfortunately, the little store I purchased them at has gone out of business. I have tried to find similar ones but haven’t been able to yet. I will let you know if I see them though! For the paint, you can achieve the crackled look with high heat. If you put on a thick layer of milk paint or Annie Sloan Chalk Paint (I’m not sure if it will work with Acrylic) and then use a heat gun or a hair dryer on the highest setting to dry the paint quickly, it will crack like that. It is the high heat and quick drying that does it 🙂 Have fun!