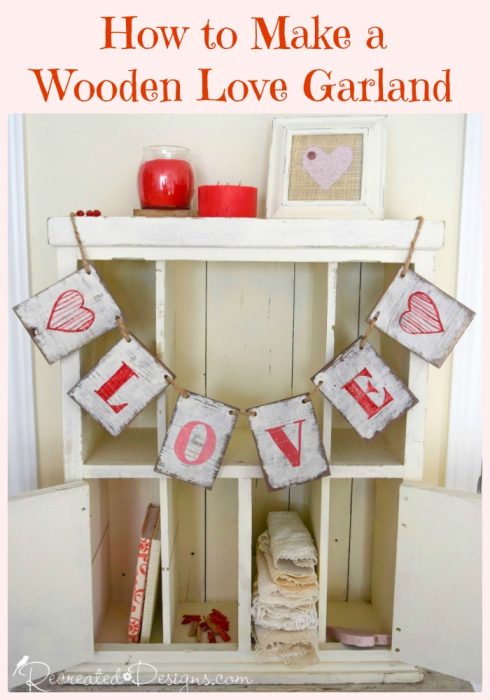
This time last year I taught a class on how to make a rustic, wooden LOVE garland. Unfortunately, I didn’t get a chance to share it with you at the time so I wanted to make sure you got it this year!
It is the perfect bunting to hang for Valentine’s Day, a wedding or even to leave up all year long. With its soft pinks and red, it adds a lovely bit of colour in time for the season of loooove. ❤️💗
Painting the Wood Pieces
To make the love garland, you will need 6 pieces of wood that are approximately 4″ wide by 5.5″ high. Alternatively, if you can’t get your hands on wood (or a saw to cut some wood), you can use thick card stock instead.
With each piece of wood, you will need to drill two holes in the top near each corner. It is easiest to do this step now before you paint so that you can stain the holes and they won’t be a different colour.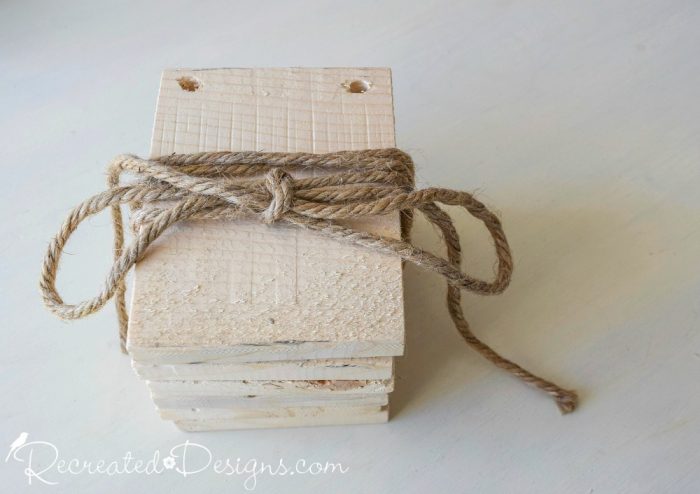 To make the wood look a little more rustic like barn wood, mix up some Milk Paint by Fusion in Almond Latte (or Silver Screen with some Little Black Dress added if you prefer a grey background) and stain each piece of wood. When mixing milk paint as a stain, add one part mix to 3 parts water. Be sure to stain all sides and the holes.
 Using Milk Paint by Fusion in Hotel Robe, gently paint one side of each wood piece. I like to leave the corners and edges free of the Ironstone (white) paint so that it looks like the paint has been there for years and has worn off.
If you add too much of the Hotel Robe and want to scale it back, use a sanding block to lightly sand some off.
Adding the Pattern
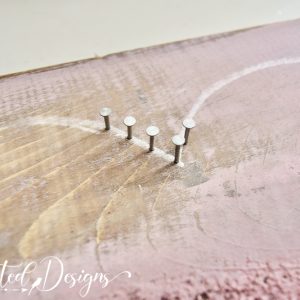
To create the hearts and LOVE, transfer one letter (or heart) from the LOVE pattern onto each block. You can find the free pattern here…
To transfer the patterns, tape the letter or heart you are working with in place and slip a piece of carbon paper under the pattern (black side down!). Use a pen or pencil to trace around the pattern. The carbon paper will transfer what you trace onto the wood and create a guide for you to paint.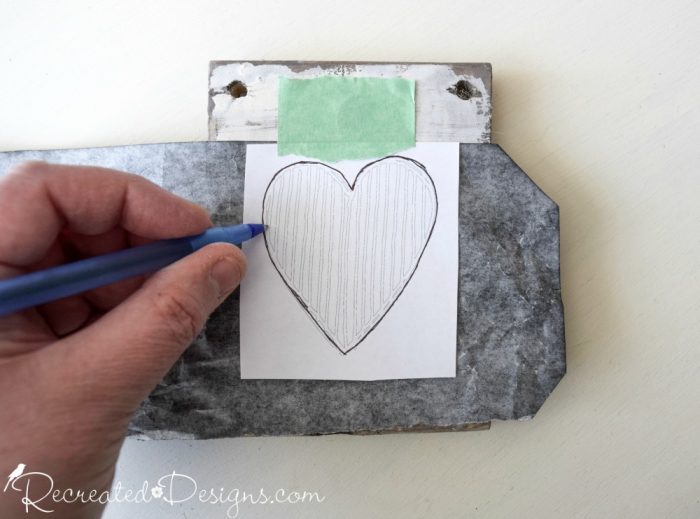 Paint each letter or heart using a mix of reds and pinks. You can use Casa Rosa (a beautiful coral), a Millenial Pink (a pretty soft pink), and Hawaiian Hibiscus (a gorgeous pinkish-red). You can mix and play with the reds and pinks any way you like to create colours that speak to you.
If you love the rustic look as much as I do, give your pieces a final sanding once the pinks and reds have dried. This will give them a nice worn look. 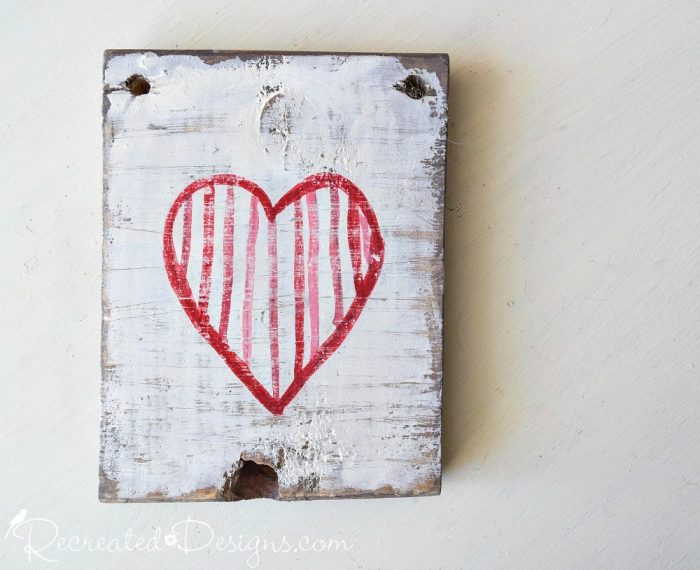
Stringing the Garland
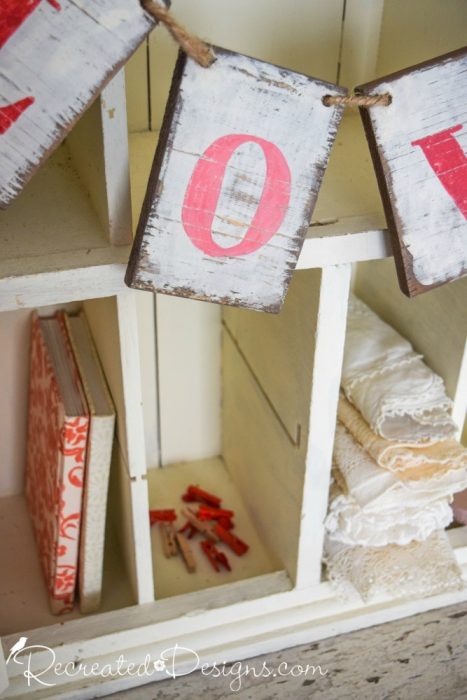
When our blocks are all dry, use a thick piece of Hemp Twine to string your blocks together. If you start the twine going from the front to the back (as I did) then the twine will only show between each block. Hanging the garland is easy. Leave a little extra Hemp Twine on each end, fold it over and tie it into a looped knot. You can then use the loops to hang the garland from the corners of something or little nails.
I’m so glad I finally got to share the garland with you and hope that you enjoy it as much as I have! 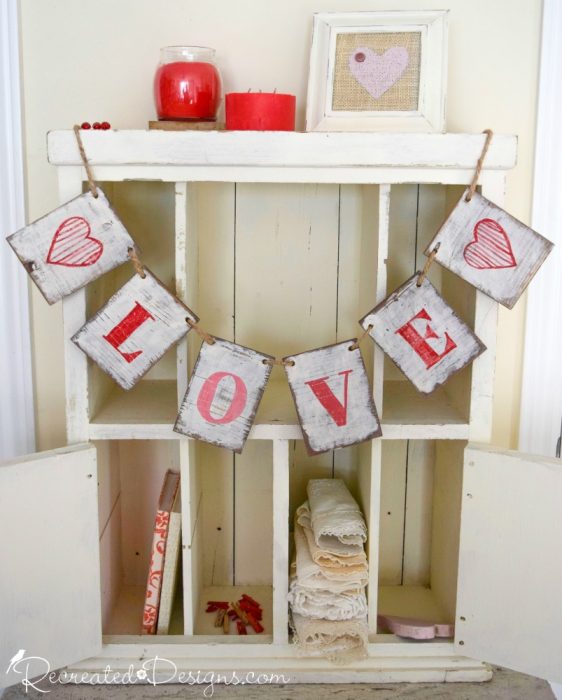

❤️❤️❤️
If you loved this garland, be sure to check out the other rustic projects in my new book Recreated Designs – Cottage Projects With a Vintage Flair. ❤️
❤️❤️❤️
**Please note that this post includes affiliate links for your convenience. All links are for products that I have tried and use regularly. By using the link, it in no way increases the cost of the item to you should you choose to purchase. However, by using the link, a small portion of the sale is given back to help fund this blog. Thank you and Happy Creating! **
Pin for later…
If you would like to receive more DIY projects, rustic signs, and vintage finds right to your inbox, you can sign up for the
Recreated Designs blog posts here…


This is so cute! Great way to use scrap wood!
🙂 Thanks! It was a fun project for sure and I love anything made out of wood.