It’s hard to believe that we are already almost through January and that Valentine’s Day is just around the corner. To be honest, I haven’t even taken down my Christmas tree yet! There is nothing especially Christmasy about it so I haven’t felt the need to and I enjoy the beautifully soft twinkling lights on those cold Canadian winter nights.
Is Christmas long gone in your house or are you still hanging on to remnants?
Whether the Christmas decor is gone yet or not, I do love adding a little pop of pink this time of year in celebration of love.
Valentine’s Day Decor
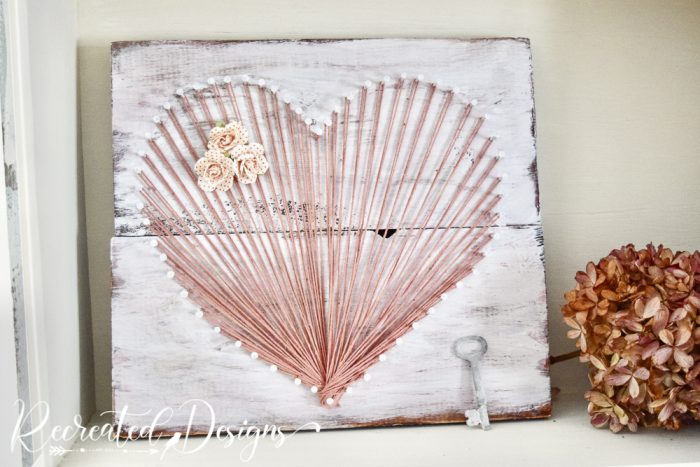
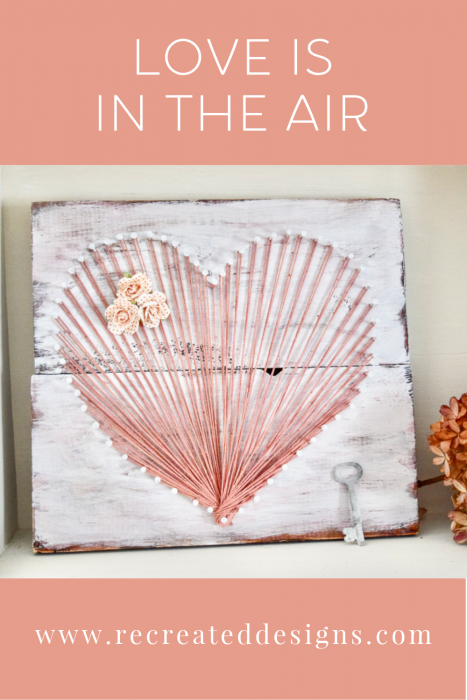
This year I grabbed this piece of scrap wood and some vintage string and turned it into some vintage-inspired holiday art. I always loved the look of string art and thought it would be fun to do a simple heart.
I started this piece of art by drawing a heart on my board with chalk. The best part about using chalk is that you can keep redrawing until you get it just how you like it.
Adding the Nails
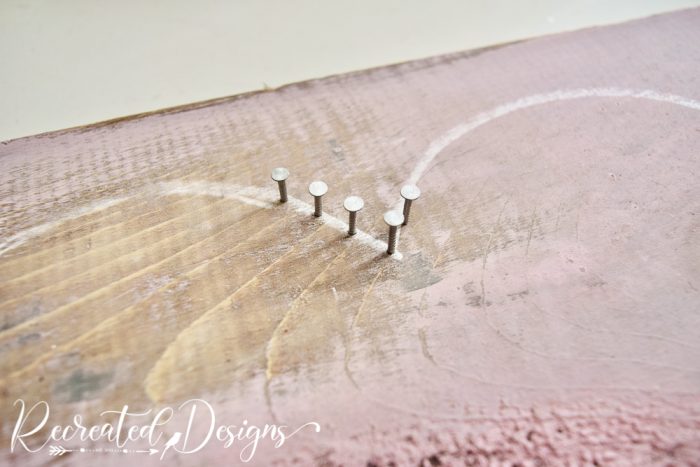
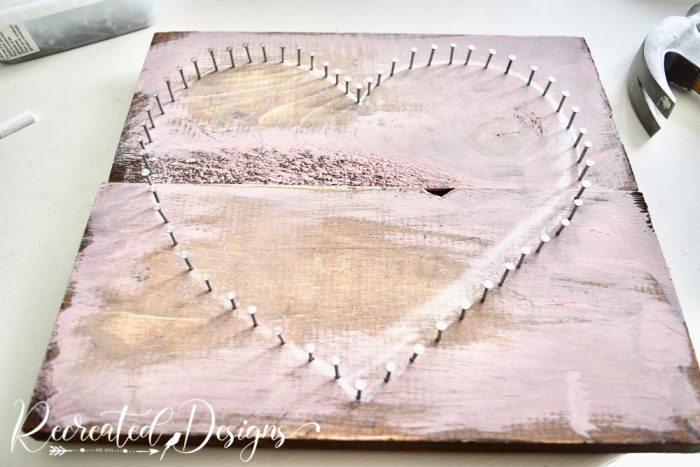
Once I had a heart shape that worked, I began banging in nails about half an inch apart around the outline.
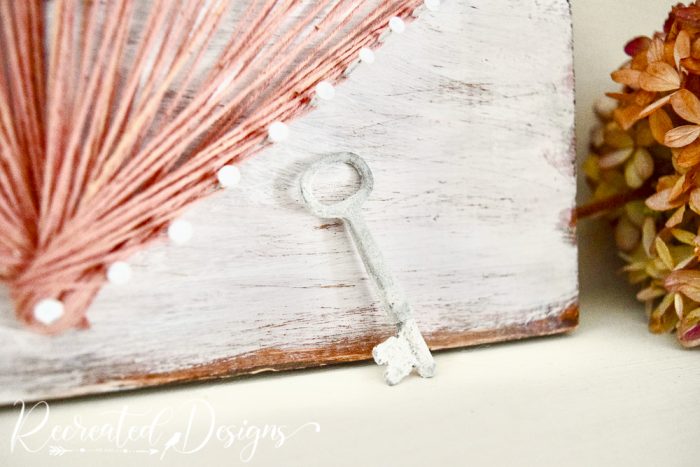
I kept going until the entire heart was covered in nails. The only ones I strategically placed were the two at the points; one at the top and one at the bottom.
Painting the Nails
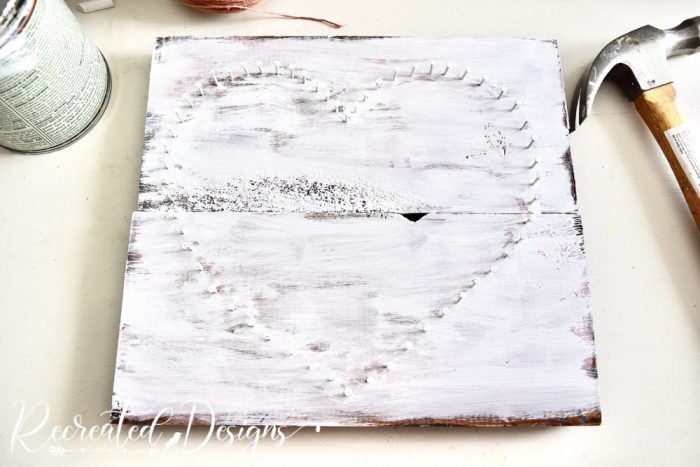
With all of the nails in place, I gave the entire board, nails and all, a coat of white paint. I purposefully put the nails in first so that I could paint them white and have them blend into the board.
Adding the String
There were several different ways I could have added the string to the heart. I could have gone around the outside weaving it around the nails but I wanted to fill the heart in so went from top to bottom.
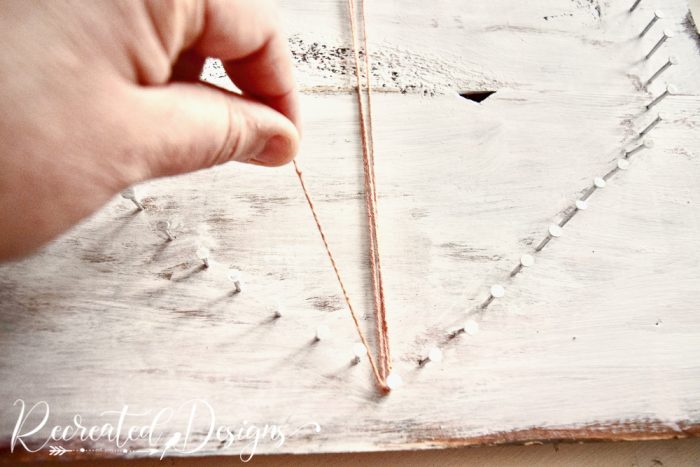
I started my pattern by tying the end of the vintage pink sting to the nail at the top point.
Next, I looped it around the bottom point making sure to push the string down so that it was close to the wood.
After looping it around the bottom nail, I went to the next nail at the top working to the left first.
Each time I went back to the bottom, I always looped it around the same middle point nail. This created the fan pattern I was looking for on each side of the heart.
After finishing the left, I used the same piece of string and started working my way to the right in the same way.
When I had completed the entire heart, I tied a knot at the bottom point and tucked the end under the strings.
A few little paper flowers finished off the heart string art craft.
This little Valentine’s Day project was quick, easy, and didn’t cost me a thing… win 💗 win 💗!
If you have some scrap wood laying around and a pile of nails, give it a whirl. Another pretty variation would be to paint the board pink or red and use white string to create your heart.
Have fun!
Pin for Later







Thank you Lisa. I love it. P.S.: I’ll make one and send you a photo. Have a great day.
I’m so glad you like it Sergine! Have fun and I can’t wait to see how it turns out <3
So cute!! I am going to give this a whirl! Thanks once again for the inspiration!!
Thanks Bev! Have fun!!
How lovely, thanks for sharing
Thanks so much Louise. So glad you like it 😉
Hi, I'm Lisa!
Welcome to Recreated Designs... A place for you to find endless upcycling ideas, unique ways to use vintage finds and oodles of helpful tips and tricks for painting, crafting and recreating. I am so happy you are here and can’t wait to see what you create!
Continue reading about me here!