Thanksgiving is this weekend, meaning Halloween will be here before we know it. While I don’t do a ton of Halloween decorating, I love adding a few pieces here and there, and when I can mix in vintage finds, it’s just a win-win.
We recently started carrying Roycycled papers at the shop and I have been having so much fun playing with them! I grabbed a Halloween one this week and thought decoupaging a vintage tin would be so cool.
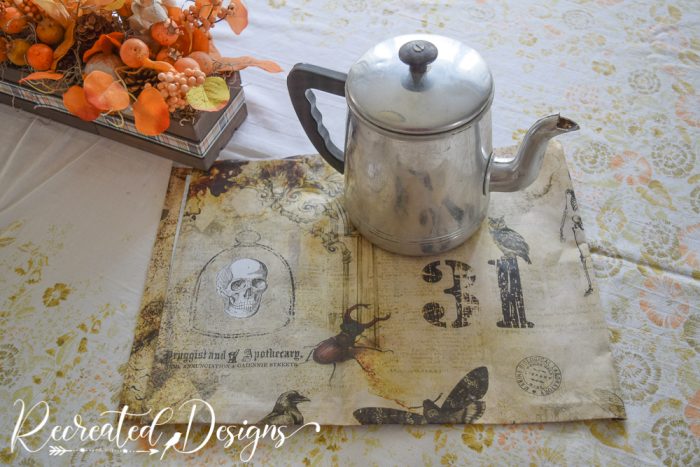
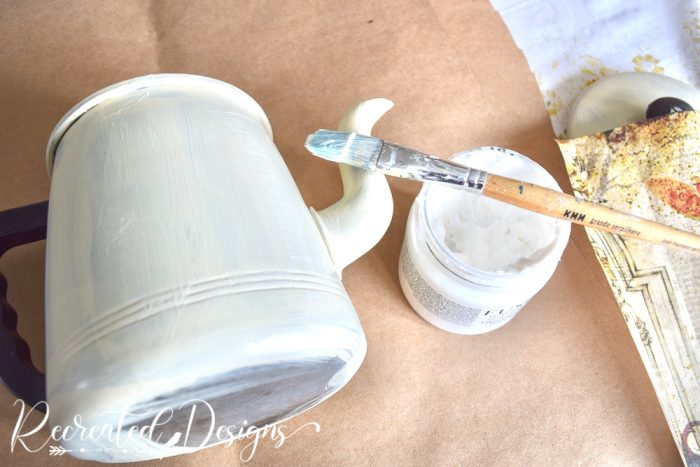
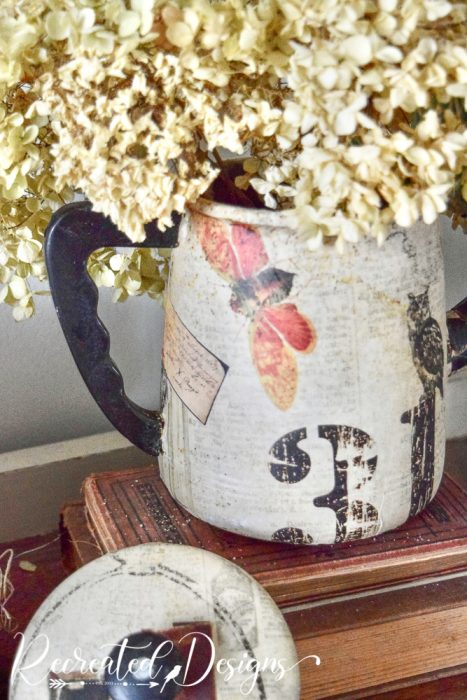
This tin coffee pot that I found at the dump reuse centre turned out to be the perfect piece.
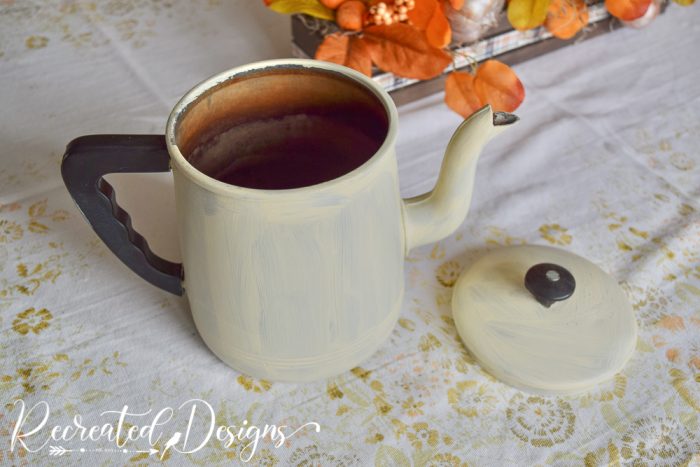
Before decoupaging the paper onto it though, I gave it a coat of paint so that the silver didn’t show through the paper. I used Fusion Mineral Paint in Plaster.
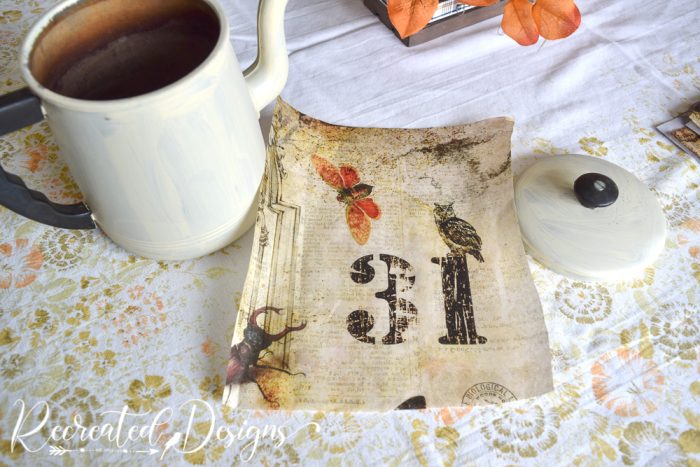
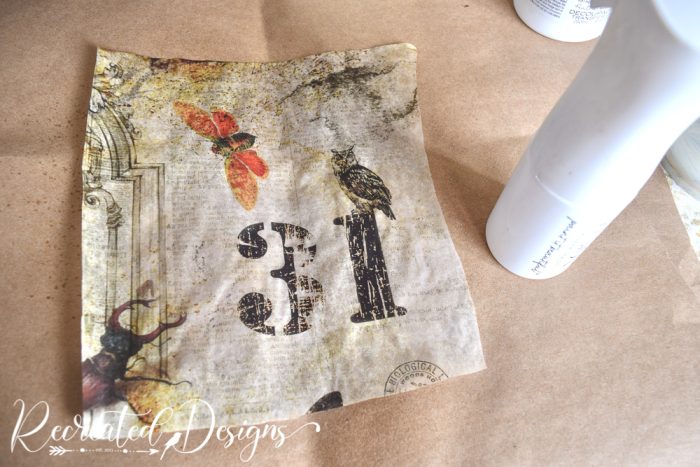
Then chose the parts of the Roycycled Halloween paper I wanted to use. I love the little owl sitting on the 31 so I wanted this piece to be the focal point of one side of the tin coffee pot.
To adhere the paper onto the piece, I brushed on a thin layer of Fusion Transfer Gel. One of the tricks to getting fewer wrinkles in your paper is to make sure there isn’t too much decoupage medium. The more there is, the more it will buckle the paper.
The other trick is to lightly mist your paper. This allows the paper to expand and be more pliable which keeps it from wrinkling when it dries. Just make sure not to get it too wet or it will rip.
Once the paper was misted, it was easy to lay down into the transfer gel.
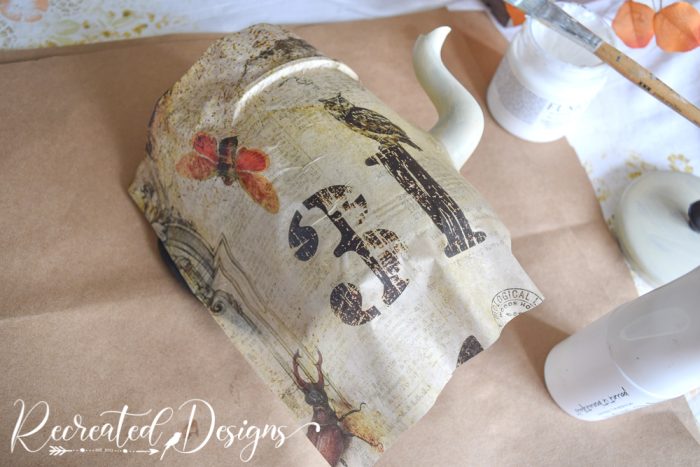
After getting it in place, I brushed on another layer of the transfer gel to seal it.

I like to take the paper right over the rim or edge of whatever I am working on. This gives it a finished look and feel and doesn’t take long at all.

For the lid of the coffee pot, I found a piece I wanted to use and then cut a slit down the centre. This allowed me to slip the paper around the knob (which wasn’t removable). Then I followed the same process with the transfer gel as the coffee pot.

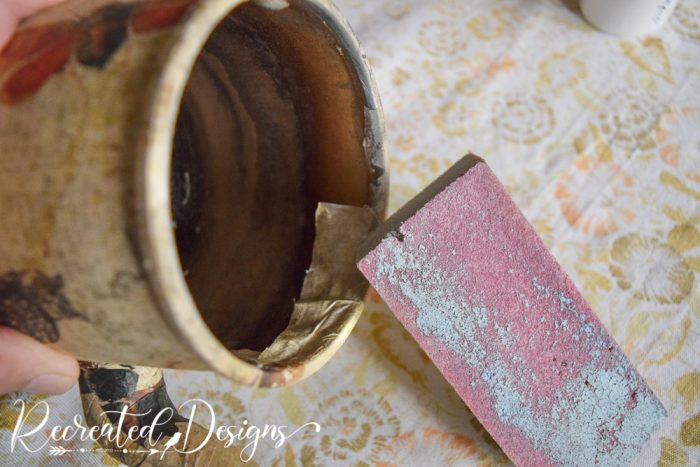
Finally, once the paper and gel were completely dry, I used a sanding sponge to trim off the edges. The sanding sponge tears the paper at the edge when you gently rub it over where the transfer gel stops.
With the handle and knob both being black, I left them just as they were. The black went perfectly with the Halloween paper and added to the old feel of the piece.
For the spout of the coffee pot, I used smaller pieces and went right around it until it was all covered. This is where misting the paper really helps because you can wrap the paper around the curves without it ripping.

I truly can’t believe this is the same vintage pot. It is so cute now and I love how fun it looks sitting on some old books.

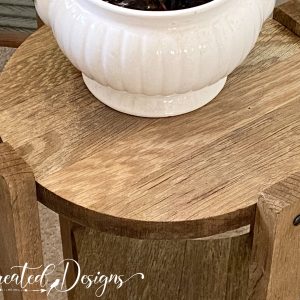
My original intention was to fill it with live flowers since I can fill the pot with water. Once I finished, however, it only seemed fitting to fill it with dried ones. They look perfectly at home in my new Halloween coffee pot with that cutie pie owl on the side. This is totally my kind of Halloween decor.

If you want to learn more about decoupage (and live in the Ottawa area), join me for a decoupage class and learn all the ins and outs of making your own beautiful pieces.
Wishing all of my fellow Canadians a very happy Thanksgiving 🍂