I always feel like the new year brings new energy, and for me, that translates into creativity. It’s the perfect time to start new projects, change up your decor, and learn something new.
What better way to do all of that and kick off the new year than with a fun DIY vintage-inspired project?
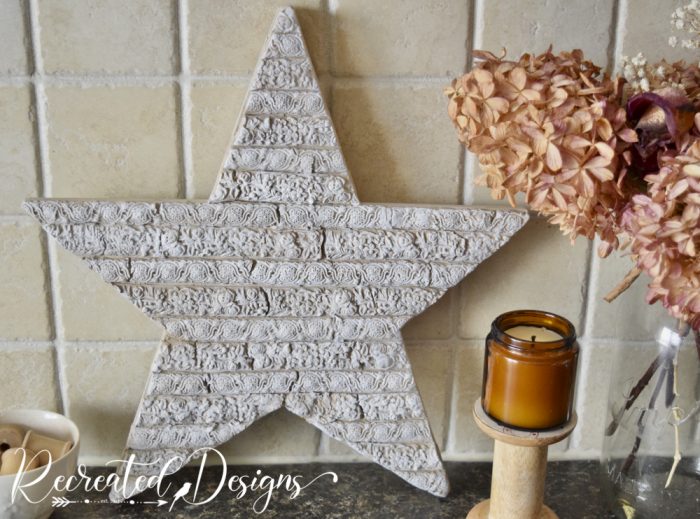
Giving an old wood star a new life was so easy with air-dry clay and milk paint. You could do this same process on any wood cutout in any shape. Think trees, hearts, snowflakes… oooh the possibilities are endless.
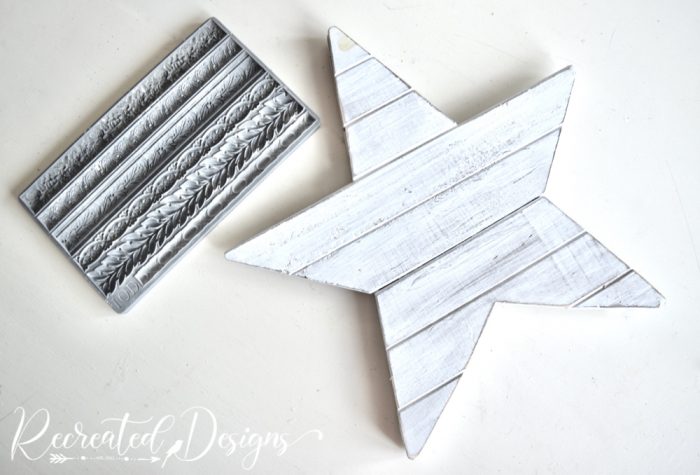
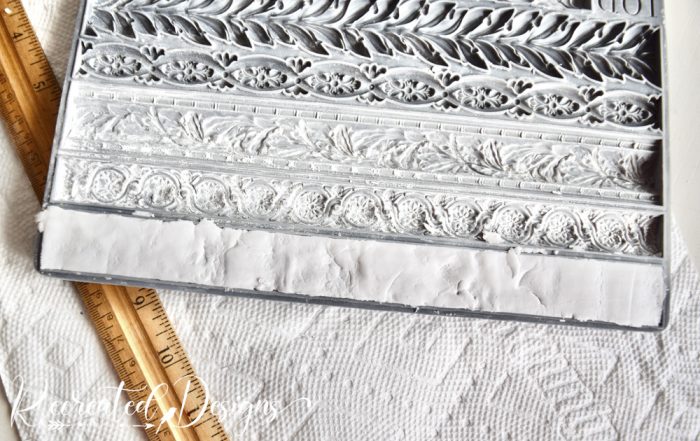
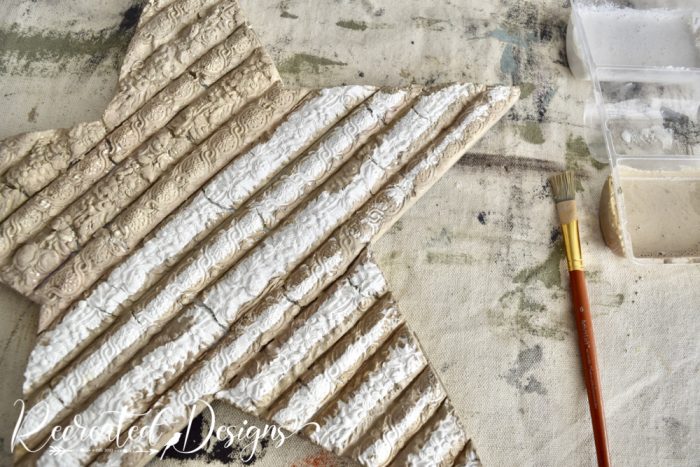
I have had this wood star in my kitchen for quite a while and I decided last week it was time it got a little makeover. This IOD mould (Trimmings 1) and some air-dry clay were all I needed to get started.
To attach air-dry clay to wood, I always use wood glue and adhere it when the clay is still wet.
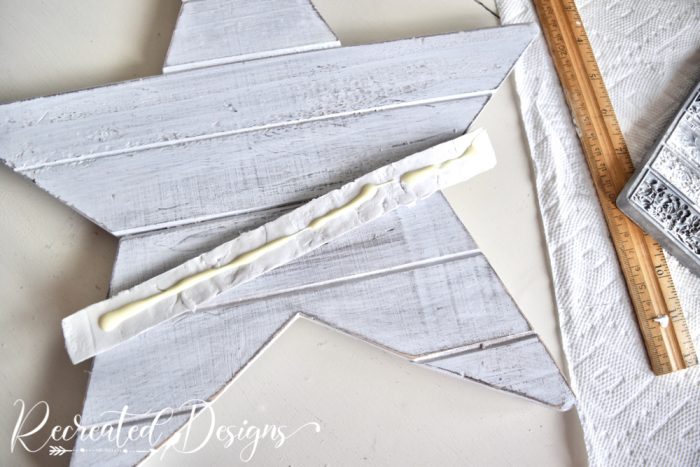
The clay is easily trimmed with a sharp knife.

To make the star a little more interesting, I alternated between two of the mould patterns; one thin and one thick.
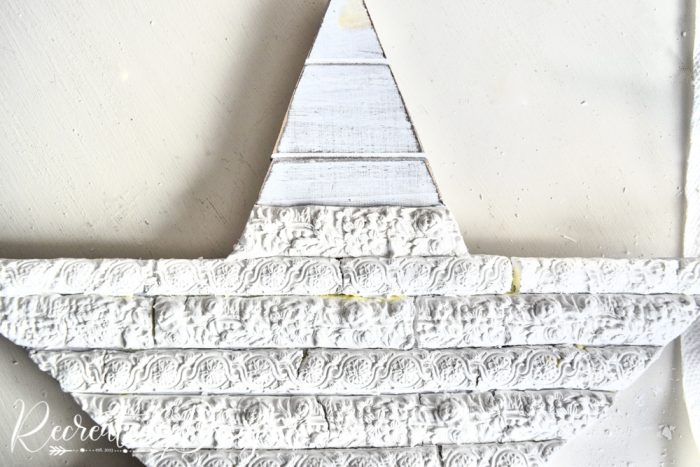

Once the entire star was covered, I left it overnight to dry. As the clay dried out, the magic happened and some cracks appeared. I love those cracks. They add such a pretty vintage feel.

To make all of the incredible details of the mouldings show up, I used a darker colour to paint the clay first. I started with Almond Latte and made sure to push it in between each row and into all of the little nooks and crannies.
The Almond Latte colour is what gives the piece a vintage look as it gives the feeling of age and discolouration that would have happened over time. It also happens to be the colour I used on my counter for the bathroom makeover here...

With the darker colour dry, I finished it by brushing some Hotel Robe over top to highlight the amazing details. You want the white to only touch the tops of the details to give the effect of light bouncing off.
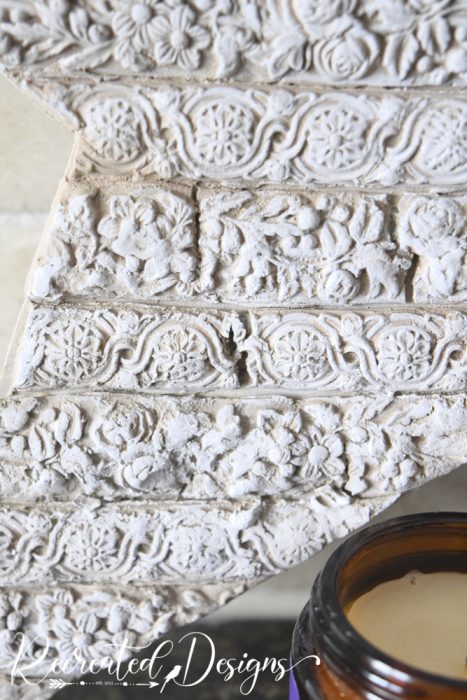
How gorgeous are the mould details? I am always amazed at how beautiful they are every time I used a mould.

Even though I loved my little star before, it has such a wonderful feel to it now. The air-dry clay and milk paint just did wonders to make it a bright spot in my kitchen and add a vintage feel.
If you want to learn how to use moulds for decor and furniture projects, check out my Decoratie Moulds 101 virtual class here. Over the course of 5 videos I will teach you everything you need to know to use these incredible moulds.
**Please note that this post includes affiliate links. By using the link, the cost does not increase and a small portion of the sale is given back to help fund this blog. For your convenience, you can also find all of my favourite DIY products here. Thank you and Happy Creating! **


This is stunning, thanks for sharing
Thanks so much Louise! The moulds are so easy to use and their details are incredible <3