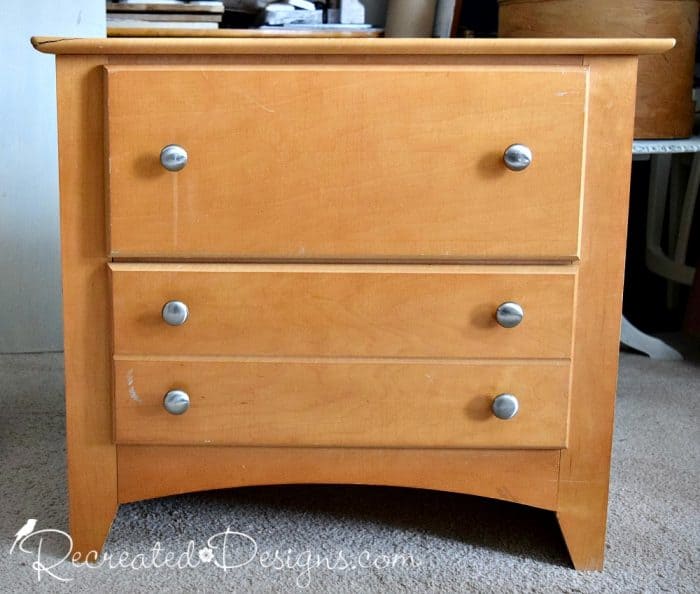
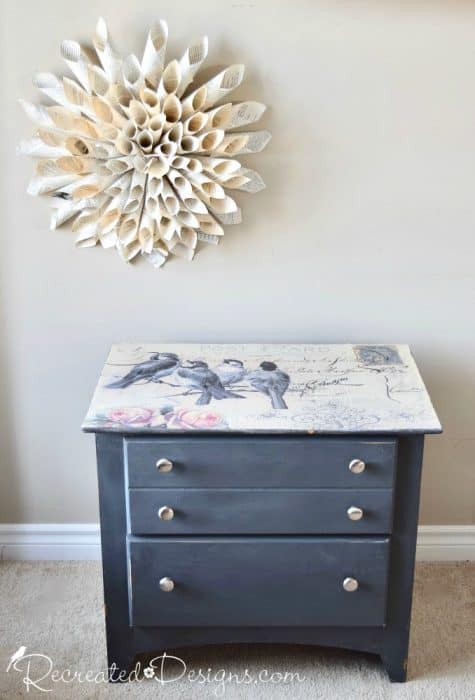
My sister showed up around Christmas with this set of drawers and man is it heavy. It is not old and the top was completely damaged but she figured I could do something with it.
I forgot to take a picture of the top, so she will just have to vouch for me on that one, but it was bad! I tried to sand it but there was just too much damage to get it to the point that it would have looked good.
How to fix it…
My solution? Grab some matte Mod Podge! I don’t use Mod Podge very often. I actually find it a bit hard to work with. For this project though, I thought it might just be the thing I needed.
The paper
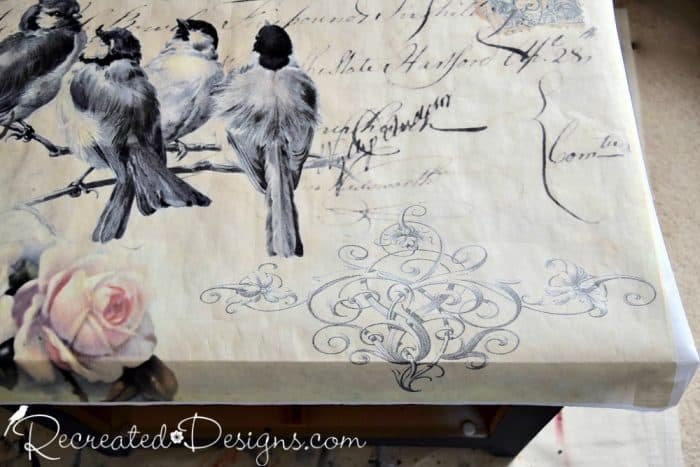
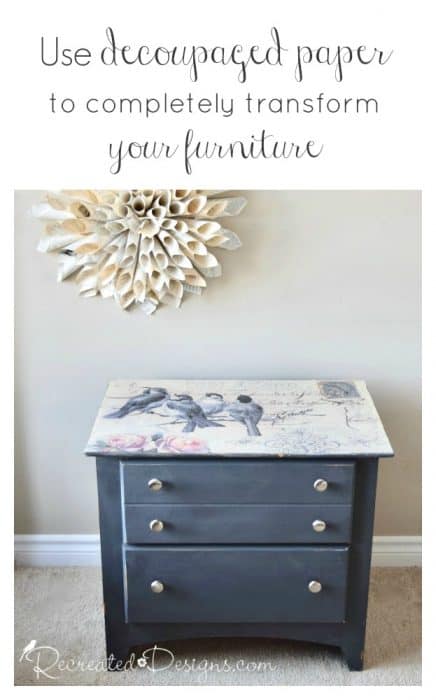
I had picked up this vintage-inspired paper a couple of years ago when I was in Pennsylvania to take a class with Marion Parsons (AKA Miss Mustard Seed! eeek!) and had such big plans for it but just never got to it. And guess what… turns out that was a good thing because it was the perfect size for the set of drawers.
Before applying any Mod Podge, I made sure the paper fit the way I would like it in order to frame the picture on the top. I creased the edges once I had it in place to make putting it on later easier.
The Mod Podge
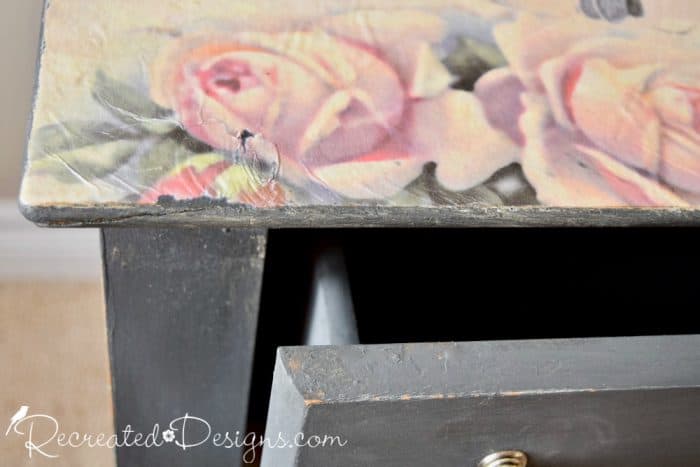
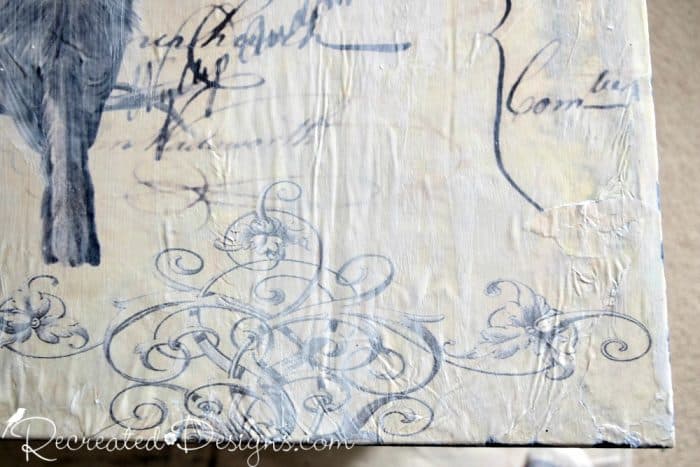
A thin layer of Mod Podge was applied with a wide foam brush. With the piece not being overly big, I decided to apply it on the entire top and work with the paper all at once. I wanted the paper to have a really aged look so I wasn’t concerned about crinkles and tears.

I applied a layer under and over the paper at the same time though. By doing it this way, the paper gets quite wet and crinkles and tears more easily. It just gives it a much older look.
Finishing it off…
To finish off the edges, I ran a straight blade along the edge and sliced off the excess paper. Since I wasn’t worried about the paper looking worn, I wasn’t very careful and let the paper rip at will 😉

Have you found any unique ways to cover up furniture damage?

If you loved this project, sign up here to see all of my Dump finds,
Flea market visits, and upcycling projects.
You also don’t want to miss the release of my new book out shortly:
Cottage Projects With a Vintage Flair!
Pin for later…
**Please note that this post includes affiliate links for your convenience. All links are for products that I have tried and use regularly. By using the link, it in no way increases the cost of the item to you should you choose to purchase. However, by using the link, a small portion of the sale is given back to help fund this blog. Thank you and Happy Painting! **





Very pretty. I did this with fabric on my night tables. I used a solution of half water, half white glue. The material came out scratchy, but that’s not a problem. I use coasters. The only caveat is that when it starts to dry, you have to go back every 15 minutes to smooth out air bubbles. It’s been months and it is holding up perfectly. I will now do something with paper.
That sounds cool Johanne! I have used fabric before but with resin to make coasters. I have not tried it on a tabletop/dresser top yet… I might just have to try that 🙂
Thanks for your help. I will try and find the things I need before starting this project.
Have fun and any time 🙂 Always happy to help!
So pretty! I just covered my old and ugly kitchen cabinets by decoupaging them. Bye bye boring kitchen—-hello beautiful! The entire redo with paper and mod lodge cost me about $40 US dollars. Beats the $40,000 quote for all new cabinets and it only took 2 days not two months. I wish I knew how to add pics to this post.
Oh wow, what a great idea! I would have never thought of recovering kitchen cabinets! What a great way to save money and make your kitchen look fresh and unique! I would love to see a picture. You can send one over Facebook messenger if you were not able to upload one to your answer… https://www.facebook.com/recreateddesigns
OH MY GOODNESS…ABSOLUTELY STUNNING! Great color to compliment the paper.
Thank you so much Melissa! I am pretty fond of that paper myself 🙂 (I’m a sucker for anything with a bird!)
Just gorgeous!
Thanks so much Kate!!
I love that! thanks
Thanks so much Mary!
Beautiful job!
Thanks Ruth! I am completely in love with those cute little birds 😉
Where did you get that paper?? I’ve been looking for it to do one like this 😑
Hi Kristin, I purchased the paper several years ago in Pennsylvania when I was there on a trip from a little store. I am not sure of the brand or where to get the exact paper any more. I have tried to find it again but have been unsuccessful.
Beautiful transformation!
Thanks so much Louise!!
Hi, I'm Lisa!
Welcome to Recreated Designs... A place for you to find endless upcycling ideas, unique ways to use vintage finds and oodles of helpful tips and tricks for painting, crafting and recreating. I am so happy you are here and can’t wait to see what you create!
Continue reading about me here!