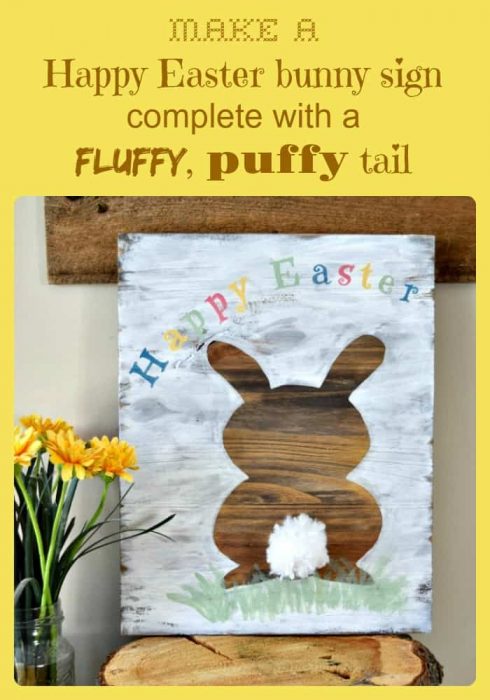
I have an adorable Happy Easter sign today for you that is the perfect choice for Spring and is easy to make while adding a touch of colour to your space.
Making the bunny…
Start with a piece of pine (or any wood for that matter) that is approximately 12″ wide by 15″ tall.
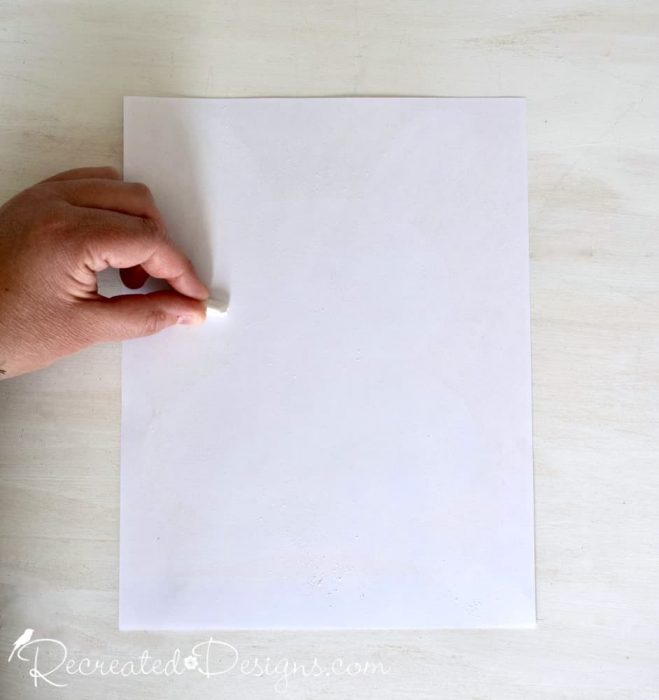
I started with a piece of pine that was the perfect size but it wasn’t the right colour for this project. Dying it a nice rich brown using Miss Mustard Seed’s Milk Paint in Curio gave me the colour I was hoping for. I love the dark brown so much more and find it now looks like old barn wood.  To have a nice outline to use for painting, I chalked up the back of my pattern. You can do this by rubbing the side of a piece of chalk all over the back of your pattern.
The pattern to make this sign can be found here…
 With the back of your pattern chalked up, turn it over and position it on the wood where you would like it. Then, using a pencil, outline the pattern (in this case, the bunny).
 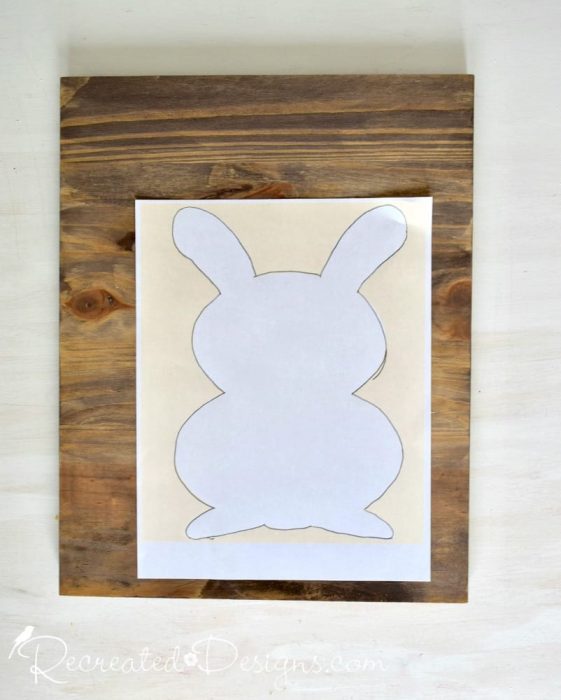 When you have finished tracing your pattern and have lifted it off, you will have the pattern transferred to the wood. Isn’t that easy?!
 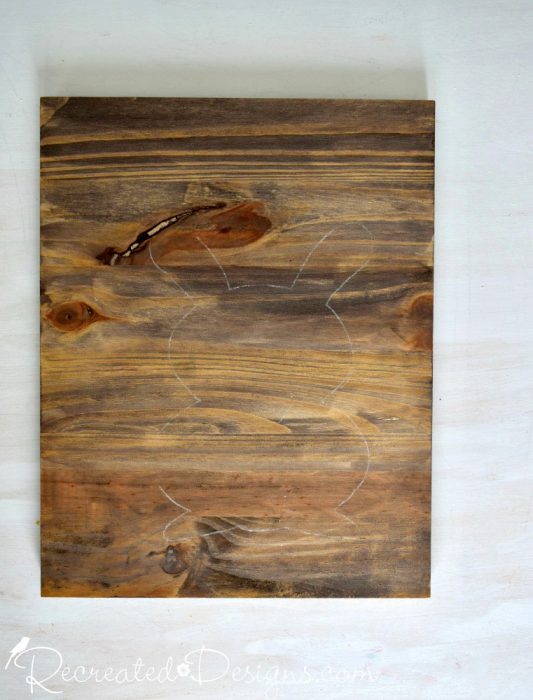 We want the bunny to be the colour of the wood and not painted, so you will paint all around him but not inside.
Use a white paint for area around the cute little guy. I like Milk Paint by Fusion in Hotel Robe. 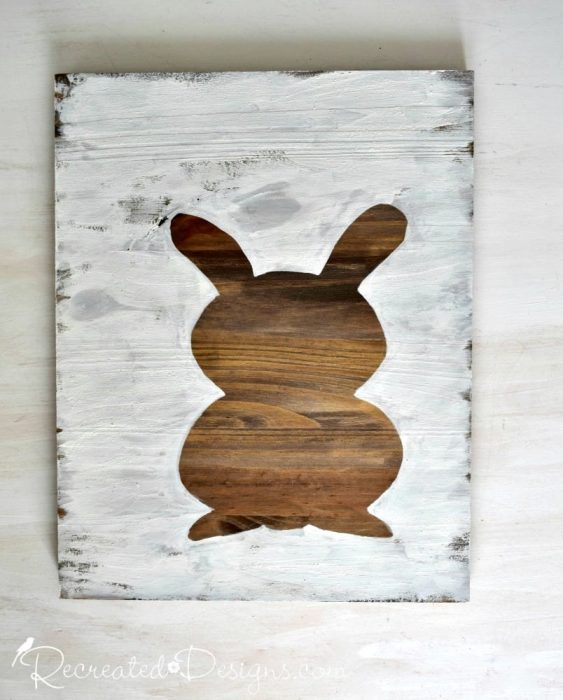
Adding the script…
To add the Happy Easter script, tape your pattern in place, slip a piece of carbon or graphite paper under it (remember, dark side down!) and then trace over the letters with a pencil.  The carbon paper will leave a nice outline that you can paint over. This is a super-easy way to transfer any kind of script so that when you are done, you will have a nice hand-painted look.
  Next, paint your Happy Easter letters nice, bright colours for Spring.
I like Milk Paint by Fusion in Velvet Palm, Poolside, Mod Mustard, and Hawaiian Hibiscus.  Before finishing with the beautiful colours, I also added a little touch of grass under the bunny with some of the green – just so that he had a nice place to sit 🙂
Finishing him off…
To finish off your new sign, and the bunny himself, glue on a nice puffy, fluffy tail That’s it. You’re done!  I don’t know about you, but every time I see this little guy sitting in his patch of grass he makes me smile! Now, let’s just hope Spring gets here soon!!
You can find the pattern for this sign project (including the bunny and the Happy Easter script) here…
If you loved this project and would like more, be sure to check out my new book –
Cottage Projects With a Vintage Flair here…
Grab my handy downloadable list “10 Things to NEVER Pass Up at the Thrift Store” here…
**Please note that this post includes affiliate links for your convenience. All links are for products that I have tried and use regularly. By using the link, it in no way increases the cost of the item to you should you choose to purchase. However, by using the link, a small portion of the sale is given back to help fund this blog. Thank you! **
Pin for later…