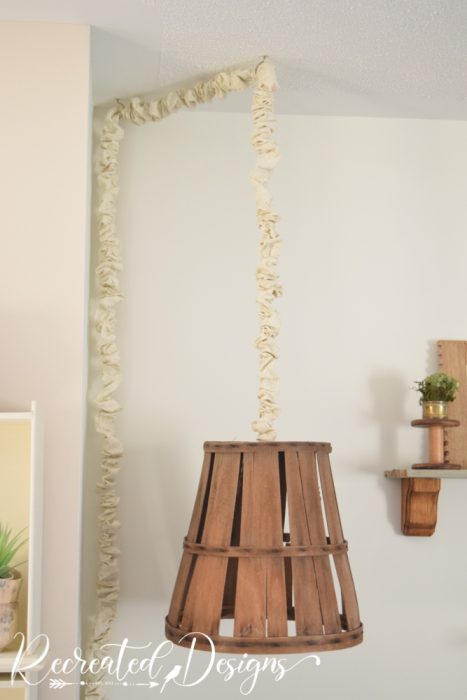
Ever since I made this lamp (see the project here) I have disliked the fact that the cord was black. It sticks out like crazy and frankly has always bothered me. With the white wall in the background, it never looked right.
Do you have lights with cords or other cords that drive you as crazy as this one does to me?
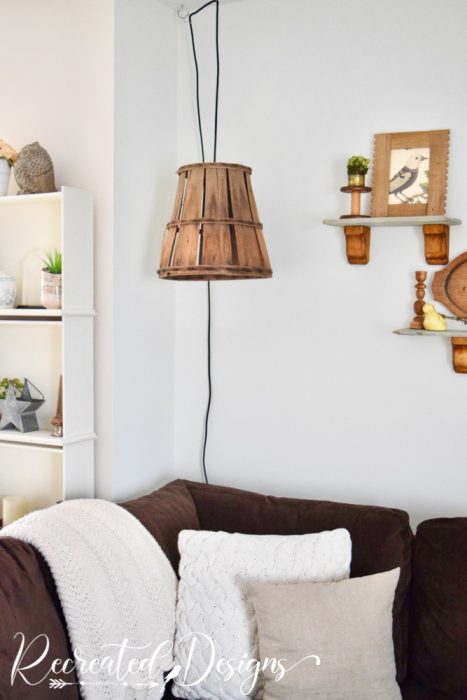
On top of the cord being so harsh, I recently moved it back to where it was originally hanging. Of course, I misplaced the clips that hang it and can’t find them anywhere. With the cord being thin, it wouldn’t stay on the hooks without the clips so I had to improvise with the clips below which made the light look even worse.

I had enough of its ugliness this week so I finally did something about it (isn’t that how all great projects come about?!) I decided to make a cover for the cord. Basically a giant scrunchy.
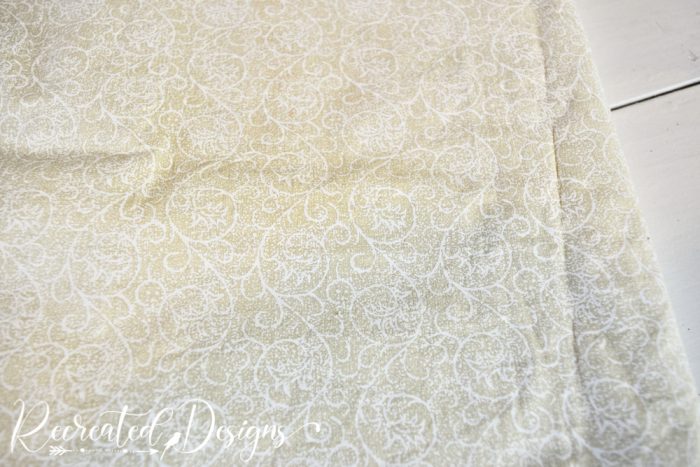
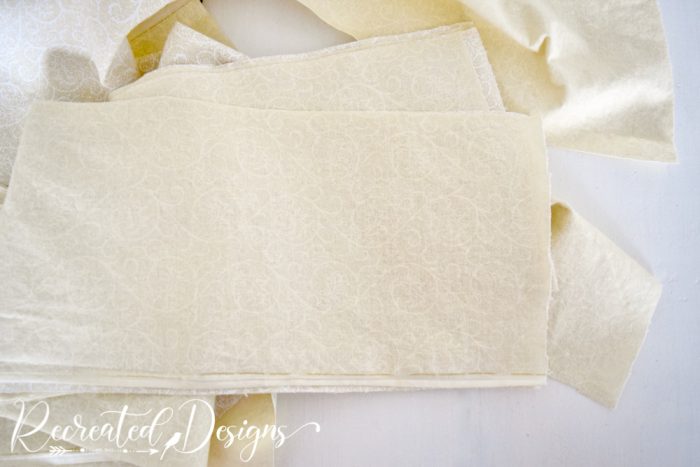
It wouldn’t take much to cover the cord, even though it was quite long, so I headed to my fabric scraps.

I found one I liked and had just enough to make the lamp cord cover.
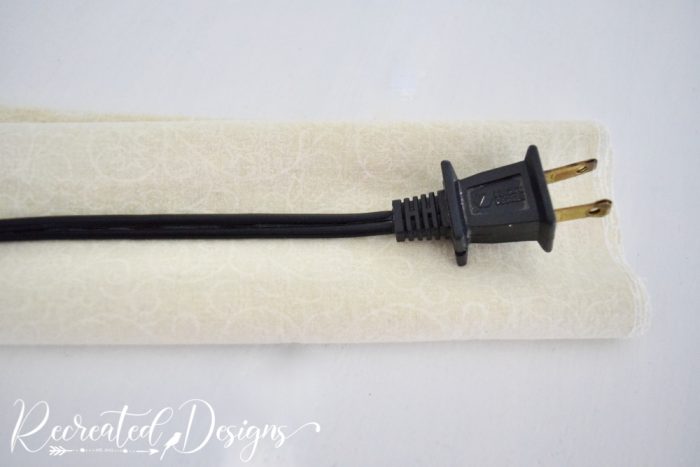
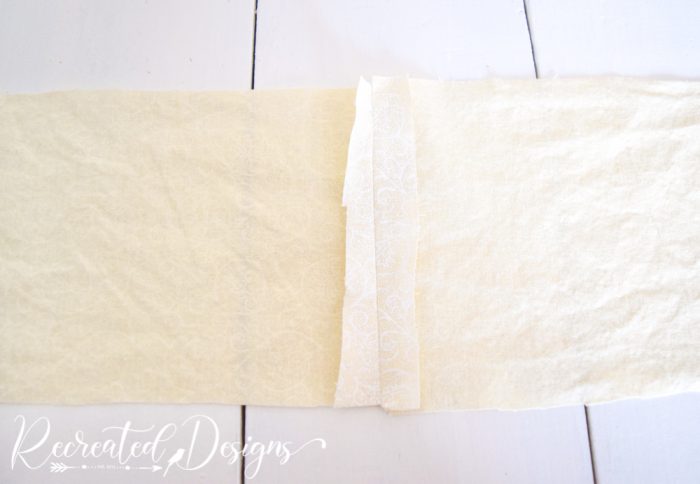
First, I folded the fabric until I got a suitable size strip that would go over the plug.
Then, cut the fabric into strips.
Depending on how long your cord is, you need to plan for 2-3 times the length of the cord to be covered so that the material can be scrunch up.
With the strips cut, I wanted to sew them into one long strip.

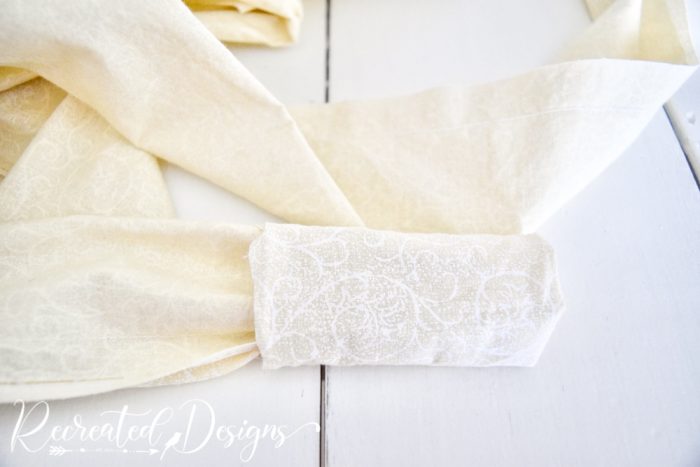
With the pattern sides facing together, I did a quick stick across the ends until they were all joined. I also ironed the seams open.
To finish the sewing, I folded the entire length in half making sure the patterned sides were facing each other, and then sewed the length of the entire piece.

The hardest part of this whole project was turning the long tube right side out when the sewing was done. I sat down, put something to watch on the TV, and worked away at it. All in all, it took about 45 minutes to turn the entire piece inside out.
Once I had it the right way, the only thing left to do was to thread the cord through the length of fabric.
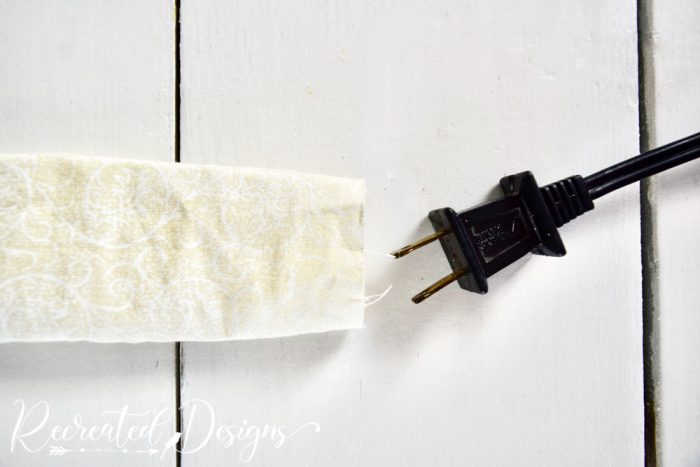
I didn’t need to sew the ends, they were scrunched enough that the entire piece stayed in place. This allows me to easily remove it if it needs to be washed or if I get tired of it.
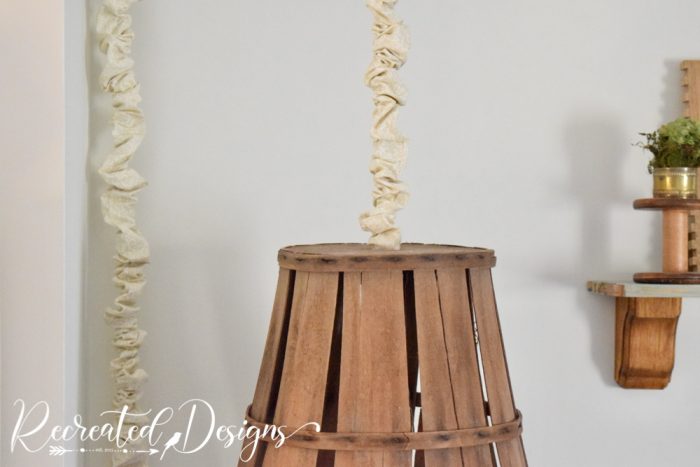
I am so so happy with how the cord cover turned out. It was a really simple sewing project and I love that I was able to make it with scrap fabric.
What do you think? Does it look better than the black cord or did you not mind it as much as I did?

Remember, pulling a room together takes time. It is little projects like this that make my spaces feel more and more comfortable and cozy and yours will too as you add to them. If you missed my tips on Wednesday for decorating with vintage on a budget, be sure to check them out here…