This has been a crazy week for us here in Canada’s capital. Last Saturday we were hit with what we thought was a bad thunderstorm only to find out after that it was a Derecho. The damage done by the hurricane/tornado force winds was unbelievable and many in our city have been without power for over a week now. The destruction our power grid endured was worse than any in our history.
Thankfully, through it all, I didn’t lose power. Unfortunately, the rest of my family did and it has only just come back. It seems fitting to be sharing a lighting project with you this week since we have spent the week reflecting on how much we take electricity for granted.
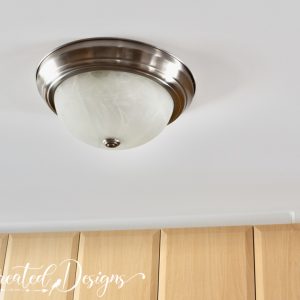
My Broken Light
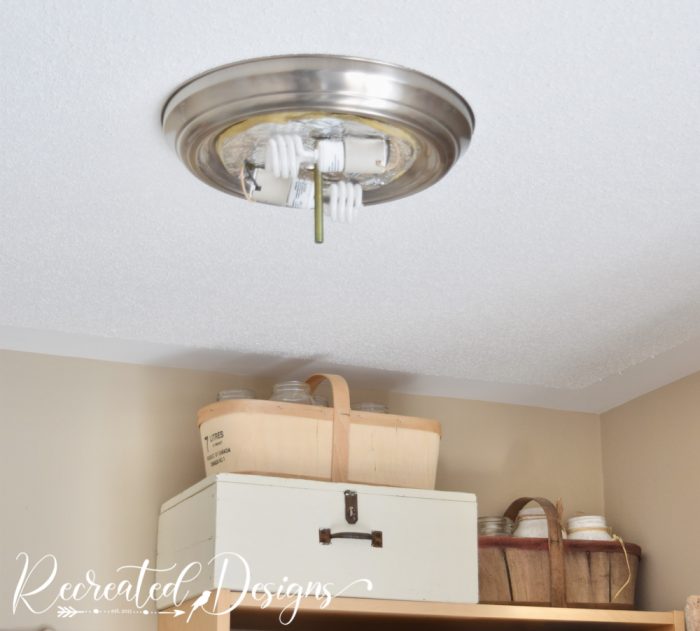
Do you remember my builder-grade lights from a few weeks ago that I painted? (see that project here…) I mentioned that there was one in my work area that was missing its glass globe. It had come loose quite some time ago and fell to the ground and broke.
This light isn’t one that gets seen by others very much because it is tucked in an alcove off of my kitchen. I look at it daily though as it is right in front of where I sit to work. The fact that it typically only gets seen by me has definitely contributed to my snail’s pace in doing something about it.
Yes, I realize I could just remove the entire thing and replace it. But… that would involve getting someone in to do it. One of the things I never, ever touch is electrical work; it kind of freaks me out. Alas, the light has been globe free for quite some time now.
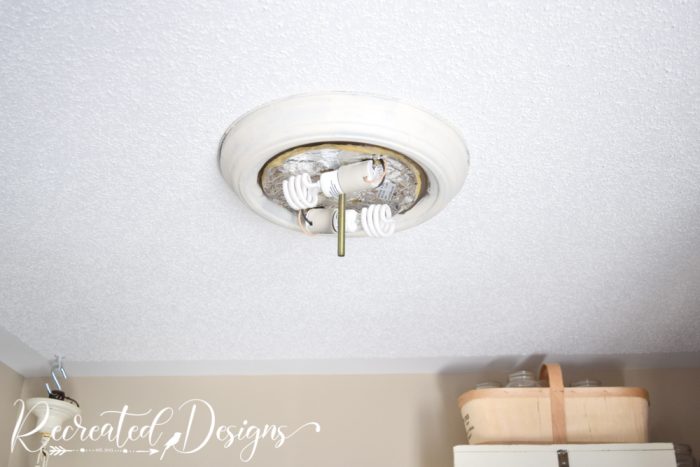
When I was painting the other lights in the kitchen a few weeks ago I did go ahead and paint this one too. It looks so much better painted (and I am absolutely loving the other ones now that they are painted too!) It still needed something pretty to hide the lights themselves though.
The New DIY Ceiling Light Shade
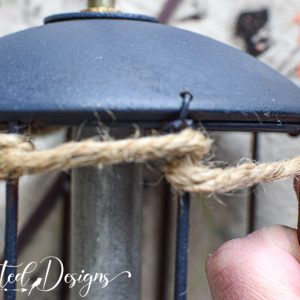
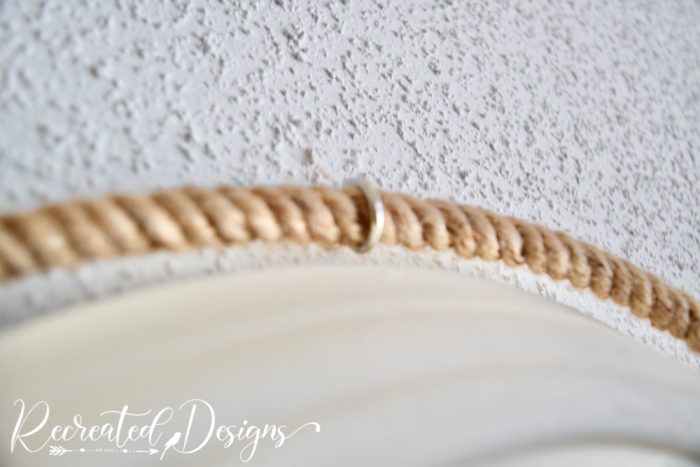
I thought through 100 different versions of what I could create to cover the ugly light fixture and settled on making a beaded shade for it. Luckily, I found metal rings at Michael’s that were wrapped in jute in the right sizes (here are similar ones that you can wrap yourself)! They were made to use for wreaths but they worked perfectly for this project.

How to keep the metal ring attached to the ceiling was the next issue. I settled on these cup hooks that fit around the ring and screwed in three around the light fixture.

The cup hooks held the ring securely and fit right outside the edge of the light fixture.
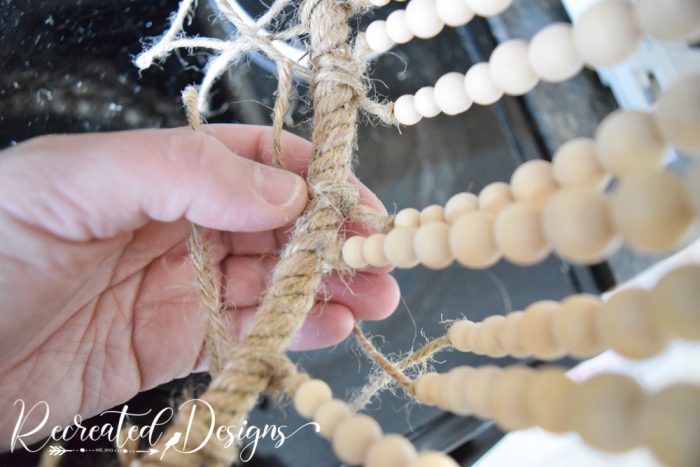
To create the beaded shade I used six sizes of wood beads. I strung two of each size onto a piece of jute twine going from largest to smallest. This was a bit time-consuming but so worth it in the end.

Once I had all of the beads strung, I tied each piece of twine to the rings with the larger beads at the top.
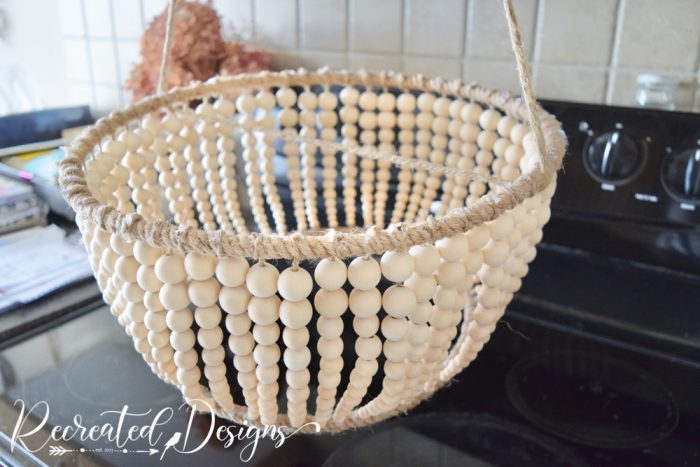
This is what it looked like when I was testing it out to make sure the beads were spaced out properly.

With the beads in place, I added a dab of hot glue to the top knot and then snipped off the excess twine.

For the bottoms, I knotted the twine and then snipped off the excess. A dab of hot glue kept it attached to the ring.
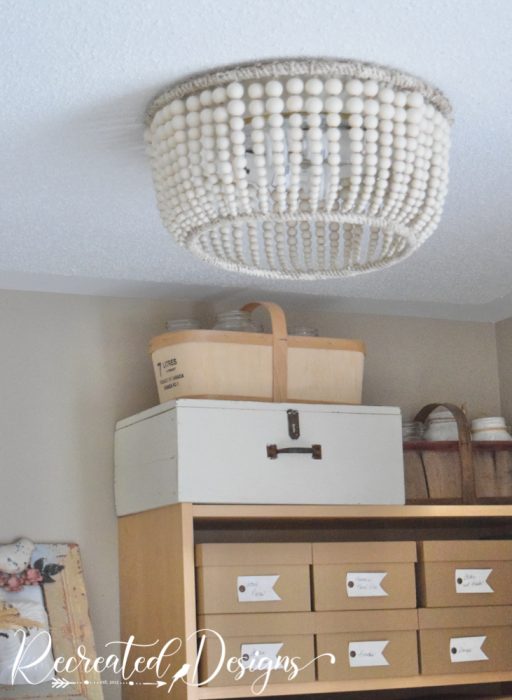
Before hanging it up, I gave it a coat of paint in the same Fusion Mineral Paint colour as the light itself; Raw Silk. (be sure to stick around until the end for a special Fusion surprise!)
With it painted and the colours softened up, it was time to hang it. I can’t tell you how excited I am not to be looking at an ugly light fixture with a missing cover anymore!

If you have any furniture or decor that needs painting as well, be sure to check out the surprise Fusion and I have for you below ↓
A Gift For You
Fusion Mineral Paint and I have teamed up to give you 10% off your entire Fusion, Homestead House, and Milk Paint by Fusion order every time you use the link below. I know with the cost of everything going up these days, every little bit helps so feel free to use this link as many times as you’d like.

**Please note that this post includes affiliate links. By using the link, the cost does not increase and a small portion of the sale is given back to help fund this blog. For your convenience, you can also find all of my favourite DIY products here. Thank you and Happy Creating! **