You know I love thrift store and dump finds and frankly the more damaged the better. There is something about turning an ugly duckling into a beautiful swan that appeals to me, so, when I saw this little side table for less than $10 I couldn’t resist.
It was damaged, wobbly, and oh so dirty but that makes it all the more lovely when it is given a new life.

Cleaning the Table
Like any piece I pick up, I always give it a good clean… and boy did this one need it! I typically use Fusion’s TSP Alternative but even some good soap and water will do the trick. Read more about how to clean your thrift store finds here…

Painting the Table
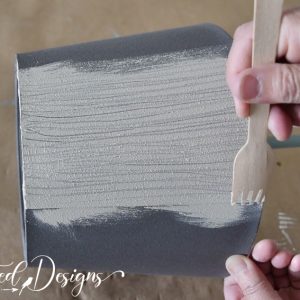
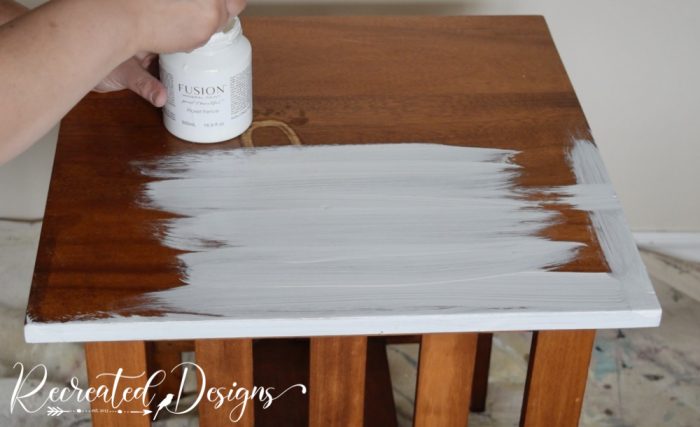
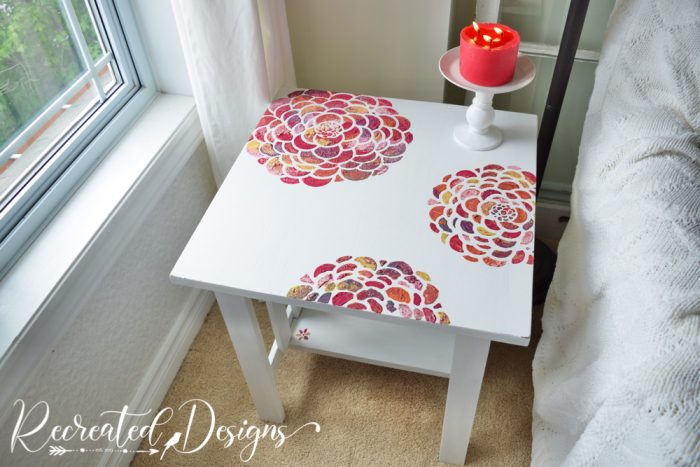
Once the table was clean and fixed (a little wood glue did the trick) it got 2 coats of Fusion’s Picket Fence.
Creating the Raised Stencil
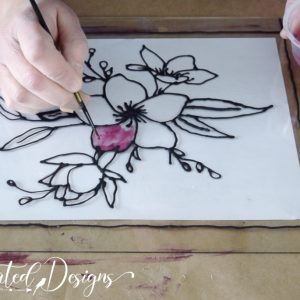
Once the paint was dry it was time to do something special. I borrowed these beautiful stencils and decided where they would work best on the tabletop.
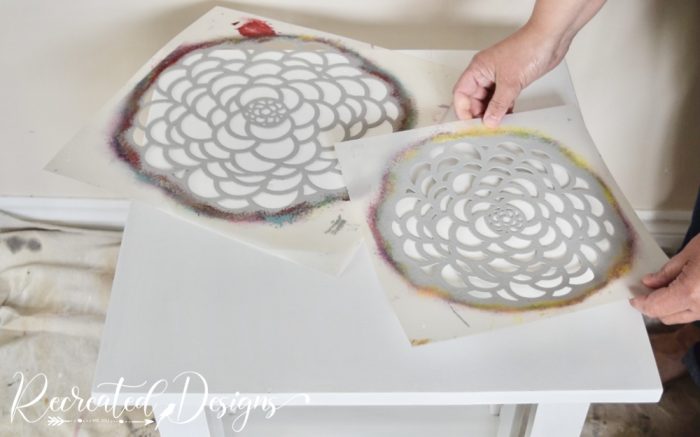
I love doing raised stenciling and it’s something I realized I haven’t really shared here before. There are several ways you can do it. For this table, I wanted to create loads of texture to make these flowers extra pretty.
I started with several colours of paint and poured them all into a container. I used Fort York Red, Tuscan Orange, Peony, Little Star, and Twilight Geranium. A lot of paint wasn’t needed since I was using several colours so the tester-size pots were perfect.
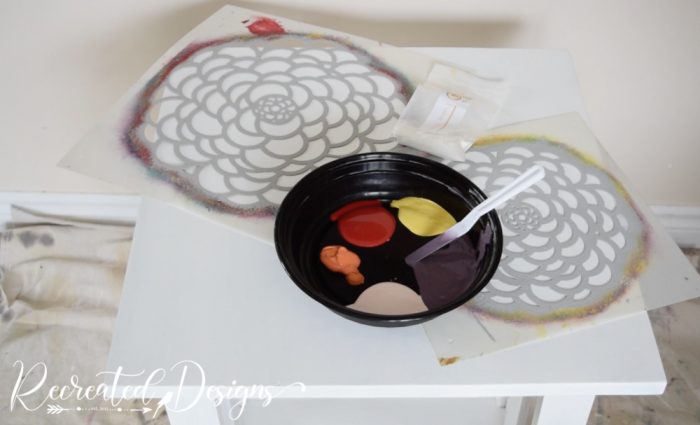
Then, to create the gorgeous texture and give the paint some volume, I added Fresco powder and mixed it in.

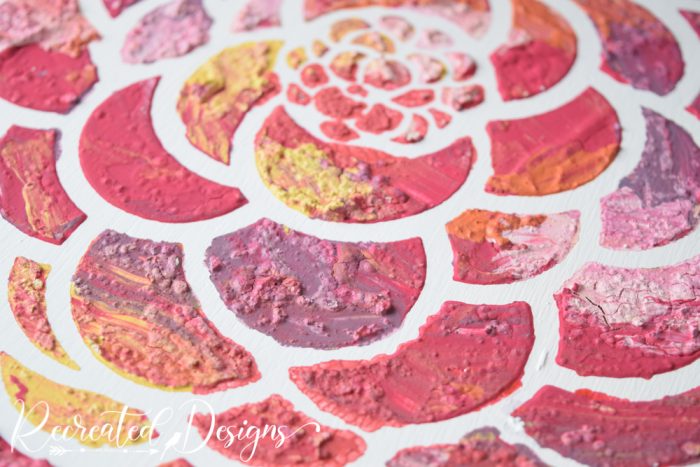
Once the paint and powder were mixed, it was all fun and games. I applied the paint over the stencil with a small palette knife but you could also use a brush.

I held the stencil in place with one hand and filled it with paint with the other. You want to mix the colours up and blend them all together until the entire stencil is covered.

Before removing the stencil, I did one final sweep with the palette knife to remove any large globs of paint.

Removing the Stencil
Removing the stencil is so satisfying and fun but go slowly giving the paint a chance to stay in place.

As soon as the stencil was up and while the paint was still wet, I cleaned up any little areas and edges I didn’t like. A damp paper towel did the trick.

Finishing the Tabletop
I finished the table top off with two more flowers.

I didn’t sand my piece because I wanted to keep all of the texture that I had created. If you have a few too many lumps and bumps though, you can give it a light sanding when the paint is completely dry.

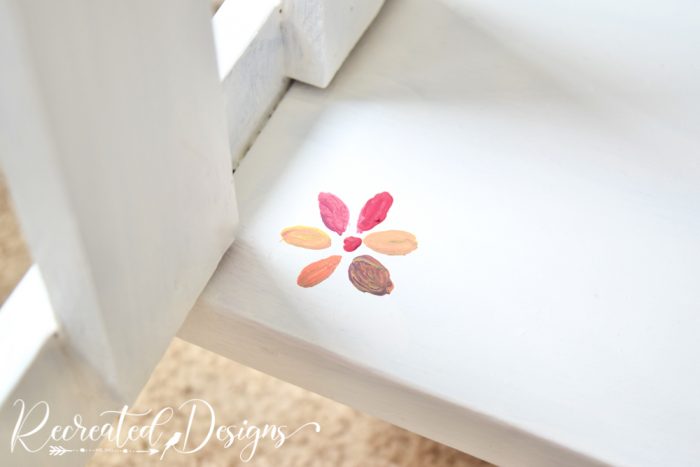
I finished off the table with a little hand-painted flower using the same paint on the bottom shelf to tie it all together.
I absolutely adore the colours and texture. These aren’t colours that I use a lot but they are so stunning together and with the texture, I couldn’t resist.
Even though there is a lot of texture on the tabletop, there is still plenty of useful flat space for whatever you want to sit on it.

This damaged little table has been brought back to life and you would never know it was the same thrfited piece. What do you think? Would you try doing raised stenciling?
This table was originally created for a Hometalk TV episode and you can see the video version of this project here…
Don’t forget that I have partnered with Fusion and anytime you use this link to order anything from their website, you will automatically receive 10% off your entire order 🙂
**Please note that this post includes affiliate links. By using the link, the cost does not increase and a small portion of the sale is given back to help fund this blog. For your convenience, you can also find all of my favourite DIY products here. Thank you and Happy Creating! **