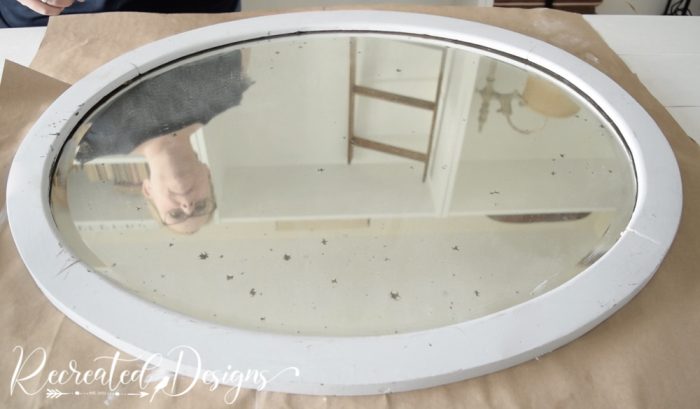
Mirrors are in abundance at the thrift stores, aren’t they? Every shape, size, and age you could ever want. I am always drawn to the older ones with the vintage glass. Lots of times they even come with beautiful wood frames which makes them even lovelier.

I have had this old, very heavy mirror in my stash for a while and even painted it at one point but never did anything with it. Well, it was time to pull it out and give it a new life.
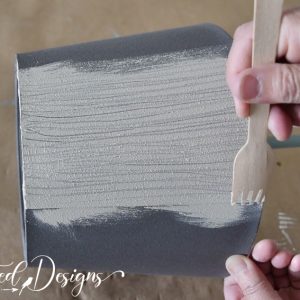
To start, I gave the mirror a fresh coat of paint in Bellwood but somehow forgot to take a picture of that part lol. Bellwood has become a favourite of late and I’ve used it on a few things.
I have been wanting to try Pouring Resin and thought it would be cool to do it over a mirror.
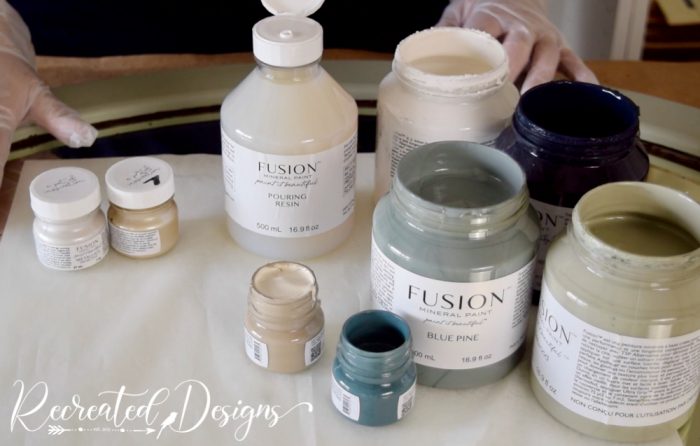
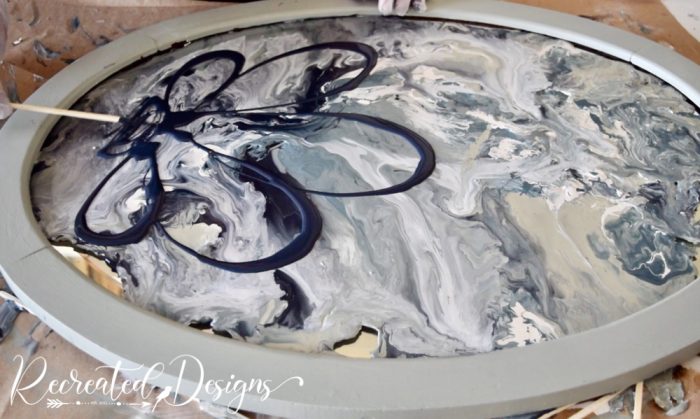
I wanted to mix all the different colours that I have in my house (see my living room here…) To tint resin you don’t need anything special; it can be done with paint. I grabbed all of the colours I wanted to use and even a couple of metallics. I used Blue Pine, Bellwood, Midnight Blue, Casement, Seaside, Cathedral Taupe, Metallic Pearl, and Champagne Gold.
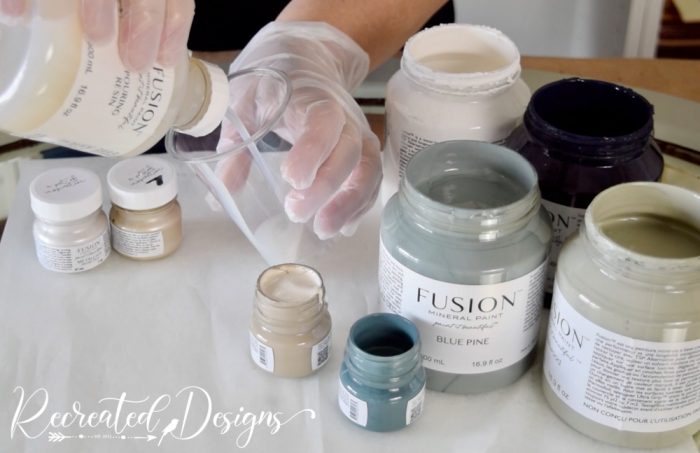
To mix the resin, start by pouring as much as you will need into a cup. I used Fusion’s Pouring Resin.
Then add a very small amount of paint. It really doesn’t take much at all.
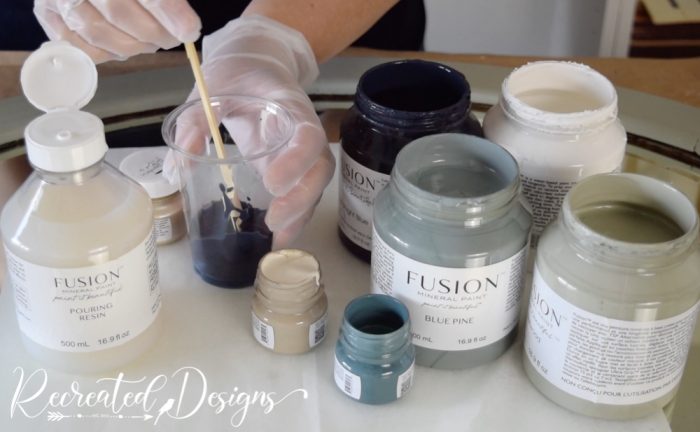
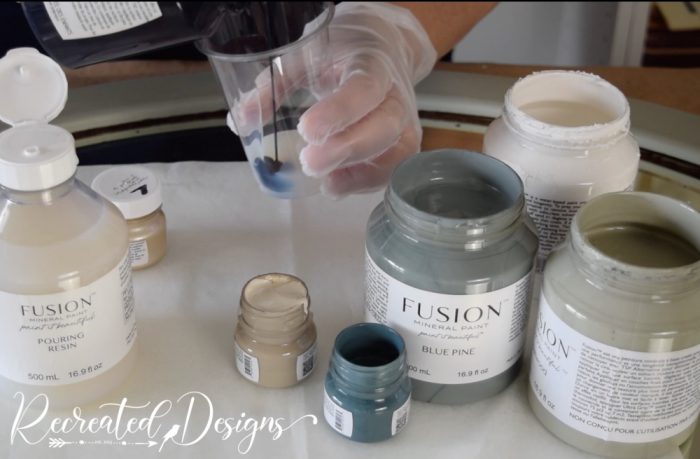
Use a skewer to mix the paint in well with the Pouring Resin.
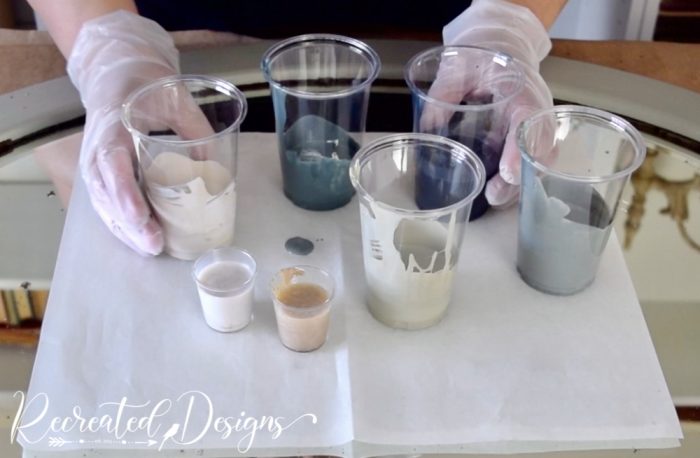
I mixed all of my colours ahead of time so they were all ready to go. I didn’t want to have to keep stopping to mix colours and found this much easier.
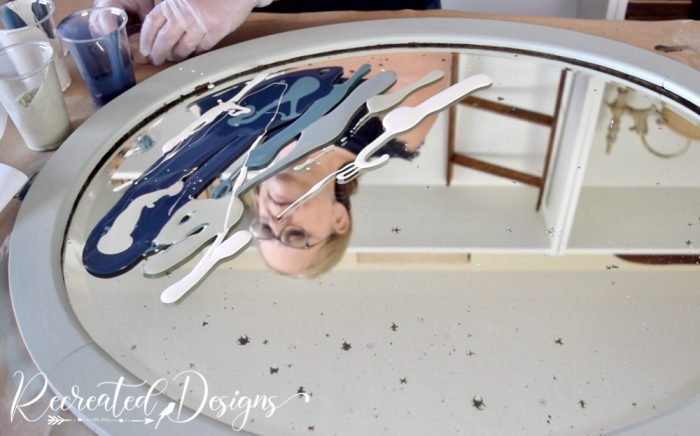
Once the colours were ready, the fun began! You can pour the resin any way you’d like over the mirror… whatever works for you.
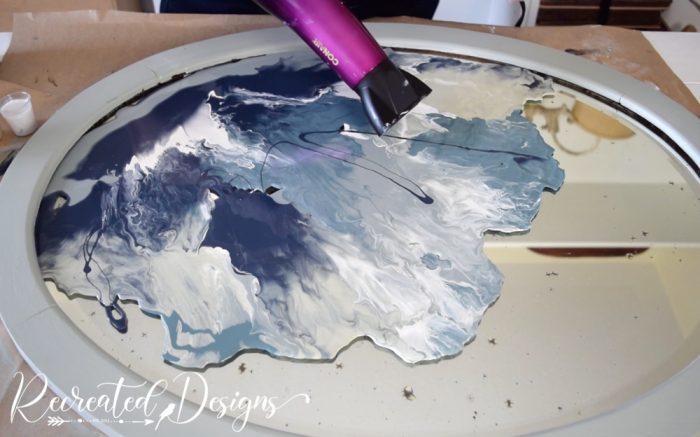
To mix the resin and spread it out I find it easiest to use a hairdryer. Be sure to use it on cool with no heat. Any heat will dry the resin too quickly.

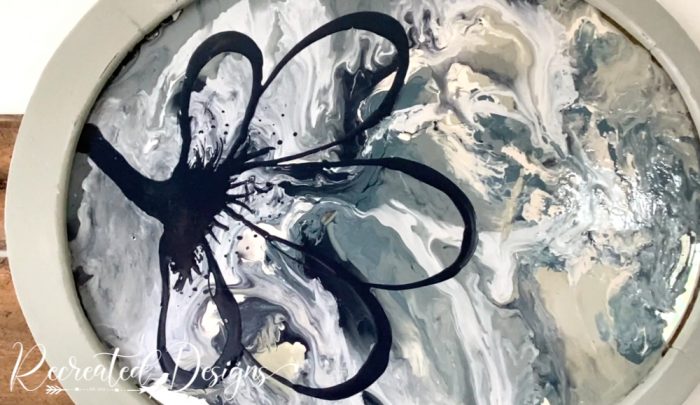
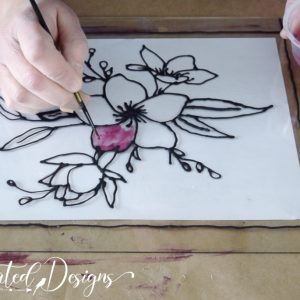
After playing with the resin to spread and mix it, I left it to dry overnight. I wanted it to be hard before I created the flower so that the flower resin wouldn’t seep into the background. Once it was dry I used the navy blue mix to pour out a large flower.
Since I didn’t want to use a hairdryer and move the resin, a skewer worked perfectly to manipulate the resin and fill in any gaps.

I absolutely love how the navy blue sits on top of the resin and mirror making it stand out and feel like it’s 3D.
Isn’t it cool that a vintage mirror can look so modern when you combine the old with the new? It is the perfect marriage of upcycling and making your own art.

Have you tried making your own art with Pouring Resin? I’d love to see what you have created… I am totally enthralled with it now! 😉
***
**Please note that this post includes affiliate links. By using the link, the cost does not increase and a small portion of the sale is given back to help fund this blog. For your convenience, you can also find all of my favourite DIY products here. Thank you and Happy Creating! **

I love the mirror that you colored. I think that it would look better (my opinion) with the flower stem pointing down.
Thanks. I was very glad to be able to reuse the old mirror… there are so many out there.
Hi there, thank you so much for your emails, I enjoy them somuch, I love doing Crafts, and I live in a retirement home so I am the only lady here that enjoyscrafting, it;s a bit lonely, so receiving your emails givesme greatpleasure. Many Thanks Bernice from South Africa
Aww, I’m so glad Bernice! I love that you enjoy crafting so much and I hope it keeps bringing you joy <3 They can be so much fun and they are great to keep the hands and mind busy 🙂 Thank you so much for reaching out and just know you have a friend in Canada who loves crafting too!
Hi, I'm Lisa!
Welcome to Recreated Designs... A place for you to find endless upcycling ideas, unique ways to use vintage finds and oodles of helpful tips and tricks for painting, crafting and recreating. I am so happy you are here and can’t wait to see what you create!
Continue reading about me here!