After finishing my bathroom refresh (see the reveal here…) I was very excited to move onto my living room two weeks ago! It was the perfect project to tackle next as the space has always felt a little too dark for my liking. I love the painted wall but, with no overhead lighting in the room, it makes it feel a bit too heavy and cave-like… even with the big windows.
I had partnered with Photowall, an amazing wallpaper, and art company from Sweden, on my bedroom last spring (see its amazing transformation here…) and when they asked about another collaboration, I knew this was the room!
Choosing The Wall Mural
The biggest challenge of refreshing this room (like last time) was deciding which mural to choose. There are literally thousands of wall murals and papers on photowall.com and it made choosing oh so hard!
After looking through them all, I narrowed it down to about 15 that I really liked. I then showed them to my mom and we narrowed the list down to 5. (Having another opinion is always great!) With the final five, I pulled each one up on my laptop and held it up in the room to get a loose visual of how they would look. There is absolutely nothing scientific about this process LOL… it just helped me narrow my choices.
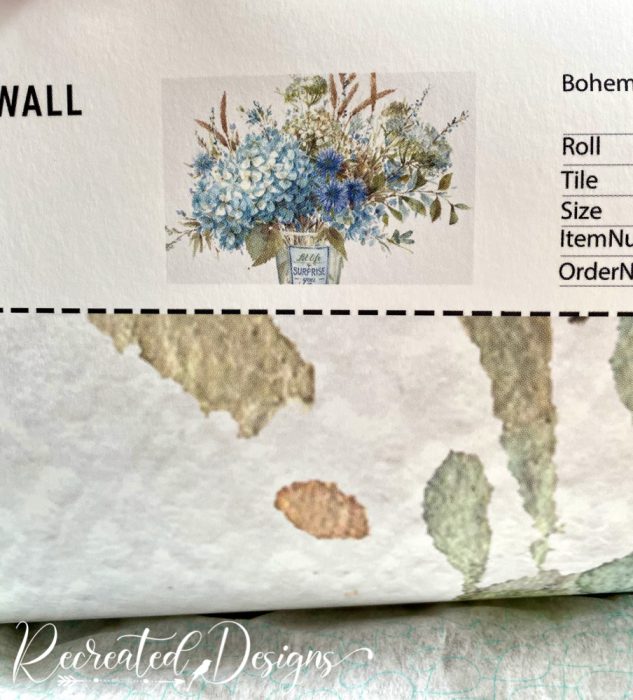
After sitting on it for a couple of days, the winner was this beauty! I have always loved blues, flowers, and watercolors so what could be more perfect?!
Tips for Wallpapering a Dark Wall
When I refreshed my master bedroom using wallpaper the wall was light so there was little prep needed. My living room wall though was dark so there were a few things I did beforehand to make sure it looked good once it was papered.
First, I filled all of the holes with spackle and sanded them smooth when it was dry. Even though the paper would have just covered them up, I didn’t want it to pucker in places where the holes were quite large. Filling them didn’t take very long and it ensured the finished look was nice and smooth.
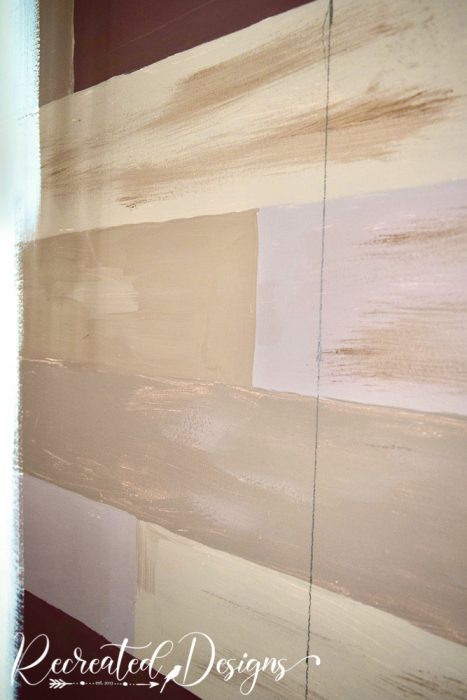
Second, I cut in around all of the edges with the same paint as the walls on either side of the dark one. By cutting in an inch or two, it ensured that there would be no brown peaking out after it was done. Walls are notoriously uneven so adding that bit of white meant that if I cut the wallpaper even a teeny bit short, or the wall was a little wonky, anything showing would be white and not brown. Again this took very little time but was well worth doing to give the room a crisp, clean look in the end.
Finally, I measured the width of the wallpaper from the corner where I was starting and made sure the line was level. Thankfully these walls were level whereas my bedroom had not been. Making sure this first piece of wallpaper is hung completely straight makes the rest of the job so much easier.
A little side note… the photowall paper is so nice and thick that I didn’t need to waste time or money painting the entire wall. The dark colours didn’t show the wallpaper at all. You could see them slightly when the paper was wet but as soon as it was dry, they weren’t detectable anywhere.
Hanging the Mural
I won’t go into detail on the specifics of hanging the mural in this post. You can find all of those directions here from when I refreshed my bedroom. They include how to cut the edges, seal the seams, and trim for outlets.
The Transformation
Once again, here is what the room looked like before…
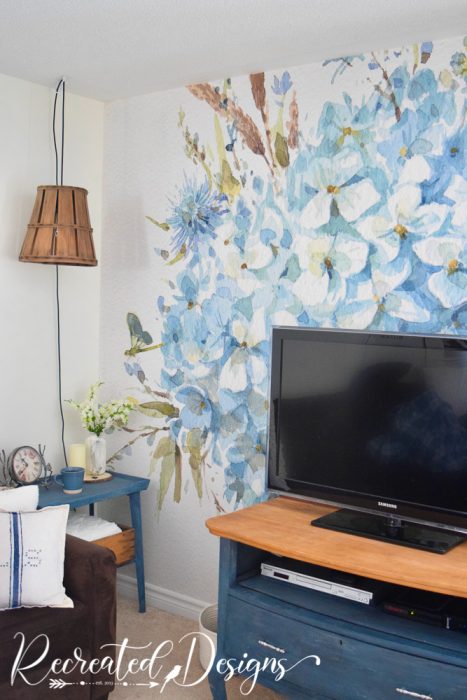
And here it is after…
The transformative powers of wallpaper will seriously never cease to amaze me! This dark room now feels so bright, light, and airy. It truly doesn’t even feel like the same space. I spend so much time in this room and now it makes me feel completely happy♥
For You – updated!
If you would like to check out the amazing art and wallpaper at Photowall.com, they have generously offered a 25% discount on everything on their site and the discount has been extended until June 21st! Enter recreateddesigns2021 at checkout for your savings. Please note, this is not an affiliate post, it is just a chance to pass along some savings to you!
««—»»
And in case you need them again, here are the directions to hang your wallpaper from start to finish…


WOW I looked for this post because I was curious about the wall behind you in your contest videos. This is amazing and I love it.
Thank you so much, Angela! 🙂 I only did it this past winter but I am sooo glad I did. I am completely in love with the wallpaper!
That is my daughter’s dream to have a wallpaper with big flowers on it. Looks great!
Aww, thanks so much, Agata! I am absolutely loving the wallpaper and soo glad I put it up!
This is really quite a change, and it looks great! I liked the original decor as well. You have a great eye for design 🙂
Aww, thanks so much! I did like it before too but I just felt like I needed something lighter and brighter. Maybe it’s from being stuck inside too long 😉
Hi, I'm Lisa!
Welcome to Recreated Designs... A place for you to find endless upcycling ideas, unique ways to use vintage finds and oodles of helpful tips and tricks for painting, crafting and recreating. I am so happy you are here and can’t wait to see what you create!
Continue reading about me here!