Hello, my lovely friends! It is so good to have some time to be creative again. I am continually amazed at how much time running the shop takes from my week, but I also realize how much I need to carve out some time for creativity.
Making the Giant Pumpkin
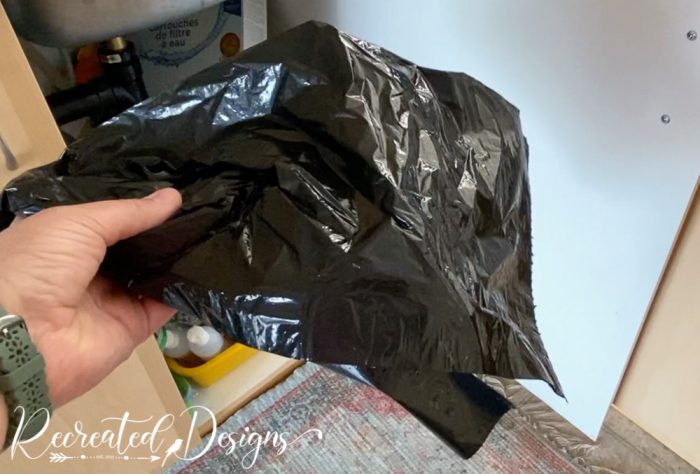
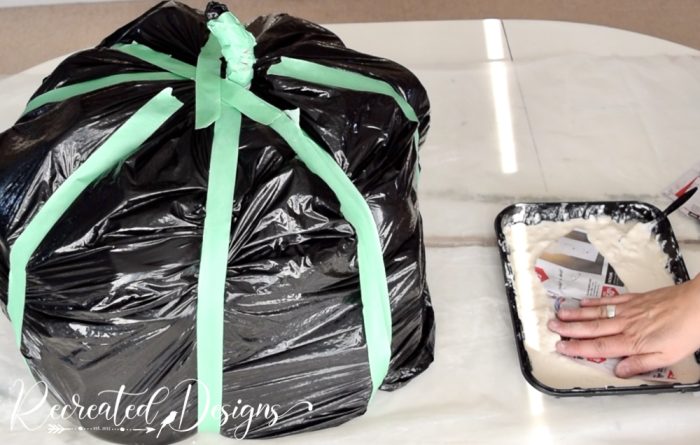
A few weeks ago I thought revisiting my younger days and making some paper maché would be fun. My sister and I used to love making all sorts of paper maché things so I headed to the kitchen and grabbed a big black trash bag.
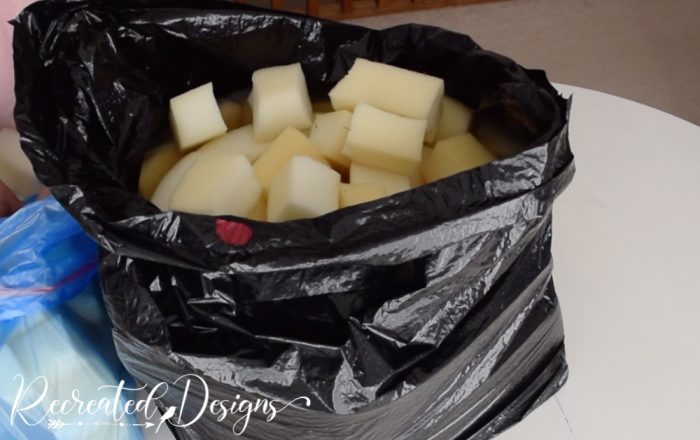
You could use anything to fill the trash bag (except maybe trash) but it does need to be nice and full. I used bits of foam that I had left over from another project and they filled the bag up perfectly.
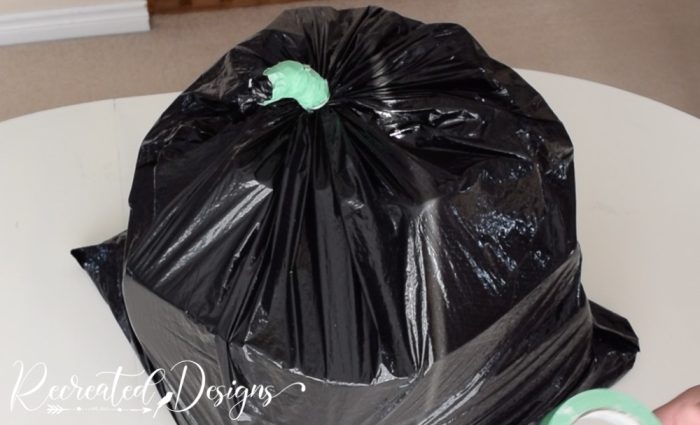
Once the bag was full, I pulled the strings to gather the top and twisted it nice and tight. Wrapping some painter’s tape around the gathered top helped to create the stem of the pumpkin and hold it all together.
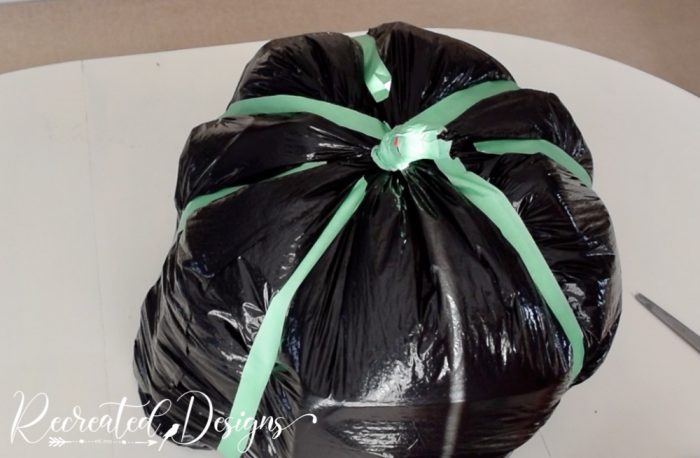
To give the pumpkin some shape, I pulled pieces of the tape tight from top to bottom.
Adding the Paper Maché
With the base of the pumpkin formed, it was time to break out the flour, water, and newspaper. If you have never made paper maché before, you are missing out on a world of fun (and mess!).
To make the paste, you simply mix flour and water. You want a thick paste and it’s ok if it’s lumpy. The paste should be thicker than cake batter but still somewhat liquidy.
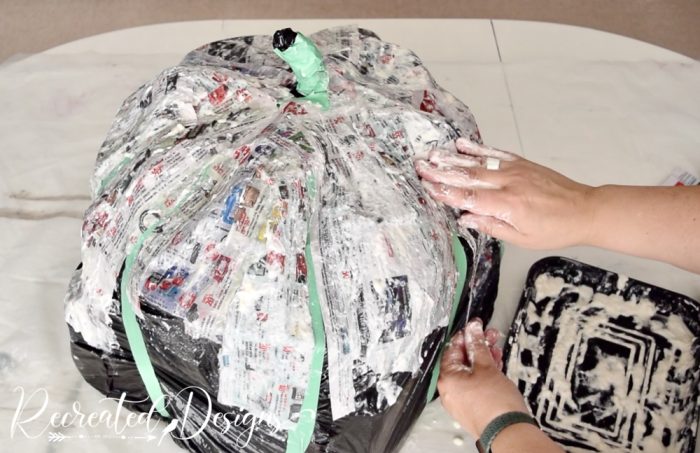
To prep the newspaper, it just has to be ripped into strips of all different sizes.

Now comes the getting your hands dirty part. The entire bag needs to be covered in two layers of paste and newspaper so each piece of newspaper gets dipped in the paste and then smoothed out on the garbage bag.
I work in stages so that I don’t get paper and paste stuck to everything around me. I did the top half first, waited for it to dry, and then flipped it over to do the bottom half. Once the bottom was dry, I followed the same process for the second layer.
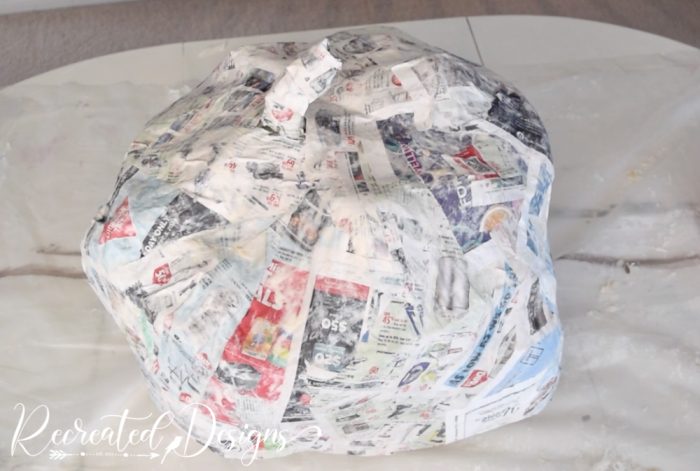
Here is the paper maché after both layers had time to dry.
Painting the Pumpkin
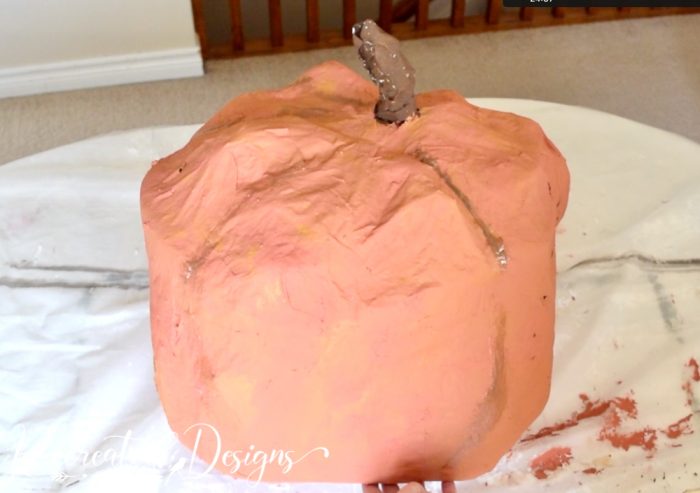
Painting the giant pumpkin was as much fun as making it. I used a custom mix of orange paints to get the shade I wanted for the pumpkin body and then brown for the stem. The stem was going to be covered in twine but I wanted to make sure it was brown in case any showed through.

For the second coat of paint, I mixed in some yellow with the orange to give the colour some depth.
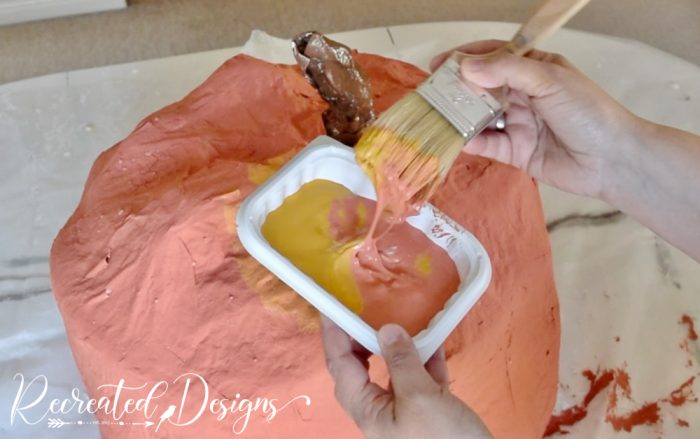
I finished the painting by adding brown lines with antiquing glaze to highlight the pumpkin’s shape. The glaze dries slightly transparent so it was soft yet added some colour.
Adding the Finishing Touches
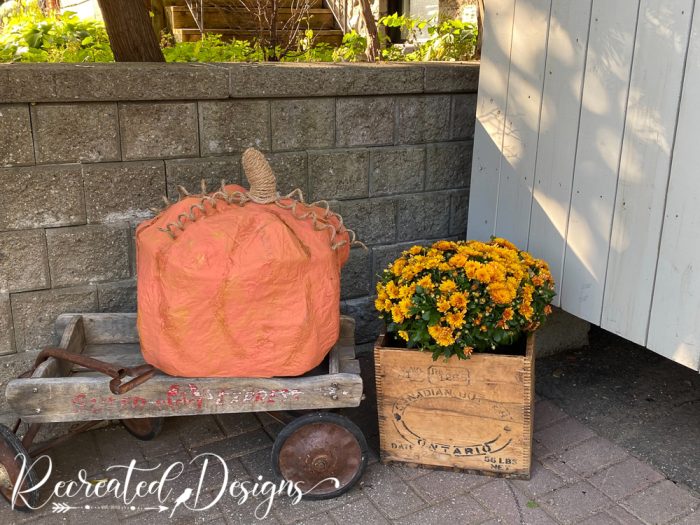
To finish the pumpkin, I wrapped the stem with twine and added vines using hot glue to hold everything in place. I love the natural feel and texture the twine adds.
Find the directions on how to make the curly cue vines here…

It was so fun making the giant paper maché pumpkin. The next time you are looking for something free and fun to do, grab a garbage bag, some flour, and a newspaper, and go to town. The things you can create are endless and the fun you will have is priceless.
Happy Fall! 🍂

