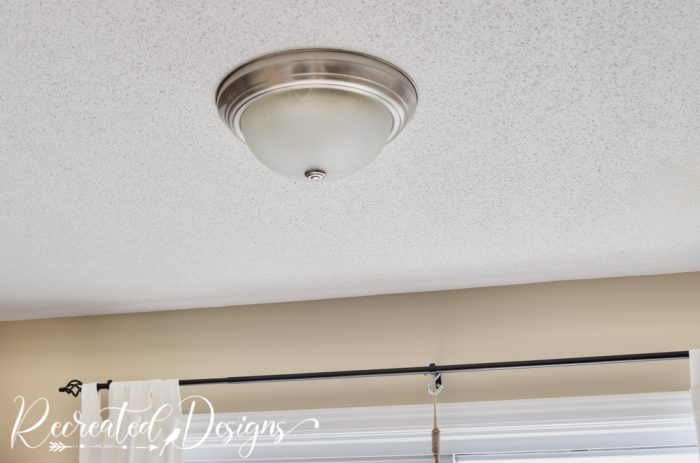
Sometimes it really is the littlest of things that give a room a whole different feel… like painting your ceiling light fixtures. These little projects don’t take long and can provide maximum impact on a space while staying budget-friendly.
That was the case with the builder-grade lights that frequently appear in my home. New homes these days often have these types of lights and while there is nothing wrong with them, they kind of scream boring and common. They seem like such an inconsequential piece of a home but by changing them up, it can make a space feel softer and lighter instantly.
While you can remove these types of lights completely, it will cost you a lot of money to buy new lighting and have an electrician do the work. Neither of those was something that I wanted to deal with, so the next best thing was paint!
I’m sharing the process with you in case you have some lights that needed a little sprucing up as well. It really was easy and cost about $5 in paint so was absolutely within almost everyone’s budget.
Prepping the Light Fixtures
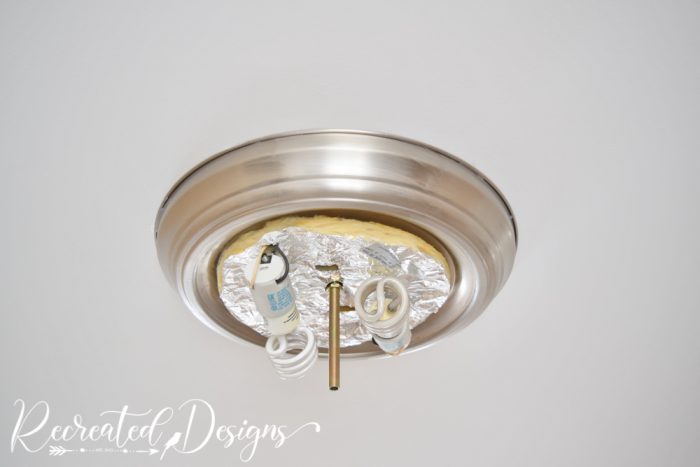
To get the light fixtures ready for painting I removed the glass globes and carefully set them aside. Most globes are held on by a very flat piece of metal that can easily be unscrewed.
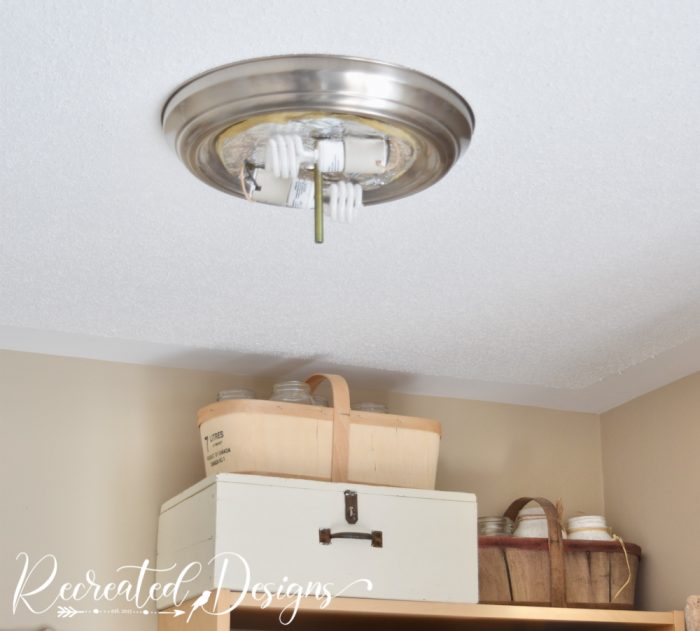
Next, to make sure I didn’t have any problems with the paint sticking to the fixtures, I brushed on a coat of Fusion Ultra Grip (or Bonding Agent). The Ultra Grip acts like a glue between the surface you want to paint and the actual paint. It doesn’t take long to brush it on and can save you so much time in the long run.
Once the Ultra Grip is on, you do need to leave it for 12-24 hours to make sure it has done its job so a little planning ahead is required. I should also mention that it dries clear so there are no worries about it affecting any paint colour you choose.
Painting the Light Fixtures
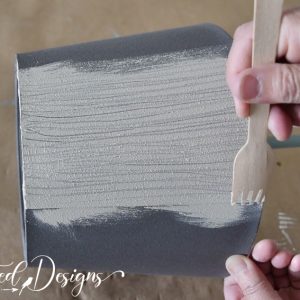
After allowing the Ultra Grip to dry, I began painting with Fusion Mineral Paint in Raw Silk. Raw Silk is a slightly creamy white colour that was a few shades off of the ceiling colour but still blended in nicely.
I didn’t tape off the fixtures because I have a steady hand but if you don’t you can use some low-tac painter’s tape to tape around the edge.
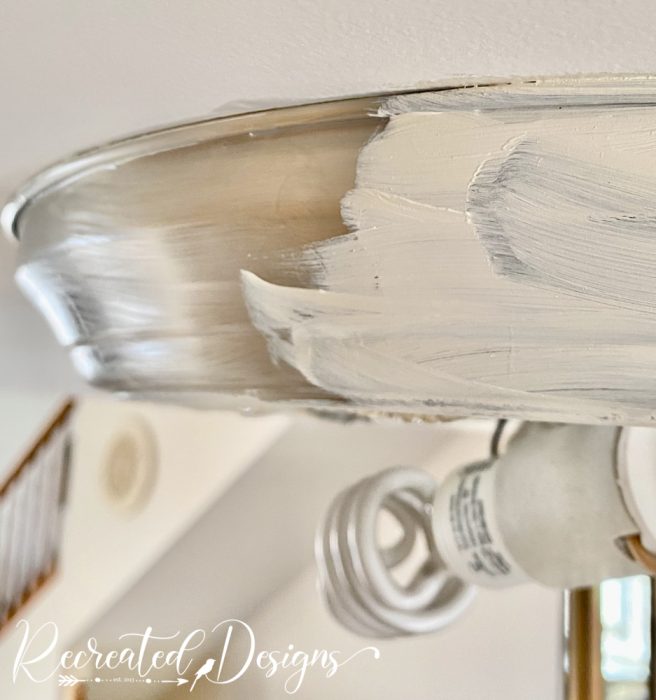
To apply the paint, a small, thin brush makes all the difference. You don’t want something that will leave a lot of brush strokes or that will holds a lot of paint so you have to worry about drips. I used a Staalmeester One angled brush and it was perfect for the job.

This is what the fixtures looked like after one coat of paint.

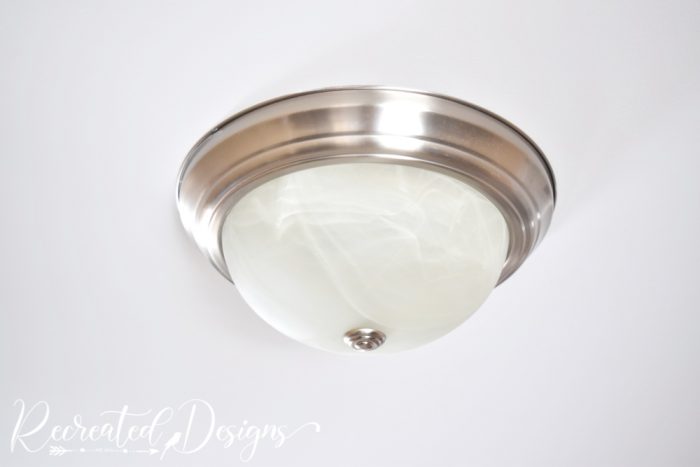
The Finished Light Fixtures
I ended up putting two coats of paint on each light fixture and that was all I needed. You also want to make sure to paint the small, flat pieces that hold the lights together while you are working on the rest.
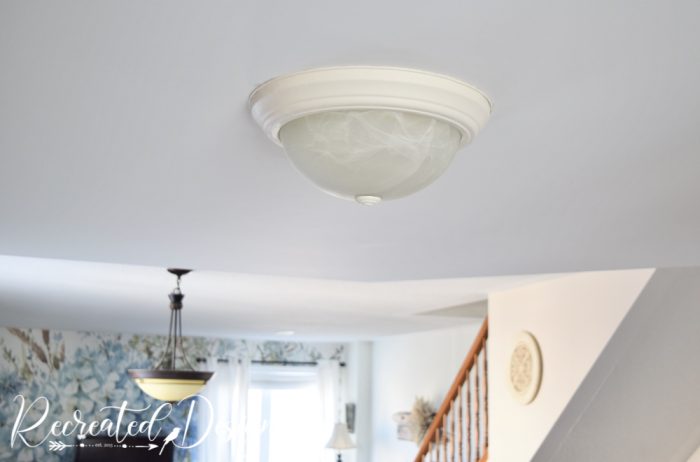
Once everything was dry, I reassembled the lights and was completely thrilled with how much I liked them. It is such a small thing and costs so little but has had such a big impact on the space. The lights feel more cohesive and softer now.

Except for this one… the globe for this light broke some time ago. It fell right off the light one day when the house shook and smashed into pieces. Since I don’t want to go through the hassle of replacing the light I have been dreaming up ways to make something to cover it. Stay tuned and I’ll share with you what I end up doing soon.

Have a wonderful Sunday and remember that you can make your spaces feel more comfortable and cohesive no matter what your budget.
**Please note that this post includes affiliate links. By using the link, the cost does not increase and a small portion of the sale is given back to help fund this blog. For your convenience, you can also find all of my favourite DIY products here. Thank you and Happy Creating! **