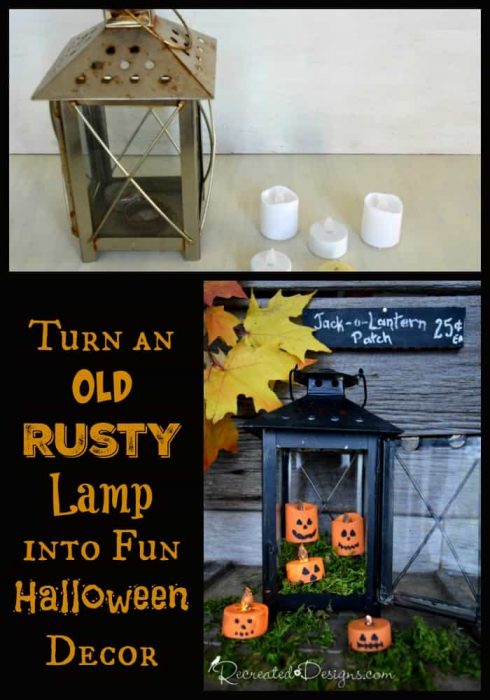
With Halloween just around the corner I’m sharing a project today that is so quick and easy that you can still add it to your decor. You may even have everything in your home you need including the old IKEA lantern.
The Lantern
A couple of years ago, my sister asked me if I wanted two of these old IKEA lanterns. They were rusted and crusty but hey, who turns down free things like that?! Not me LOL so I tucked them away knowing there would be a day and time they would be perfect for a project 😉
To make my Halloween Jack-o-Lantern patch, I started by painting one of the lanterns. I gave it a quick wipe down to remove any loose rust, took out the glass panels, and gave it two coats of Rustoleum Enamel in Black.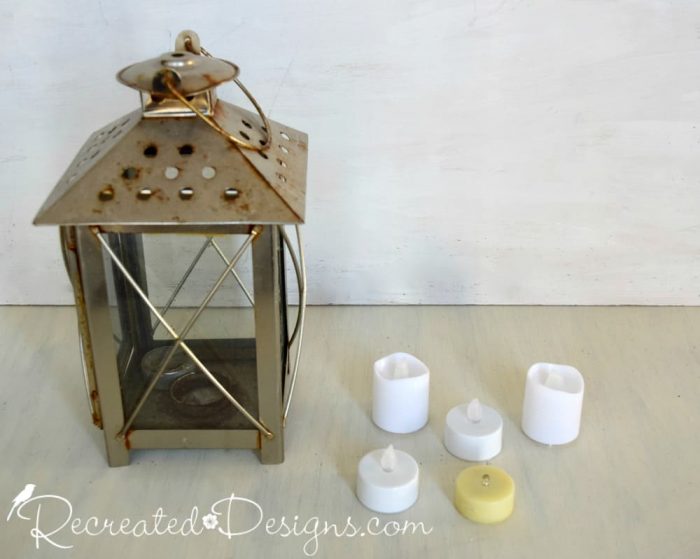 With the lantern frame painted, the only other thing needed was some little risers on the inside. They would help add height to my Jack-O-Lanterns later on.
To create the risers, I used a small paint cup and a little wood piece that fit in the back corners nicely. They were both painted with the same black paint.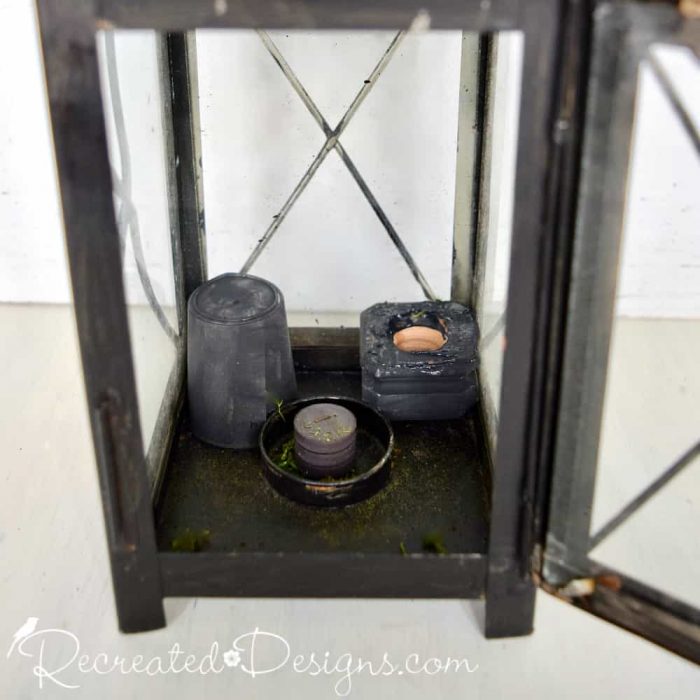
The Jack-O-Lanterns
Making the little Jack-O-Lanterns couldn’t have been easier. Using the collection of little battery lights, I painted each one orange, the top brown, and added a little Jack-O-Lantern face with the black. You can see them below before they are turned on. Once you turn them on, the paint thickness and brush strokes create texture and dimension that looks really cool with the light shining behind it.
The Little Sign
The Jack-O-Lantern patch wouldn’t be complete without a little scrap wood sign. Painted black with a little orange border, it added the final touch.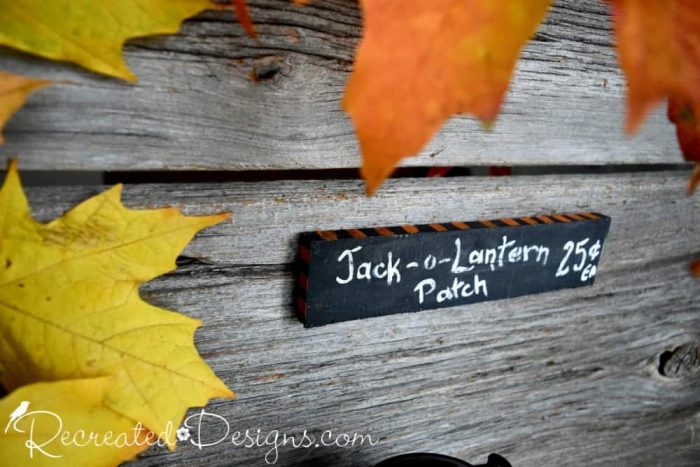
 I am not a big fan of scary Halloween decorations so this cute Jack-O-Lantern patch is just right for me 🧡
 If you are looking for more Halloween projects, check out this one using an old frame to make a Halloween tray perfect for a party or giving out treats.
Happy Halloween 🎃
**Please note that this post includes affiliate links for your convenience. All links are for products that I have tried and use regularly. By using the link, it in no way increases the cost of the item to you should you choose to purchase. However, by using the link, a small portion of the sale is given back to help fund this blog. Thank you and Happy Creating! **
Pin for Later…