I don’t know about you, but I hate trying to letter banners and bunting. I am always afraid that my letters will come out lopsided, too big, too small or just plain weird looking.
I found that by using hot glue though, I can easily make the perfect lettering every time.
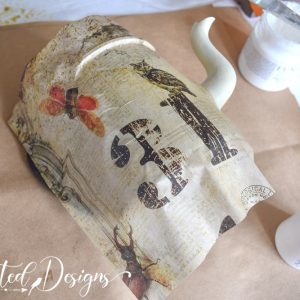
I know, it sounds crazy, but really, hot glue letters. They work like a charm and there are two ways that you can use them.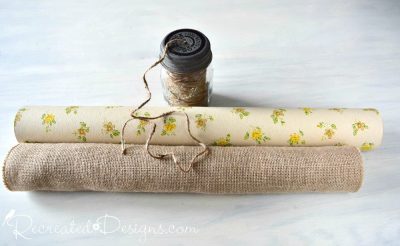 To show you both ways, I made a reversible banner. One side is made of vintage wallpaper (that I, of course, found at the dump store!) and the other side was burlap.
The vintage wallpaper had a bit of a late summer/early autumn feel to it so I chose the word “gather” for it and “summer” for the burlap side. To make sure the pieces were all the same, start with a cardboard template. An old book makes the perfect rectangle.
 Finding the middle and trimming up the edges is all that is needed to complete the template.
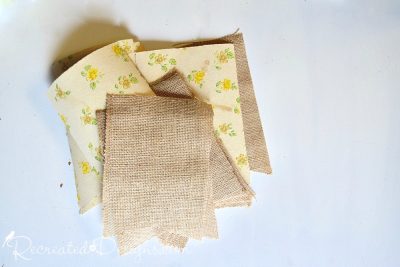
How to make the perfect letters…
 No matter which method you want to use, begin by finding a font you like. Spell out the words you have chosen and put four to a page. Each one should be just smaller than a quarter of the page. Print off the letters you will need.
  To help with the removal of the hot glue once you have made your letters, slip the printed sheets of paper into a plastic cover. You can spray the plastic, very lightly, with cooking spray too so that the hot glue wouldn’t be hard to remove.
 Trace each of the letters with your hot glue gun and allow to dry. Choose fairly fat letters so that the glue is nice and thick.
 Using the non-sharp end of a knife, slide it under the hot glue letter and separate them from the plastic.
How to use your hot glue letters WAY #1…
 For the summer side of my reversible bunting, I used the hot glue letters as a stencil.
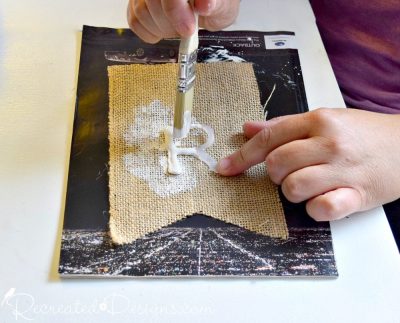 Place the letters on top of the surface you want to letter and dab paint all around the letter. When you remove the letter, the burlap will not have been painted where the letter was.
How to use your hot glue letters WAY #2
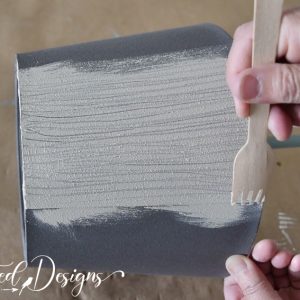
 For the reverse side of my banner/bunting, I used the hot glue letters themselves.
 Paint the letters in any colour. I chose a beautiful chocolate-brown since this side of the sign was a little more Fallish.
 Once the paint has dried, add a little glue to the back of each letter and press it in place.

 To finish the banner and make it hangable, add a line of glue between the burlap and vintage wallpaper backs. Slide a length of jute twine in and then add a second line of hot glue. The double line will allow each letter to be moved along the twine to space them out accordingly.
 You now have the perfect, reversible banner and didn’t have to worry about wonky lettering 😉
You may have noticed that I didn’t just make letters out of the glue but shapes we well. These I just did free hand to add a fun little touch to the ends ♥
Pin for later…

Until next time, see you on Pinterest, Facebook and Instagram.


Clever girl!
😉 Thanks Louise!