Spring is the time of year when all kinds of events seem to sneak up on us; Mother’s Day, Graduations, Weddings, Birthdays… With all of those in mind, I thought I would show you how to make an easy DIY photo board that even the novice crafter can make. This board is perfect to give as a gift or to display pictures and mementos at a special event.
Prepping the Board
Start with a piece of wood that is approximately 11″-12″ wide and 24″ long/tall.
I started with a laminated pine board that I picked up (and had cut to the right length) at Home Depot. To give the board a little more character and a richer look, stain your board using Miss Mustard Seed’s Milk paint in Curio. To use Milk Paint as a stain, mix one-part powder to 3 parts water and then brush or rub it onto the entire board.
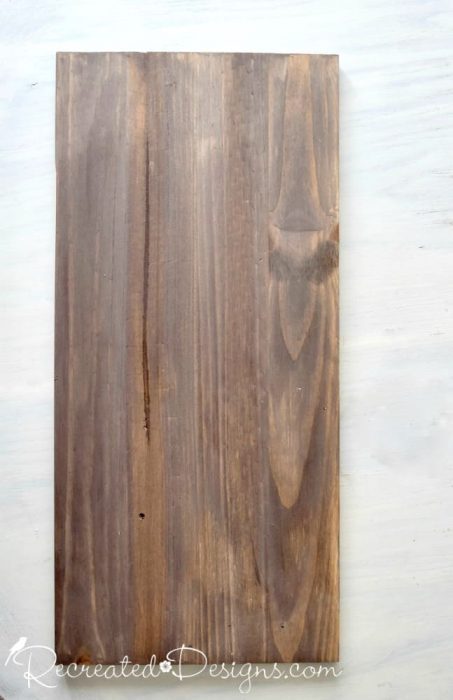
The Sweet Memories Script
You can find the script for this project over at the Recreated Designs Pattern shop here…
To transfer the script, rub the back of the paper all over using the side of a piece of white chalk. Turn your paper over and position it on the board where you would like and trace over the pattern. Once you have your pattern traced, lift the paper and you will have a perfect outline to paint.
 Choose a paint colour special to your event/gift recipient and paint over the pattern you transferred.
I used Miss Mustard Seed’s Milk Paint in Arabesque with a bit of Tricycle added for my board. I wanted to display photos and mementos of special women to me so chose a pretty pink.
Finishing the Board
To finish off the board, rub Miss Mustard Seed’s Antiquing Wax directly over the paint using an old sock or lint-free towel. The wax adds a beautiful, rich colour to the wood and makes it look like a gorgeous piece of old barn wood. Next, add the Hemp or Jute Twine so that you can hang pictures and special items on the board. On the back of the wood, position the end of the Twine and staple it in place. I like to staple it once and then fold it over the staple and staple it again. This will ensure it doesn’t move or become loose.
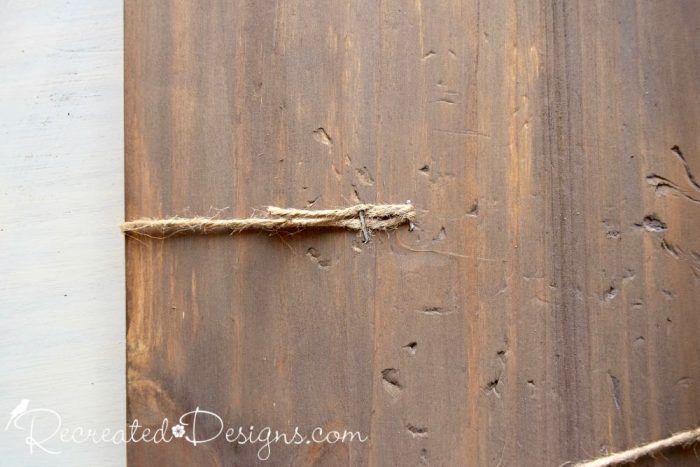 Wrap the twine around the board several times positioning it in a way that will give you space for the items you want to hang. When you have it spaced how you like it, staple the end to the back the same way you did at the beginning.
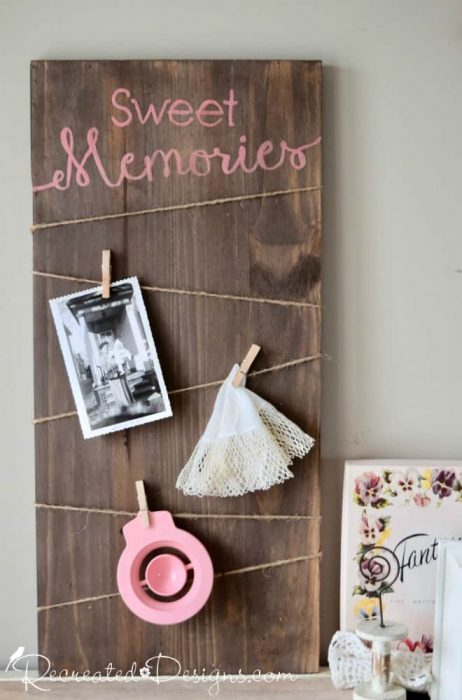
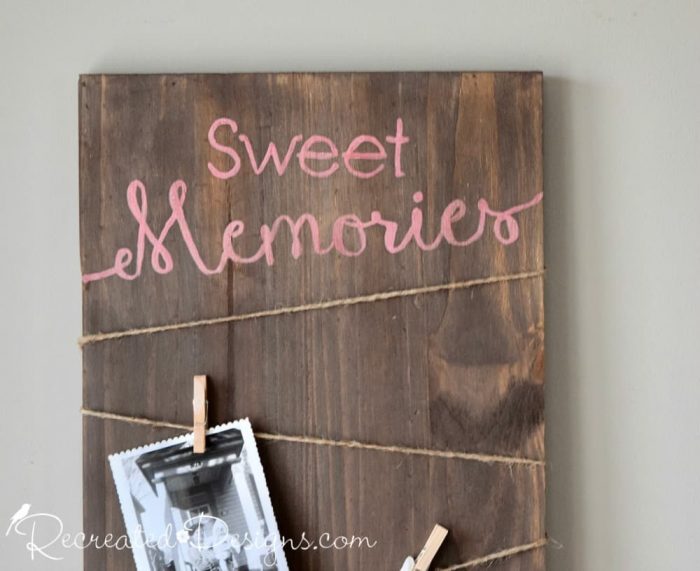 Finally, add some small clothes pins and you are ready to hang anything special to your heart. You now have a lovely piece to display your cherished pictures or a great gift to give away♥
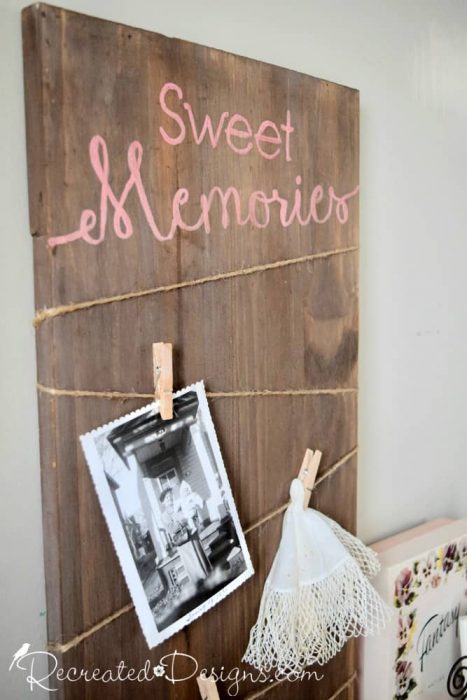
This project uses the Sweet Memories Pattern
**Please note that this post includes affiliate links for your convenience. All links are for products that I have tried and use regularly. By using the link, it in no way increases the cost of the item to you should you choose to purchase. However, by using the link, a small portion of the sale is given back to help fund this blog. Thank you and Happy Painting! **