I like decorating for the seasons… especially Fall. Changing things up every little while not only brings new energy into the space but also excites me to bring the outdoors in.
As much as I like decorating for each season, I don’t want to spend a ton. I always try to come up with some new art that doesn’t cost much and reuses as many materials as possible.
{No! This ↓ is not the stunning art!! Keep reading!}
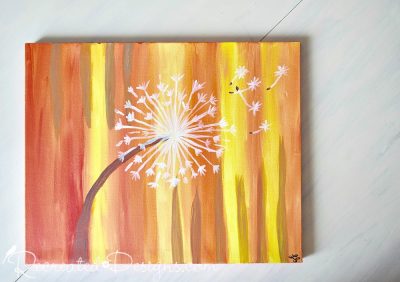
I painted this picture quite a while ago at one of those art night evenings. Have you been to one? It was fun, but I have never cared for the painting we made that night. It’s just not my style.
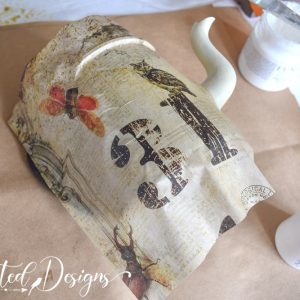
This Fall, I wanted to make some new art, and instead of buying something, I decided to reuse this canvas. I gave it three coats of Fusion Mineral Paint in Casement to cover up the previous art.
If you don’t have a previous piece of art that you don’t want anymore, you can purchase a new blank canvas to create your art on.

A few of the leaves turned really early this year (and then we had a heatwave!), so I collected a few pretty Maple ones. You could also use faux ones if you don’t have real Maples in your area.
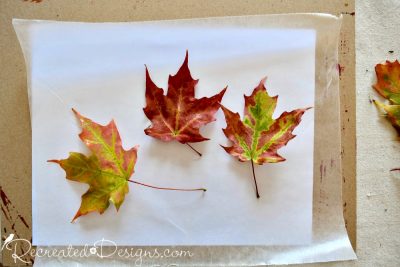
To get them ready, they were laid out on a piece of wax paper.
Be sure to lay them exactly how you want them to be once dried.

Using my iron on the hottest setting, I ironed the leaves for several minutes on each side.
Tip: Be sure to cover the wax paper with a plain sheet of paper before ironing, or you will get melted wax on your iron!
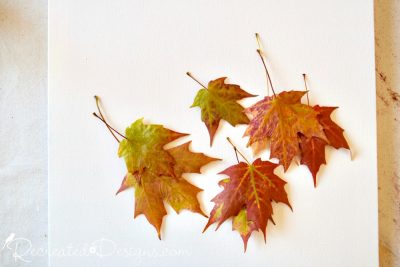
Once the leaves were cool, I peeled them off and had a collection of nice crisp Fall leaves.
Be gentle with them, as they will break easily when pressed.

To make the art, I laid out the leaves in the general area I wanted them on the canvas and drew in my branches with a pencil.
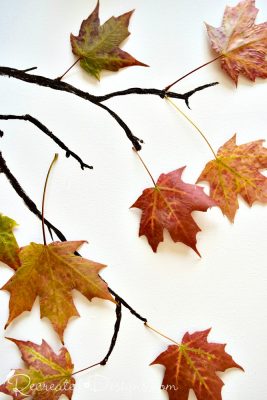
Once I had the branches drawn and leaves arranged, I painted them over with dark chocolate-brown paint.

To attach the leaves, spray each with spray adhesive, allow it to sit for a minute, and then stick it to the canvas.

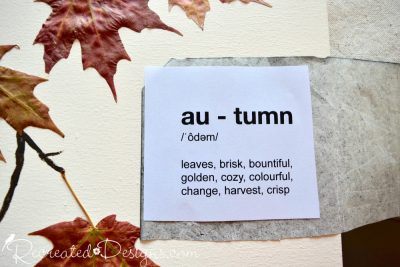
To finish my new art, I added a little dictionary-type description to the corner.

Lay the description over some graphite paper and trace over the letters. This will allow you to transfer them onto the canvas so you can paint them.

Paint over the words using the same brown paint that was used on the branches.


This DIY Fall art is so easy to make that even someone who doesn’t fancy themselves an artist can do it! And the best part? You can recycle an old canvas, collect some leaves from your yard, and for next to nothing have something new for Autumn.

🍂 Bring the beauty of fall into your home! Inside the Recreated Designs Insider’s Club, I share exclusive seasonal projects, like this month’s fall art, along with step-by-step video classes, printables, and cozy inspiration to make your space warm and inviting.
Join the Insider’s Club →
Pin for later…

**Please note that this post includes affiliate links. By using the link, the cost does not increase, and a small portion of the sale is given back to help fund this blog. For your convenience, you can also find all of my favourite DIY products here. Thank you and Happy Creating! **


Very attractive looking, but I don’t see the dark chocolate brown paint you refer to.
Hi Nancy, the chocolate brown paint I used was for the tree branches and the words in the corner. The name of that colour was Bitter Chocolate by FAT paint company.