I don’t know about you but I literally have an area in my spare room for all my scrap fabric. I seem to collect it quicker than almost anything else and I never have the *heart* to throw it out.
There are so many ways to use smaller pieces of fabric and I think that is why I can never bring myself to throw them out. From pillows to crafts there is always something to be made from the scraps.
The Fabric
When I decided to make a Valentine garland the other day, I hit up my fabric stash to see what I could use.
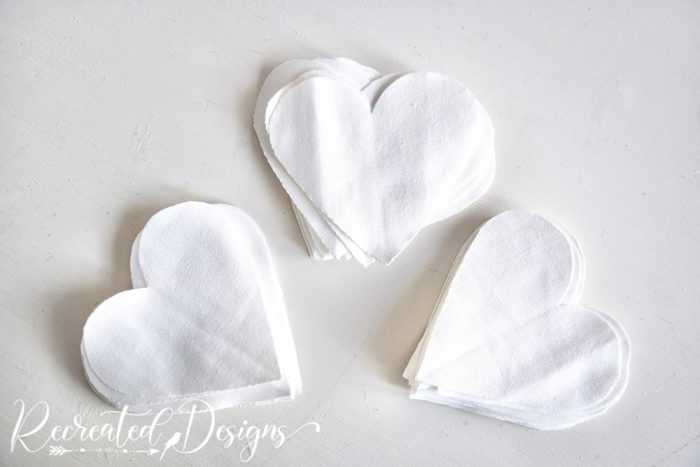
I found several pieces of white cotton fabric that were saved when I had hemmed a set of curtains. The fabric was beautifully thick and heavy and perfect for this project.
The type of fabric I was looking for was more important than the colour or pattern. Fabric is easy to dye with paint so getting the colours I wanted wouldn’t be a problem.
Cutting Up the Fabric
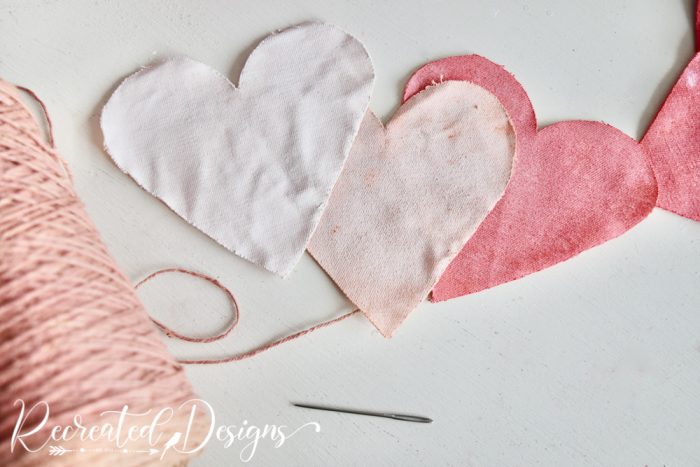
Before I dyed the fabric, I wanted to cut it into the pieces I would need for the Valentine garland. I folded a piece of cardstock in half so that the left and right would match and then cut it into a heart.
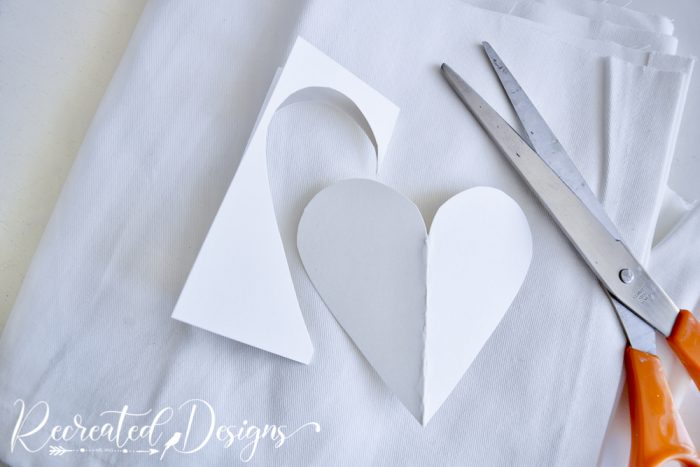
The pattern made cutting out the fabric hearts much easier. I held it against a folded piece of fabric and then cut around it.
I folded my fabric in half vertically and then in half horizontally so that I was getting two hearts out of every cut.

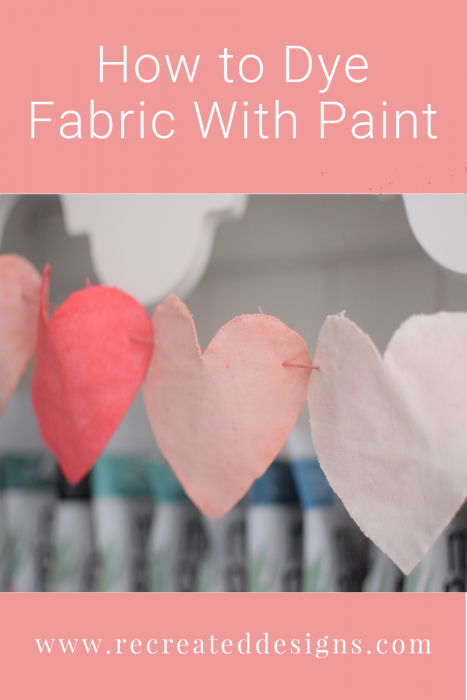
Dying the Fabric With Milk Paint
I love dying fabric with paint. It is incredibly easy to do and it creates a beautiful vintagey look. Milk paint is perfect for dying fabric because it has no acrylic or latex in it.
One of my most popular older posts ever was this project that used paint to dye fabric…
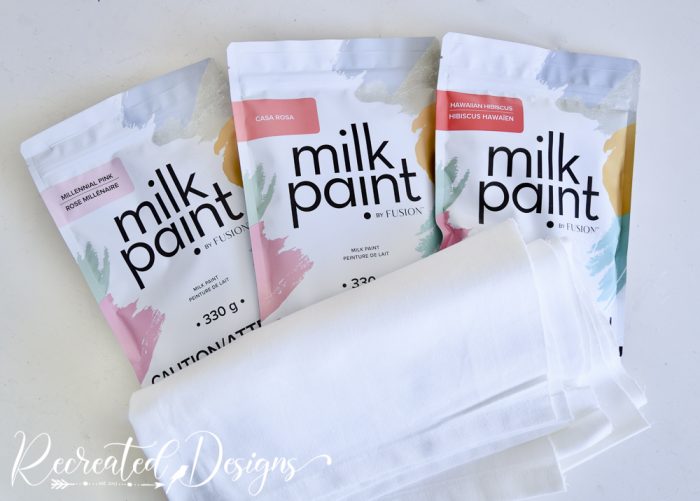
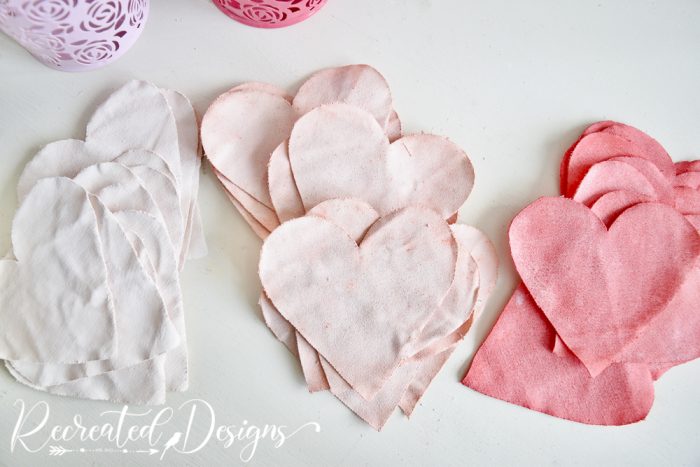
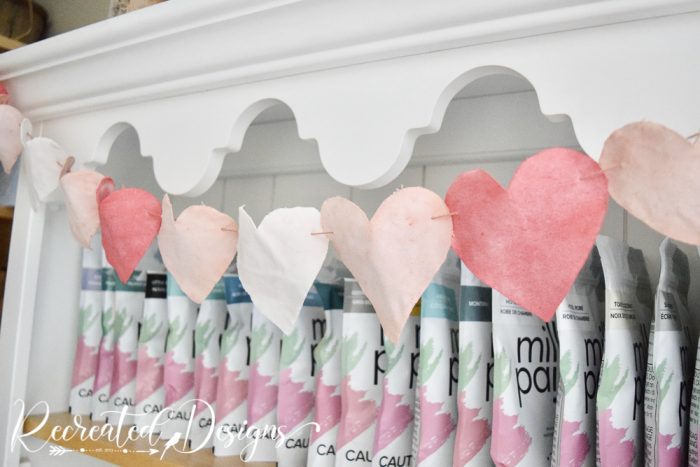
For my garland, I used Fusion’s Milk Paint in Millennial Pink, Casa Rosa, and Hawaiian Hibiscus. You need so little to dye fabric that I barely used a sample size package.
To get the paint ready, I mixed it at a ratio of one part milk paint to two to three parts water.
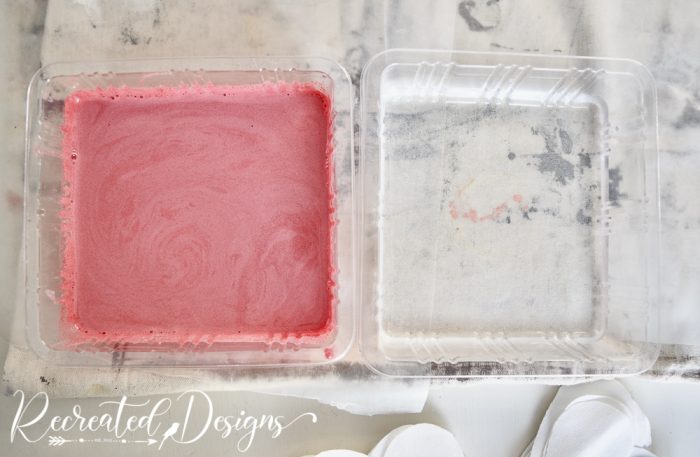
To make sure the paint absorbs into all of the fibres I like to soak it in water first. This assures that the paint will soak in evenly.
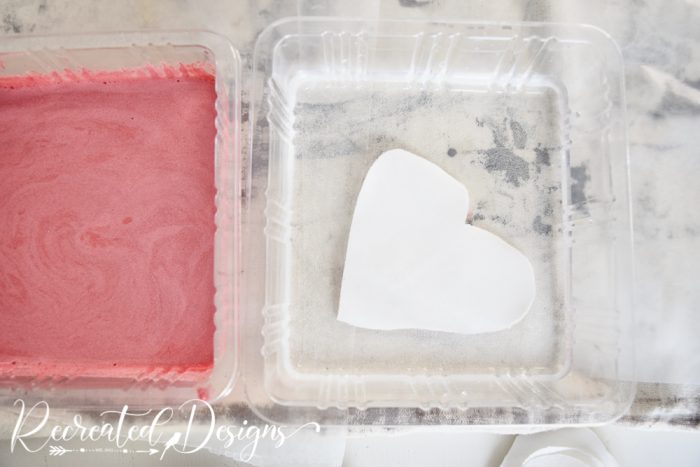
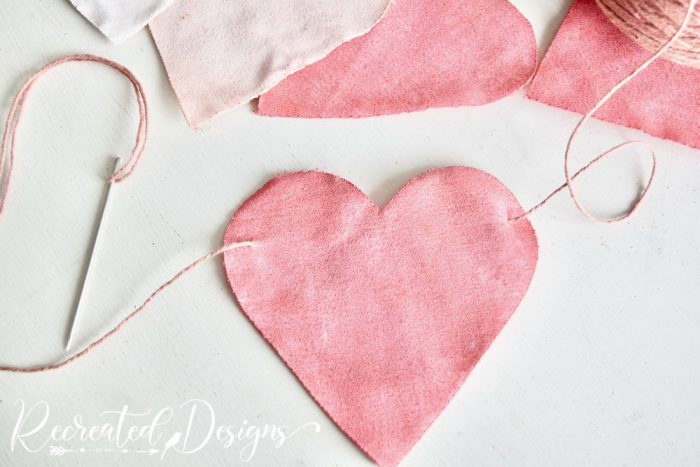
Once the fabric was soaked through with water, I placed it into the milk paint. The longer you leave the fabric in the paint the more saturated the colour will be. I left them in for less than a minute and was able to achieve these gorgeous colours.
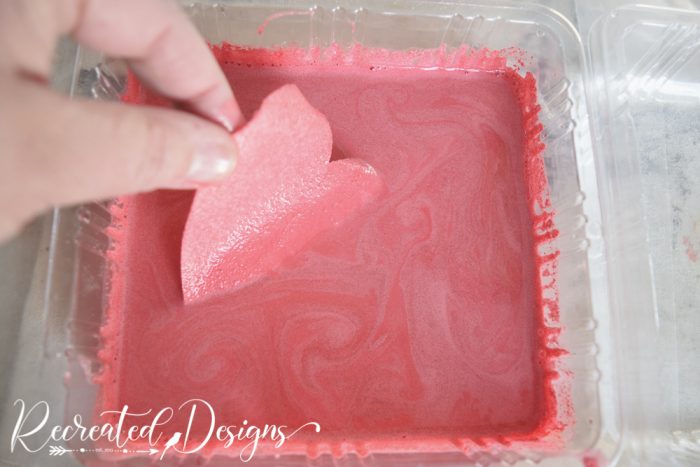
When I liked the colour, I laid the hearts out on pieces of wax paper so that they could dry.
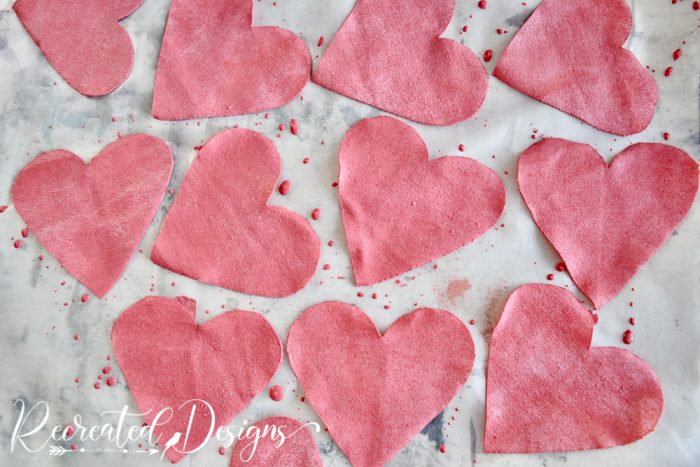
The thick material lent itself beautifully to the paint and the fabric hearts look and feel old.
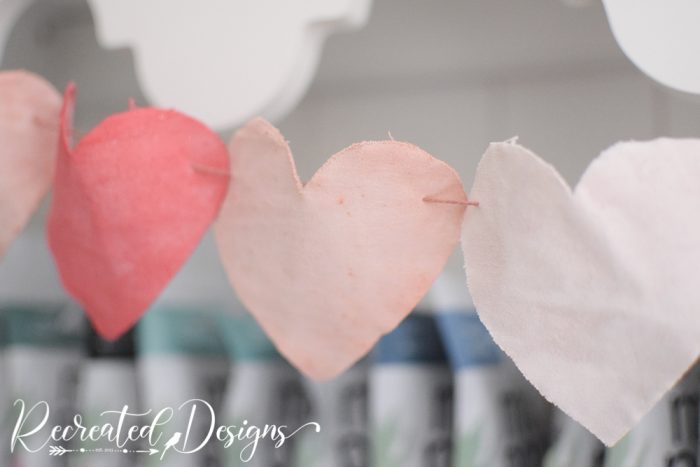
Stringing the Garland
To put the garland together, I grabbed the same spool of vintage string I used last week for this project, as well as a heavy-duty needle. (You can find new pink string here though…)
I threaded the pink string from the front to the back on the right and then across the back and through the back to the front on the left.
This process was repeated until all of the hearts were added to the string.
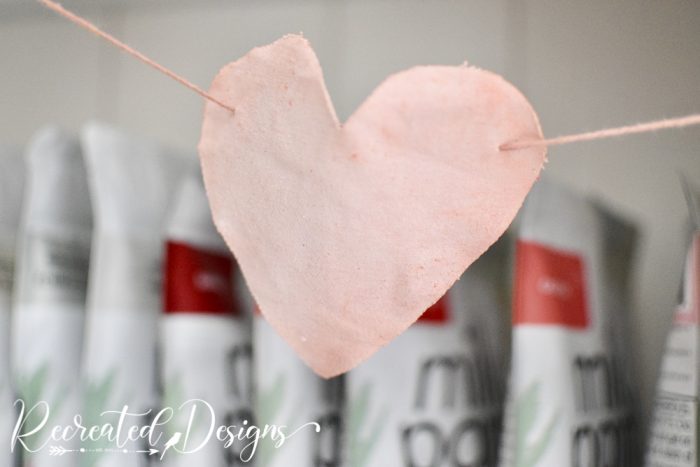
I wish I had more of this fabric because it looks and feels absolutely old when it’s dyed. It is so pretty that I just may need to change out my curtains so that I can use the fabric to make something else 😉
**Please note that this post includes affiliate links. By using the link, the cost does not increase and a small portion of the sale is given back to help fund this blog. For your convenience, you can also find all of my favourite DIY products here. Thank you and Happy Creating! **
Pin for Later…


Love this….
Thanks so much Louise! I am so impressed with how beautiful the fabric is once it was dyed!