I have been eyeing the gorgeous Woodland Christmas transfers by IOD since they were released earlier this Fall. They are absolutely beautiful and I was instantly drawn to them. I missed out on getting them when I first saw them because they were a limited release so when they came back in stock a few weeks ago I snatched them up.
Working with transfers couldn’t be easier and I taught a class on how to use them for several years pre Covid. If you have not used them, I would suggest you check them out if you are looking to take your furniture or art to the next level and don’t want to hand paint your own design. You can see one I put on a dresser here.
I should note that this is not a sponsored post… I just love transfers 😉
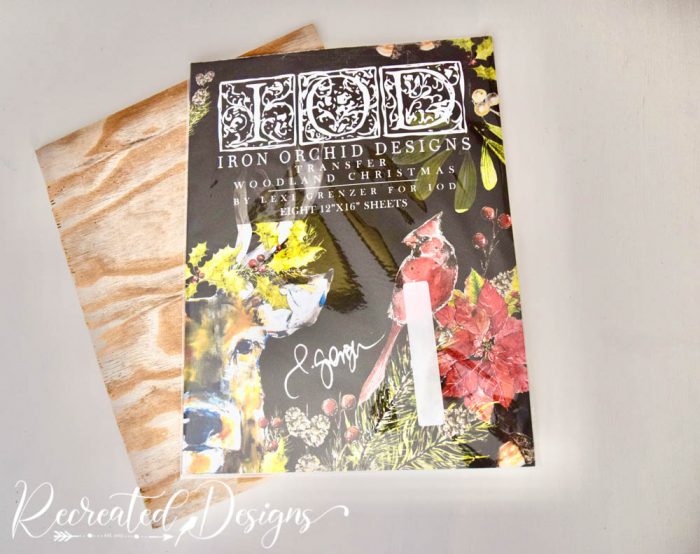
Woodland Christmas by IOD
The Woodland Christmas transfers I picked up is a multi-page pad full of different greenery, birds, and deer. They are all beautifully coloured and highly detailed.

Getting Ready
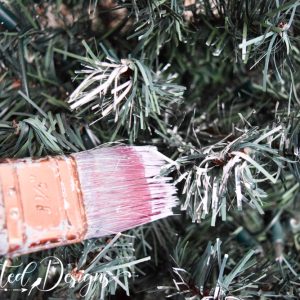
For this piece of art, I grabbed a piece of scrap wood and painted it white using Milk Paint by Fusion in Hotel Robe.
One of the tricks to getting an old, rustic look to your art is to not paint the entire surface. Apply the paint in a sweeping motion leaving bits of the wood showing through. This will give the impression that the paint has started to wear away and fade over the years.

After painting the wood, I drew a few lines to indicate hills of snow. You can see them lightly in the picture below. The lines helped me to place the transfer pieces in a way that made them look to scale.
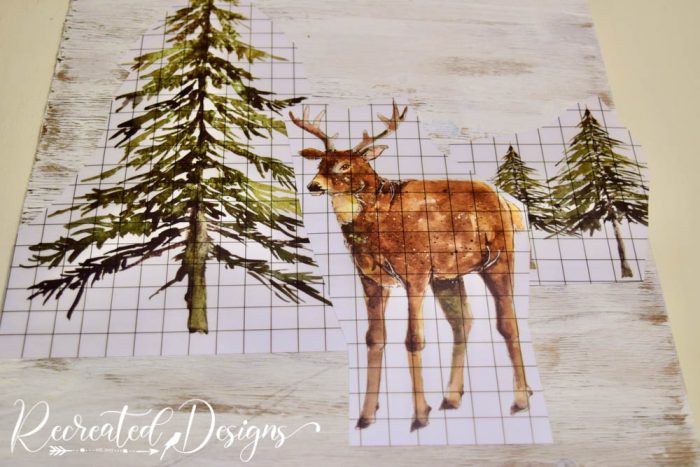
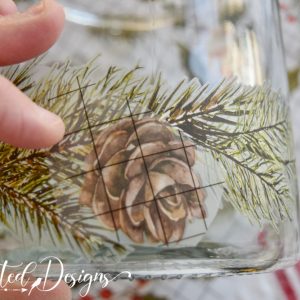
Adding the Transfers
Once I knew where I wanted to put the images, I removed the backing and began rubbing with the tool. You know you have transferred the image when it begins to change colour.

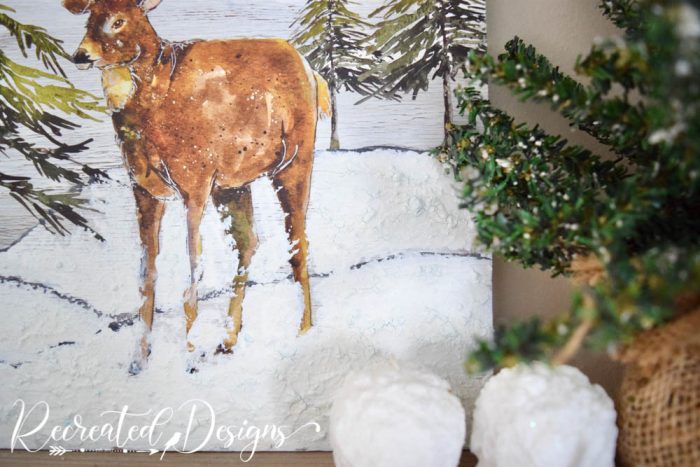
Adding the Snow
To finish off my winter art, I mixed some Saltwash into the remaining milk paint. The Saltwash gives the paint a thick texture that helped me to recreate the look of snow. You can see other times I have used it here and here.

Creating textured snow was easy once the Saltwash and paint were mixed. I dabbed it on with a paintbrush, being sure not to smooth it out, and then let it dry.

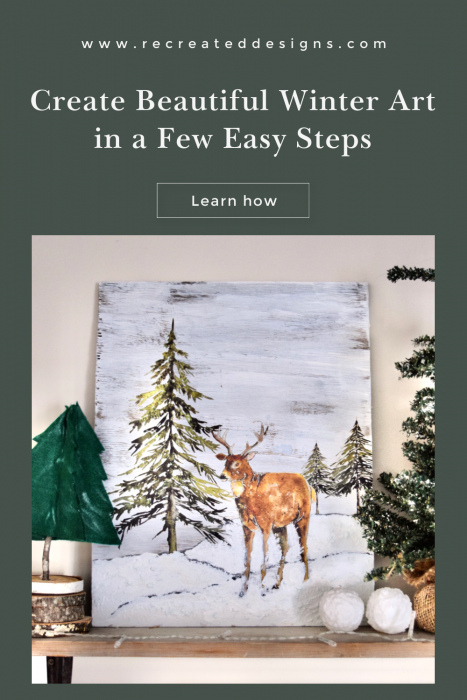
Winter Art
How pretty is that snow? The Saltwash was the perfect way to add some depth and texture to my art and gave it the feeling of being a true wintery scene.
The Woodland Christmas pad was so full of transfers that I have oodles left to use for more projects. Some of them will find a home on a long window to give the illusion that I have an extra window in my Living Room… I can’t wait!

I hope that you are enjoying the holiday season and finding some time to be creative!

**Please note that this post includes affiliate links for your convenience. All links are for products that I have tried and use regularly. By using the link, it in no way increases the cost of the item to you should you choose to purchase. However, by using the link, a small portion of the sale is given back to help fund this blog. Thank you and Happy Creating! **
Pin for Later…