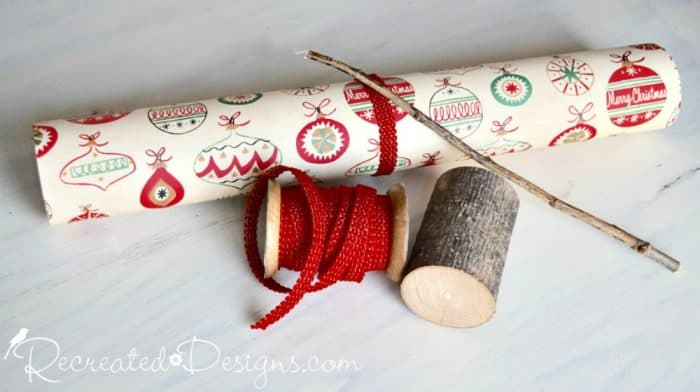
I found the most gorgeous Christmas paper last week at Malenka Originals when I was there to teach a class!
It is thick and pretty and the colours are quintessentially Scandinavian. Not to mention the vintage feel of the ornaments… it’s just perfect!!
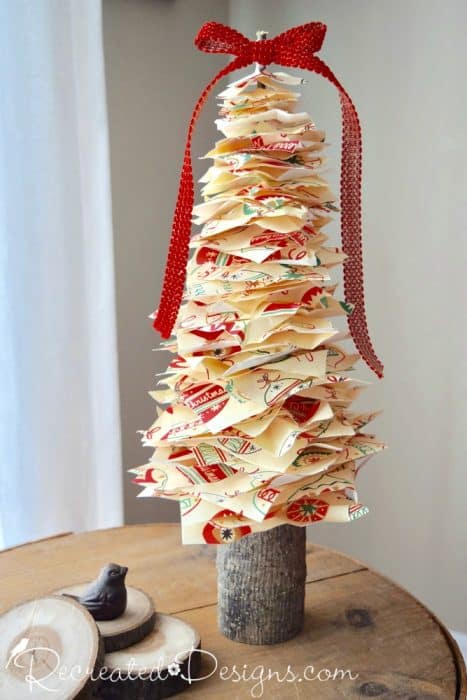
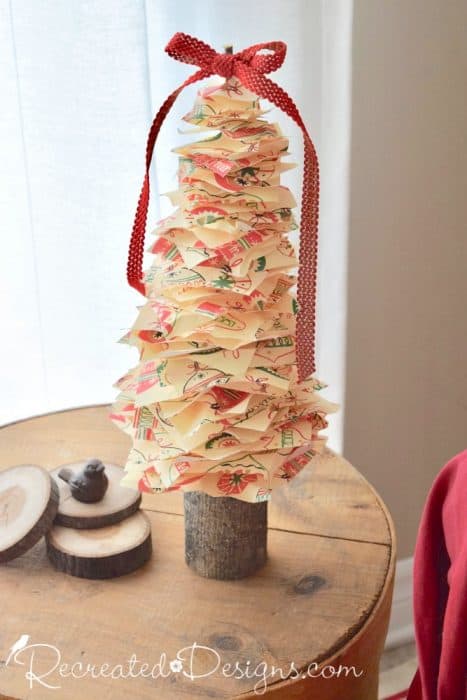
I have made book page trees before (you can see one in this post) but wanted to switch it up a bit this year and use this beautiful paper.
To make a paper tree…
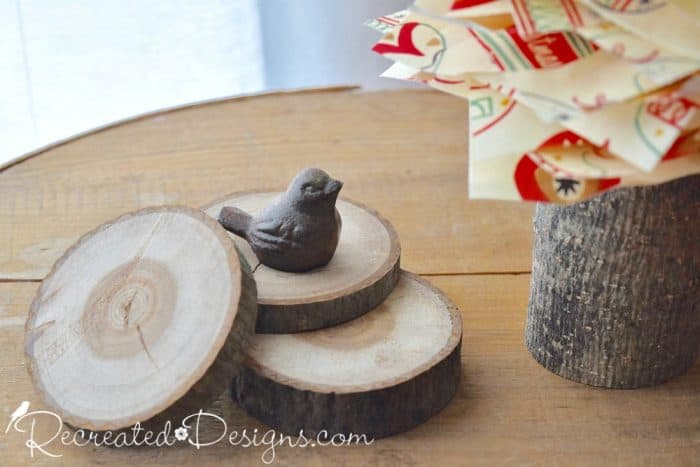
Start with a 6″ long piece of a thick tree branch and twig about a foot long.
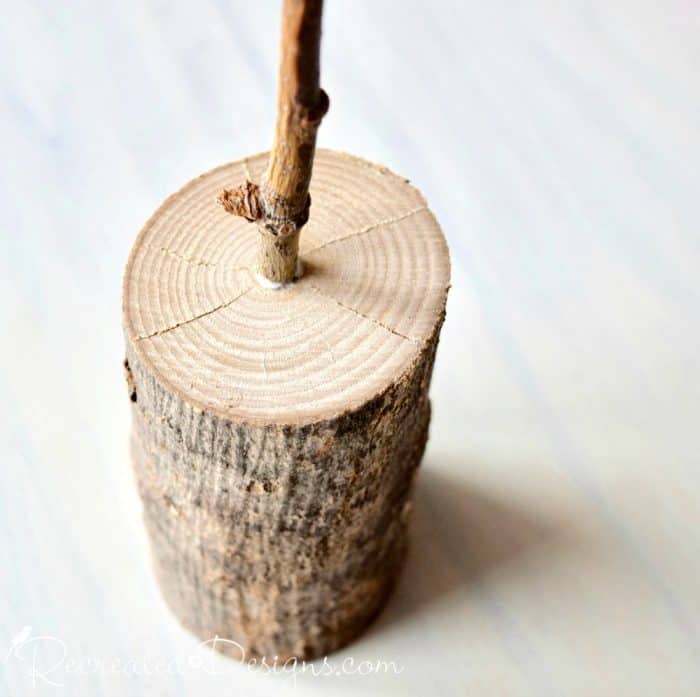

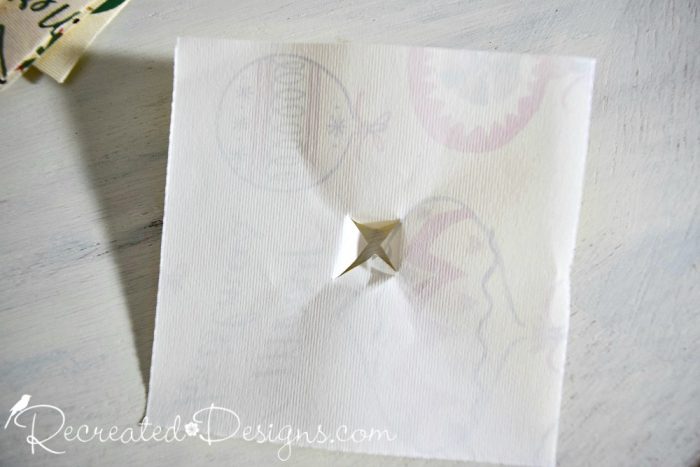
Loosely fold the squares corner to corner and add a little slit going in both directions. The holes should be just big enough to fit the twig through.


Don’t miss another vintage find, crafty project or upcycled dump find. Follow my creative journey and love for all things rustic here…
♥♥♥
Win a copy of my new book Cottage Projects With a Vintage Flair! Find all of the details here…
♥♥♥
Pin for later…






I love this! I have all the materials and I plan on making a few trees this week.
Thanks so much! Have fun 😉
Wow, what a fabulous idea. I love this post. Thank you, and Happy Holiday’s!
Thanks so much!! It was a fun project and I love how vintagy the paper looks 😉 Happy Holidays to you as well! Hope you have a wonderful season 😉
This is so charming!
Aww thanks so much Cecilia!
Hi, I'm Lisa!
Welcome to Recreated Designs... A place for you to find endless upcycling ideas, unique ways to use vintage finds and oodles of helpful tips and tricks for painting, crafting and recreating. I am so happy you are here and can’t wait to see what you create!
Continue reading about me here!