Happy belated Thanksgiving to all of my wonderful Canadian friends! I hope that you enjoyed a perfect Fall weekend. 🍁 We had a beautiful weekend here in Ottawa and it was lovely to have a few days off!
This past week I decided that I really “needed” a few more Fall decorations in my home. I wanted a new and unique Fall wreath (see another one I made here…) and hadn’t seen one yet that I loved. So, instead of continuing the search, I decided to make one from an old berry basket and some worn fabric leaves I had picked up at an Estate sale last weekend.
My mom and I had hit up the last day of the sale and when I saw the stack of old berry baskets sitting in a corner I just about broke a leg hopping onto a porch to retrieve them! Then I saw the faded fabric leaf ring stuffed in a box in the garage and when I said I had to have it, the guy pretty much laughed right at me 🙂 He couldn’t give them to me fast enough and was thrilled with the dollar he got for the lot. If he only knew the dreams I had for those sad, faded leaves! Here is how I turned the basket and leaves into a beautiful new wreath so that you can make one too.
Making a Berry Basket Wreath
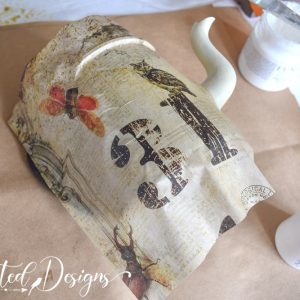
Make sure the leaves are all separate. If your leaves are attached to something as mine were, remove them by cutting them close to the end so that they retain their stems.
Copper Foil
To add a little metallic bling to the berry box, spray it with adhesive spray. Wait for 30 seconds, or until the adhesive gets tacky, and then lay a piece of decorative copper foil over it and press down.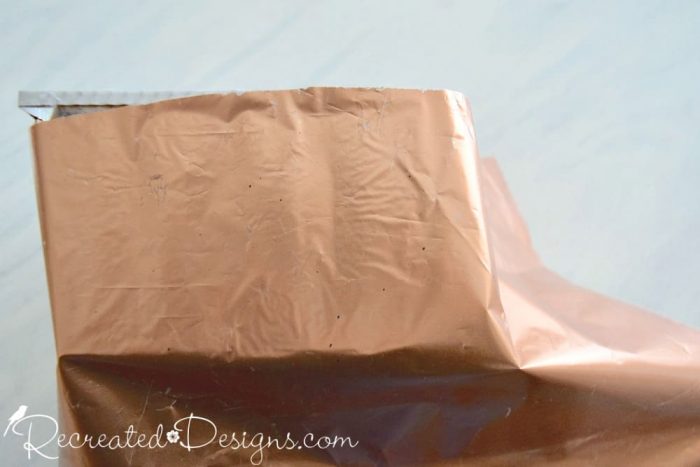 Gently peel the decorative copper foil away and the foil will remain on the basket. You can repeat this as many times as you like until you get the desired amount of copper foil onto your basket.
I wanted the copper to look worn and weathered so I left some of the basket showing through.
Jute Twine Braid
To hang the wreath, braid together three pieces of Jute twine and attach it with hot glue around the edge of the berry box. Leave about 8 additional inches that you will use to hang it.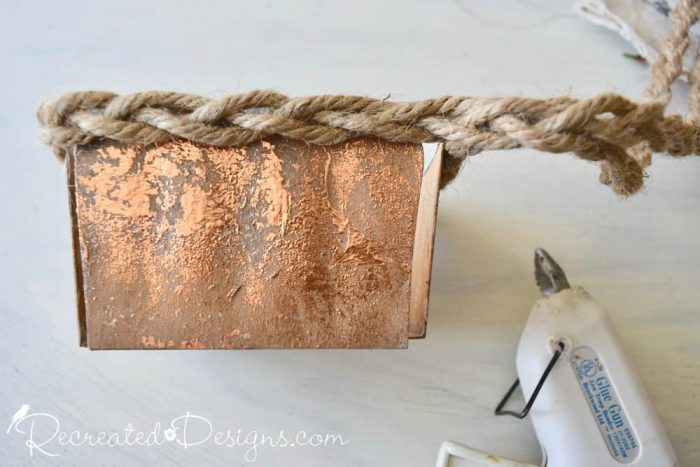
Floral Foam
Fill the inside of the box with floral foam. Paint any exposed floral foam with Country Chic Metallic Accent Cream in Belt Buckle.
The Leaves
Paint most of the leaves with the same Country Chic Metallic Cream that you used on the floral foam. Once they are dry, begin adding them to the foam tucking in a few unpainted ones as well.
Finishing Touches
Add a bit of the real outdoors to your wreath by adding some freshly picked rose hips. Glue them on randomly using hot glue. Also, brush a little Country Chic Gold Wax onto the metallic leaves to give them some shimmer and depth. To finish it off, brush the Metallic cream lightly over the Jute twine to give a worn look.
 The old berry box made the perfect wreath but it would have also been great as a centrepiece.
If you would prefer using it that way, leave off the last 8 inches of the Jute braid, wrapping it around the box top only. Sit your creation in the middle of your table, scatter some leaves around it and you will have a gorgeous Fall centerpiece instead of the wreath. For now, I am hanging mine on one of my doors as a wreath. I still have some berry boxes though that may just become a centerpiece in the near future.
 If you missed last week’s post using real leaves, you can find it here…
Have a wonderful week!
Let’s breathe new life into old things together!
Sign up here to receive blog posts as they are published.
Find more information on my new Recreated Designs book Cottage Projects
With a Vintage Flair here…
**Please note that this post includes affiliate links for your convenience. All links are for products that I have tried and use regularly. By using the link, it in no way increases the cost of the item to you should you choose to purchase. However, by using the link, a small portion of the sale is given back to help fund this blog. Thank you and Happy Creating! **
Pin for later…