I have been getting into Christmas gear (gulp! I know, I know) lately and planning what I will have available at my sales. There are some cool new things in the works and one of them involves printed burlap.
Burlap makes me smile and the rustic charm it brings to any decor is great. I have painted on it many times (see here and here) but thought I would share this super-easy way to print on it with a laser printer.
Getting the printing on the burlap…

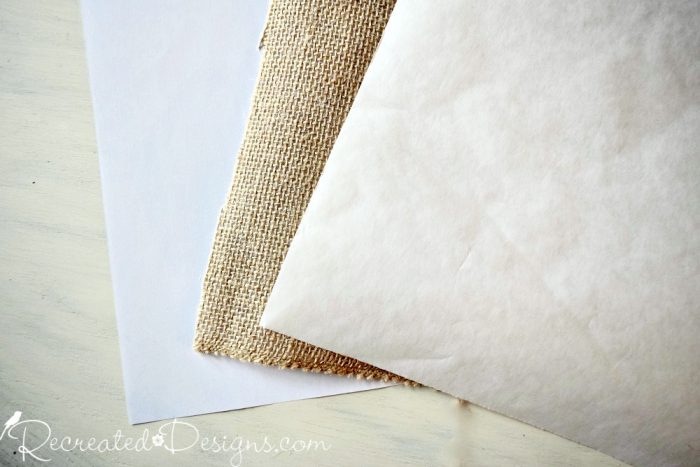
To be able to run burlap through your printer, the easiest way is to use Freezer Paper.
Freezer paper is different from wax paper (wax on both sides) and parchment paper (no wax on either side) as it only has wax on one side. It is commonly used for wrapping meat for… you guessed it, the freezer.
 To get your burlap ready for the printer, cut a piece of freezer paper to 8.5″ by 11″ (standard paper size). Also, cut your piece of burlap the same size.
 On the back of the burlap, lay the freezer paper, the wax side against the burlap, and iron it until it is stuck on. The heat from the iron will melt the wax and adhere the paper to the back of the burlap. Attaching the freezer paper will keep the burlap from getting tangled and snagged up in your printer.
 Choose a photo or design and then run your burlap and freezer paper through your printer. When it comes out, you will have the same image as you would on regular paper. How cool is that?!
{Find the pattern for the script here…}
Note… I have only ever used a laser printer to do this so do not know how it would work with an inkjet. If you try it, let me know how it comes out!
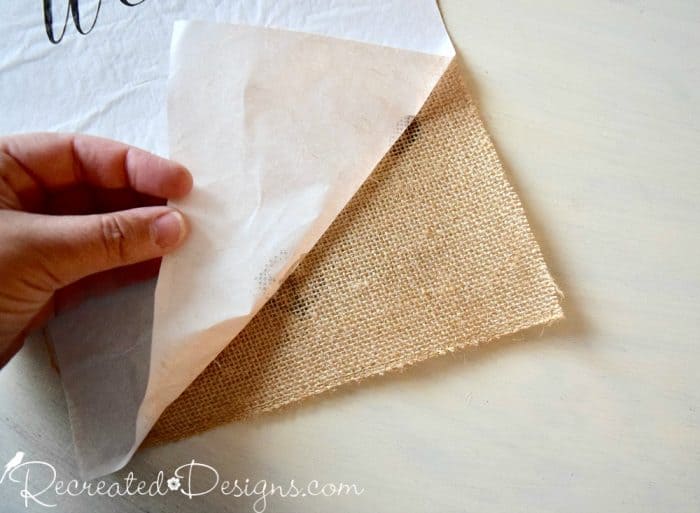 Once the ink is dry, peel the freezer paper off the back of the burlap.
 Give the burlap some frayed edges by pulling out a few threads before attaching it to the board.
Getting the board ready…
To make the board I wanted to attach my burlap too, I grabbed a piece of scrap pine from my pile.
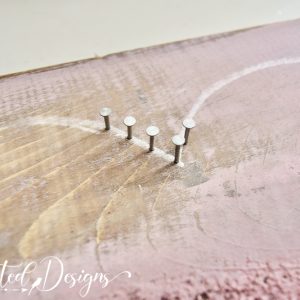
 I am not a huge fan of pine so used some nails and a hammer to bang up the wood before I stained it. Pine is such a soft-wood that it was really easy to add some character to the board.
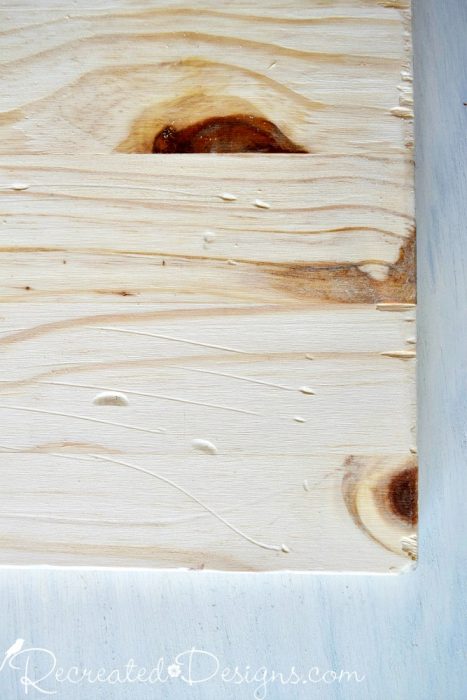
To make the wood look darker, it got a coat of General Finishes Gel Stain in Nutmeg and you can see how nicely those dings look once the stain was applied. They really added some charm.
 Once the stain was dry, the piece was dry brushed with a layer of General Finishes Chalky Style Paint in Key West Blue.
 To finish it off, a piece of thick jute twine was stapled to the top to hang the sign by.


Attach the burlap to the board with just a dab of hot glue in each corner and you’re done!
 How cute is that? Now you can print anything you like on burlap and make a sign that speaks to you.
I would love to see what you print on your sign! Be sure to share it on the Recreated Designs Facebook page ♥

**Please note that this post includes affiliate links for your convenience. All links are for products that I have tried and use regularly. By using the link, it in no way increases the cost of the item to you. However, by using the link, a small portion of the sale is given back to help fund this blog.**
Pin for Later…


have you ever tried to wash burlap?
I wonder what happens if the water touches the printing text
Hi Hakan, I have washed burlap but not once it is printed. Washing burlap really pulls the fibres apart so it really isn’t recommended unless you have too. The burlap usually doesn’t look the same after washing. I would not try washing the burlap after it has been printed on. Hope that helps! Good luck.
which laser printer did you use for burlap?
Hi. I have an HP Envy 5530. Hope that helps 😉
Have you ever tried to wash the burlap?
Does this work for other types of material? I can think of many possibilities
if it does!
Hi Sandy, I have not tried other material yet but I don’t see why it wouldn’t. The freezer paper adheres to the fabric to make it easy to print on so I would think other types of smooth fabric would work too. I’d love to know how it turns out if you try it.
Did you print into the burlap, or into the freezer paper?
I printed onto the burlap. The freezer paper was used to stabilize the burlap so that it would run through the printer easily. Hope that helps 😉
Lisa, I would love to try this but am worried about running the burlap through the printer. The burlap I have sheds so much. Is there a particular burlap brand to use that doesn’t shed as much but still has the cute look you have?
Hi Anne, The freezer paper on the back definitely helps to keep all of those little pieces in place when you are running it through but I know what you mean bout the shedding. When I buy burlap I always try and find one with a tight weave. There is a lot of variation so it can be frustrating when the weave is really loose. If you are in the US, I have seen burlap at Walmart and at Michaels that had a tight weave. In Canada I usually get it at Michaels. Hope you are also to find some that works!
This is an adorable way to use burlap. Love the little sign. I really enjoy burlap decor especially in the fall.
Thanks so much Leanna! I am definitely a fan of burlap too and your are right… it is so pretty in the Fall <3
Hi, I'm Lisa!
Welcome to Recreated Designs... A place for you to find endless upcycling ideas, unique ways to use vintage finds and oodles of helpful tips and tricks for painting, crafting and recreating. I am so happy you are here and can’t wait to see what you create!
Continue reading about me here!